How to Bake Delicious Sourdough Bread – Simple, Step-By-Step Guide
This is hands down the best sourdough bread recipe. While sourdough may seem like a complex process, it’s absolutely worth the effort, and mastering it is more achievable than you might think. Despite potential learning curves and a bit of trial and error, rest assured that this recipe is designed to guide you seamlessly through the steps, ensuring a perfect loaf every time. Get ready for your loved ones to anticipate this delightful bread as a daily treat!
What Exactly Is Sourdough?
Sourdough is a type of bread made from a naturally fermented dough consisting of flour, water, salt, and wild yeast and bacteria cultures. Unlike commercial yeast, which is added to dough as a single strain of yeast, sourdough starter contains a mixture of wild yeast and lactobacilli bacteria. These microorganisms are naturally present in the environment and are captured and cultivated to create a sourdough starter.
The fermentation process that occurs in sourdough bread is what gives it its distinctive tangy flavor, as well as its characteristic texture and rise. During fermentation, the wild yeast consumes the carbohydrates in the flour, producing carbon dioxide gas and organic acids. The carbon dioxide gas causes the dough to rise, while the organic acids contribute to the flavor of the bread.
Sourdough bread has been enjoyed for centuries and is cherished for its rich flavor, chewy texture, and unique aroma. It is often prized for its health benefits, as the fermentation process breaks down gluten and phytic acid, making it easier to digest and increasing the bioavailability of nutrients.
What Equipment is Necessary?
- Sourdough starter
- Bread flour
- Salt
- Water
- Digital scale
- Bench scraper
- Cotton/Linen proofing tea towel
- Parchment paper
- Banneton basket
- Razor blade/Bread lame
- Dutch oven
How to Make Delicious Sourdough Bread: 5 Simple Steps to Follow
- Mix The Dough: Blend water, sourdough starter, salt, and flour to form a cohesive dough ball.
- Bulk Fermentation: This term refers to the initial rise. Over the first hour and a half of bulk fermentation, perform four stretches and folds, spaced 20 minutes apart. This process enhances the dough’s strength and elasticity.
- Shaping + Bench Rest: Complete the bulk fermentation phase by taking the shaped dough and allowing it to rest briefly. This shaping and resting stage contributes to the final texture, structure, and flavor of the sourdough bread.
- Dough Proofing: Cold proof the dough in the fridge for optimal flavor development, ideally anywhere from 12-48 hours.
- Scoring + Baking: Score the proofed dough, then bake it in a preheated vessel for the perfect loaf.
Let’s Dive Straight Into This Step-By-Step Guide To Making The Most Delicious, Simple Sourdough Bread
Mixing The Dough
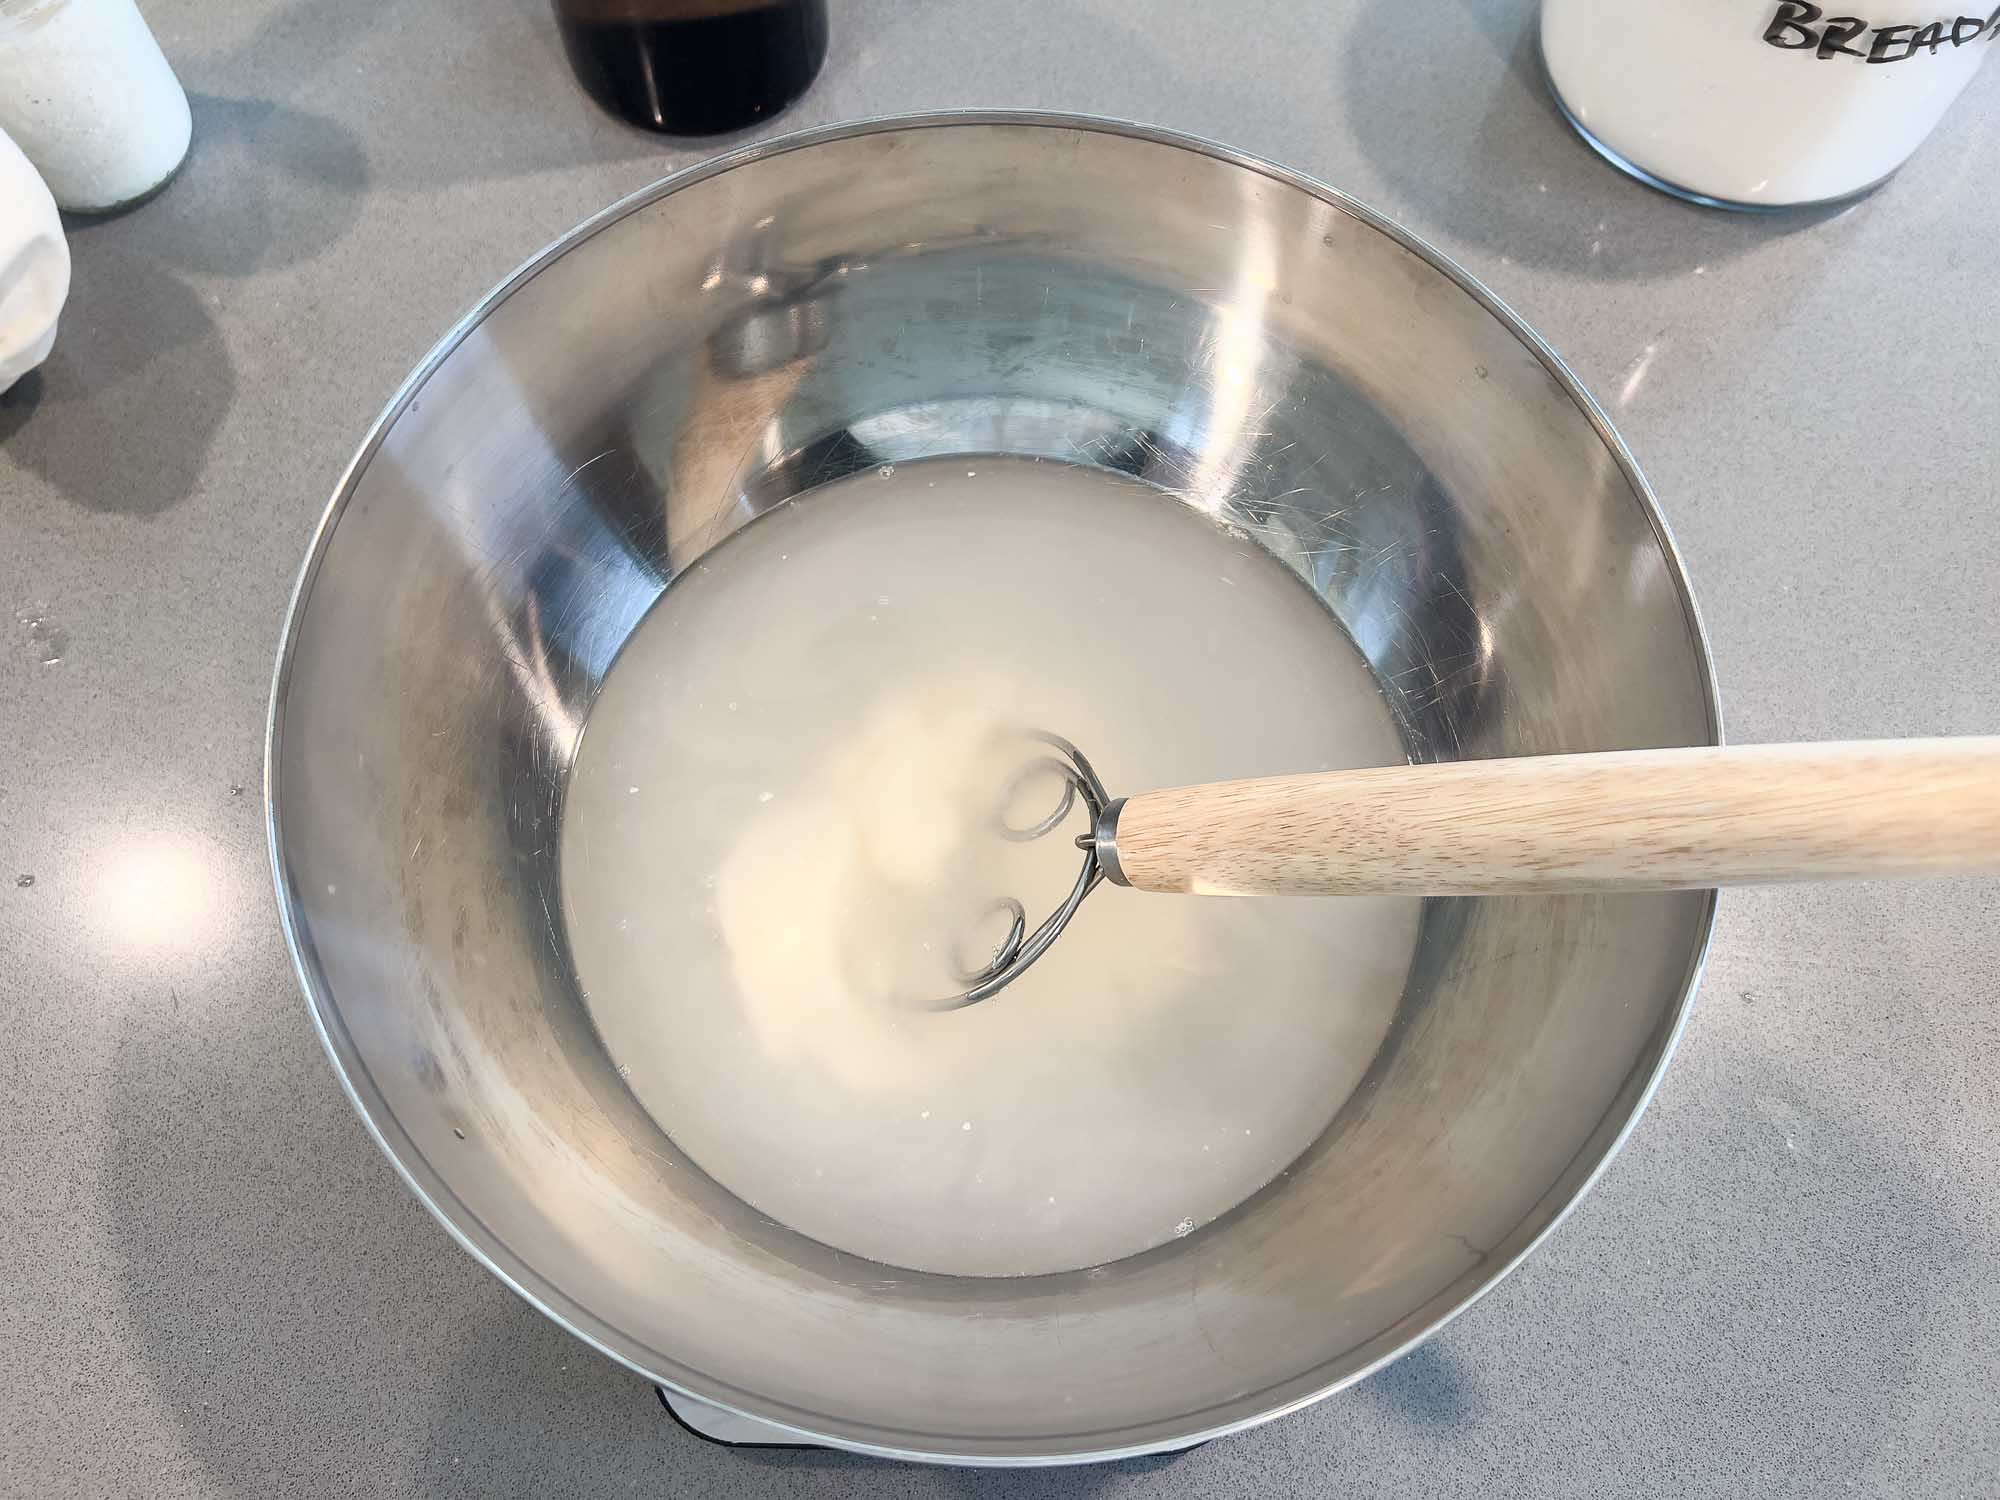
To start, grab your scale and a large bowl.

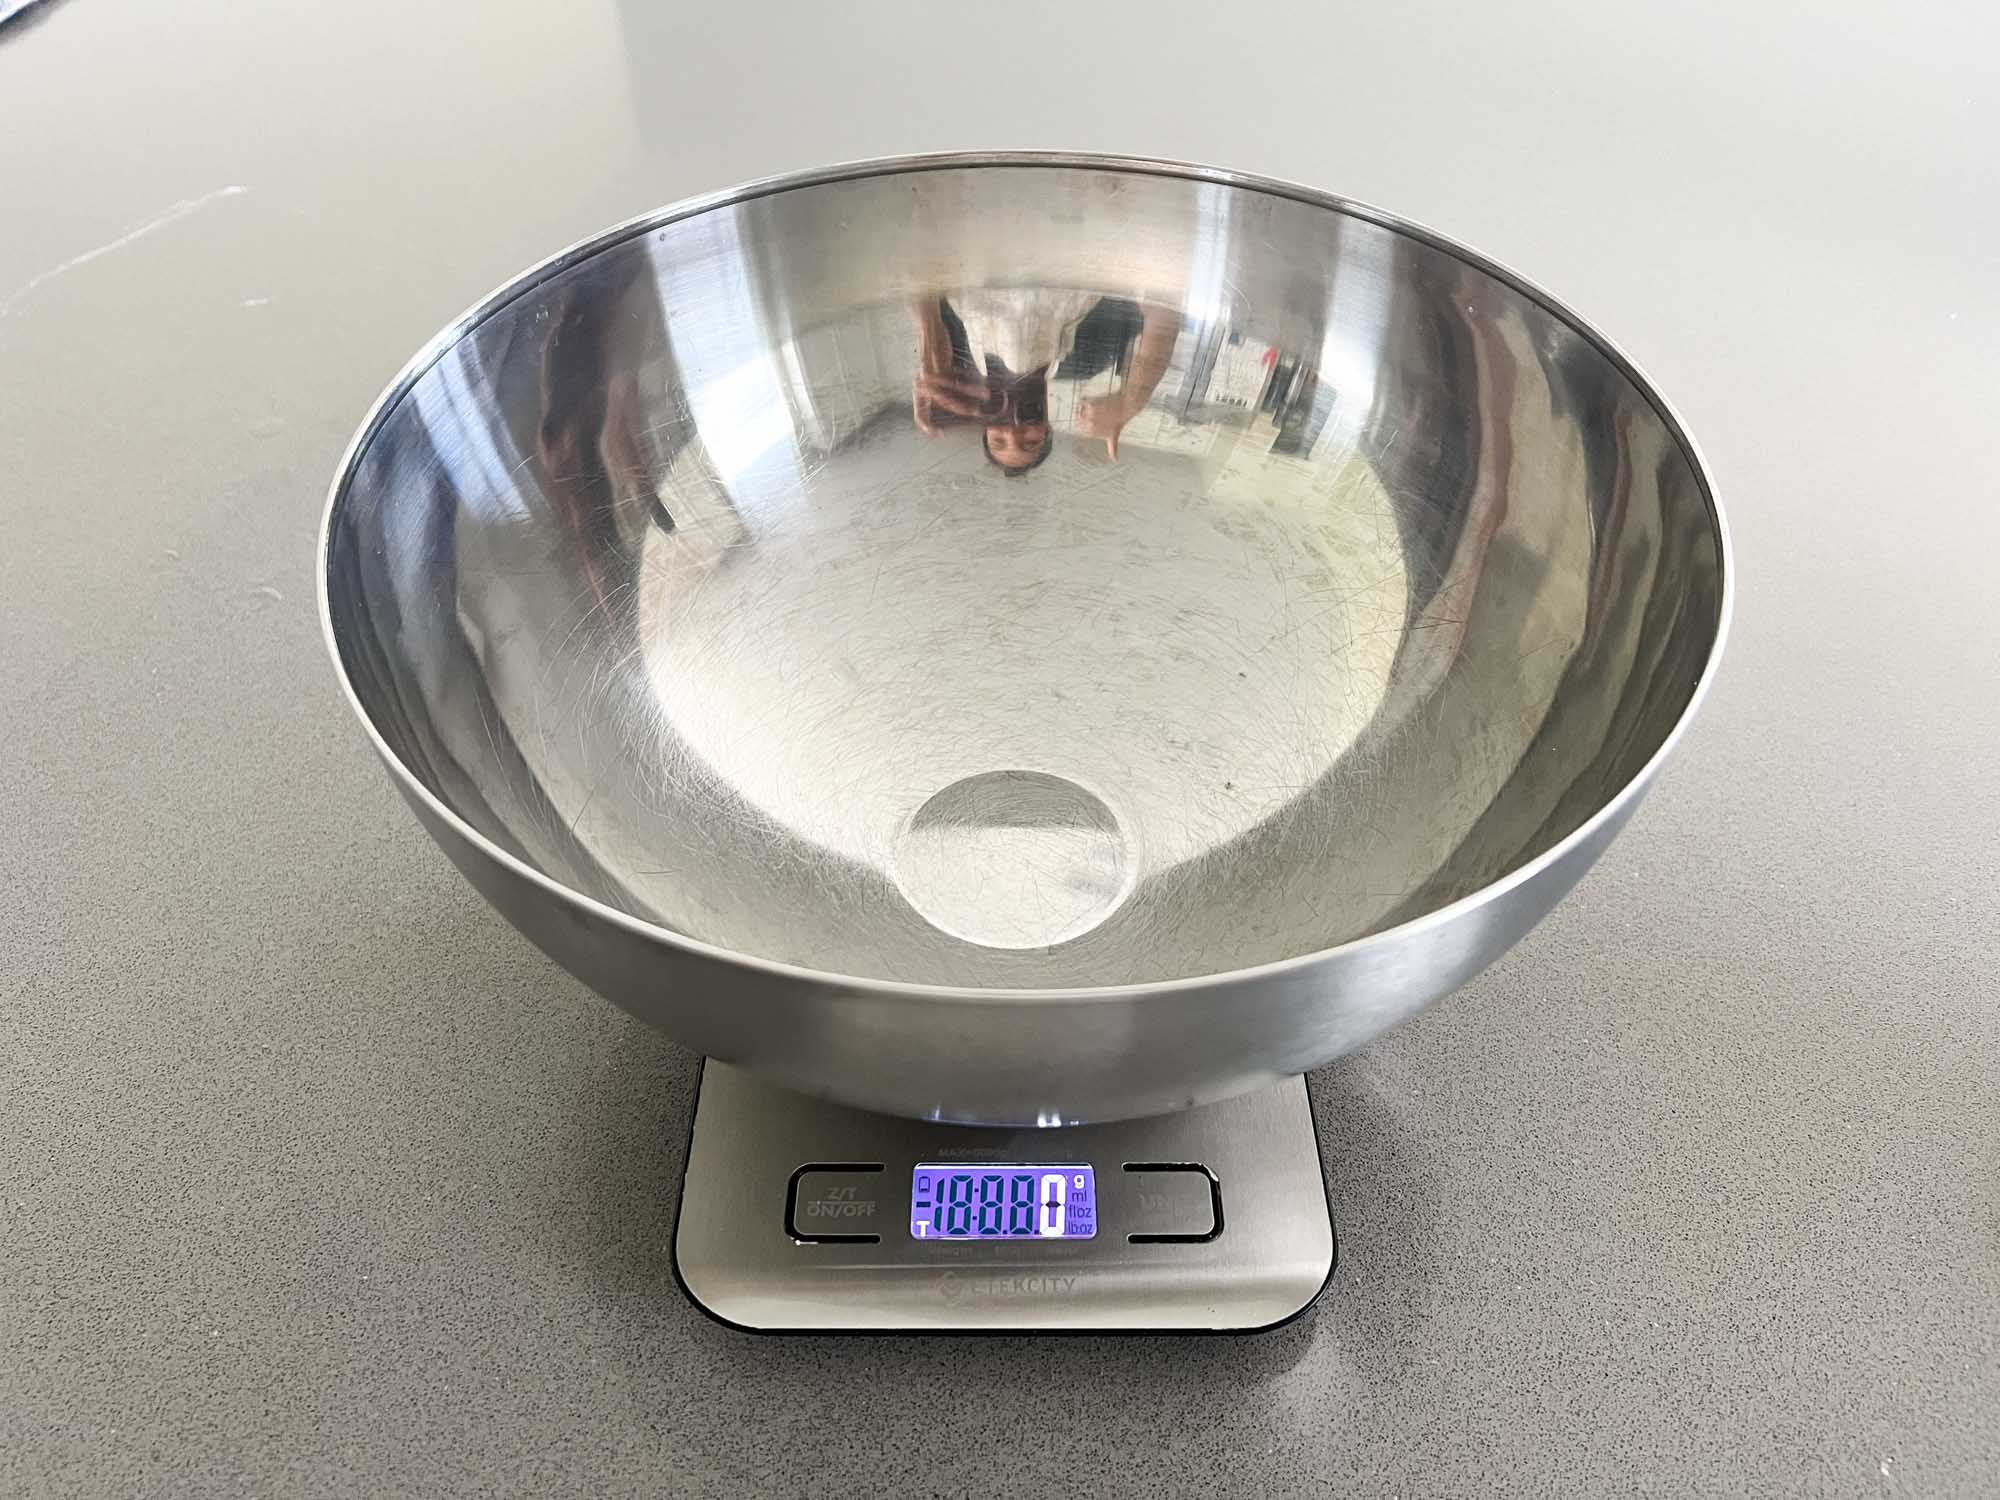
Pour 370 grams of water into a bowl.

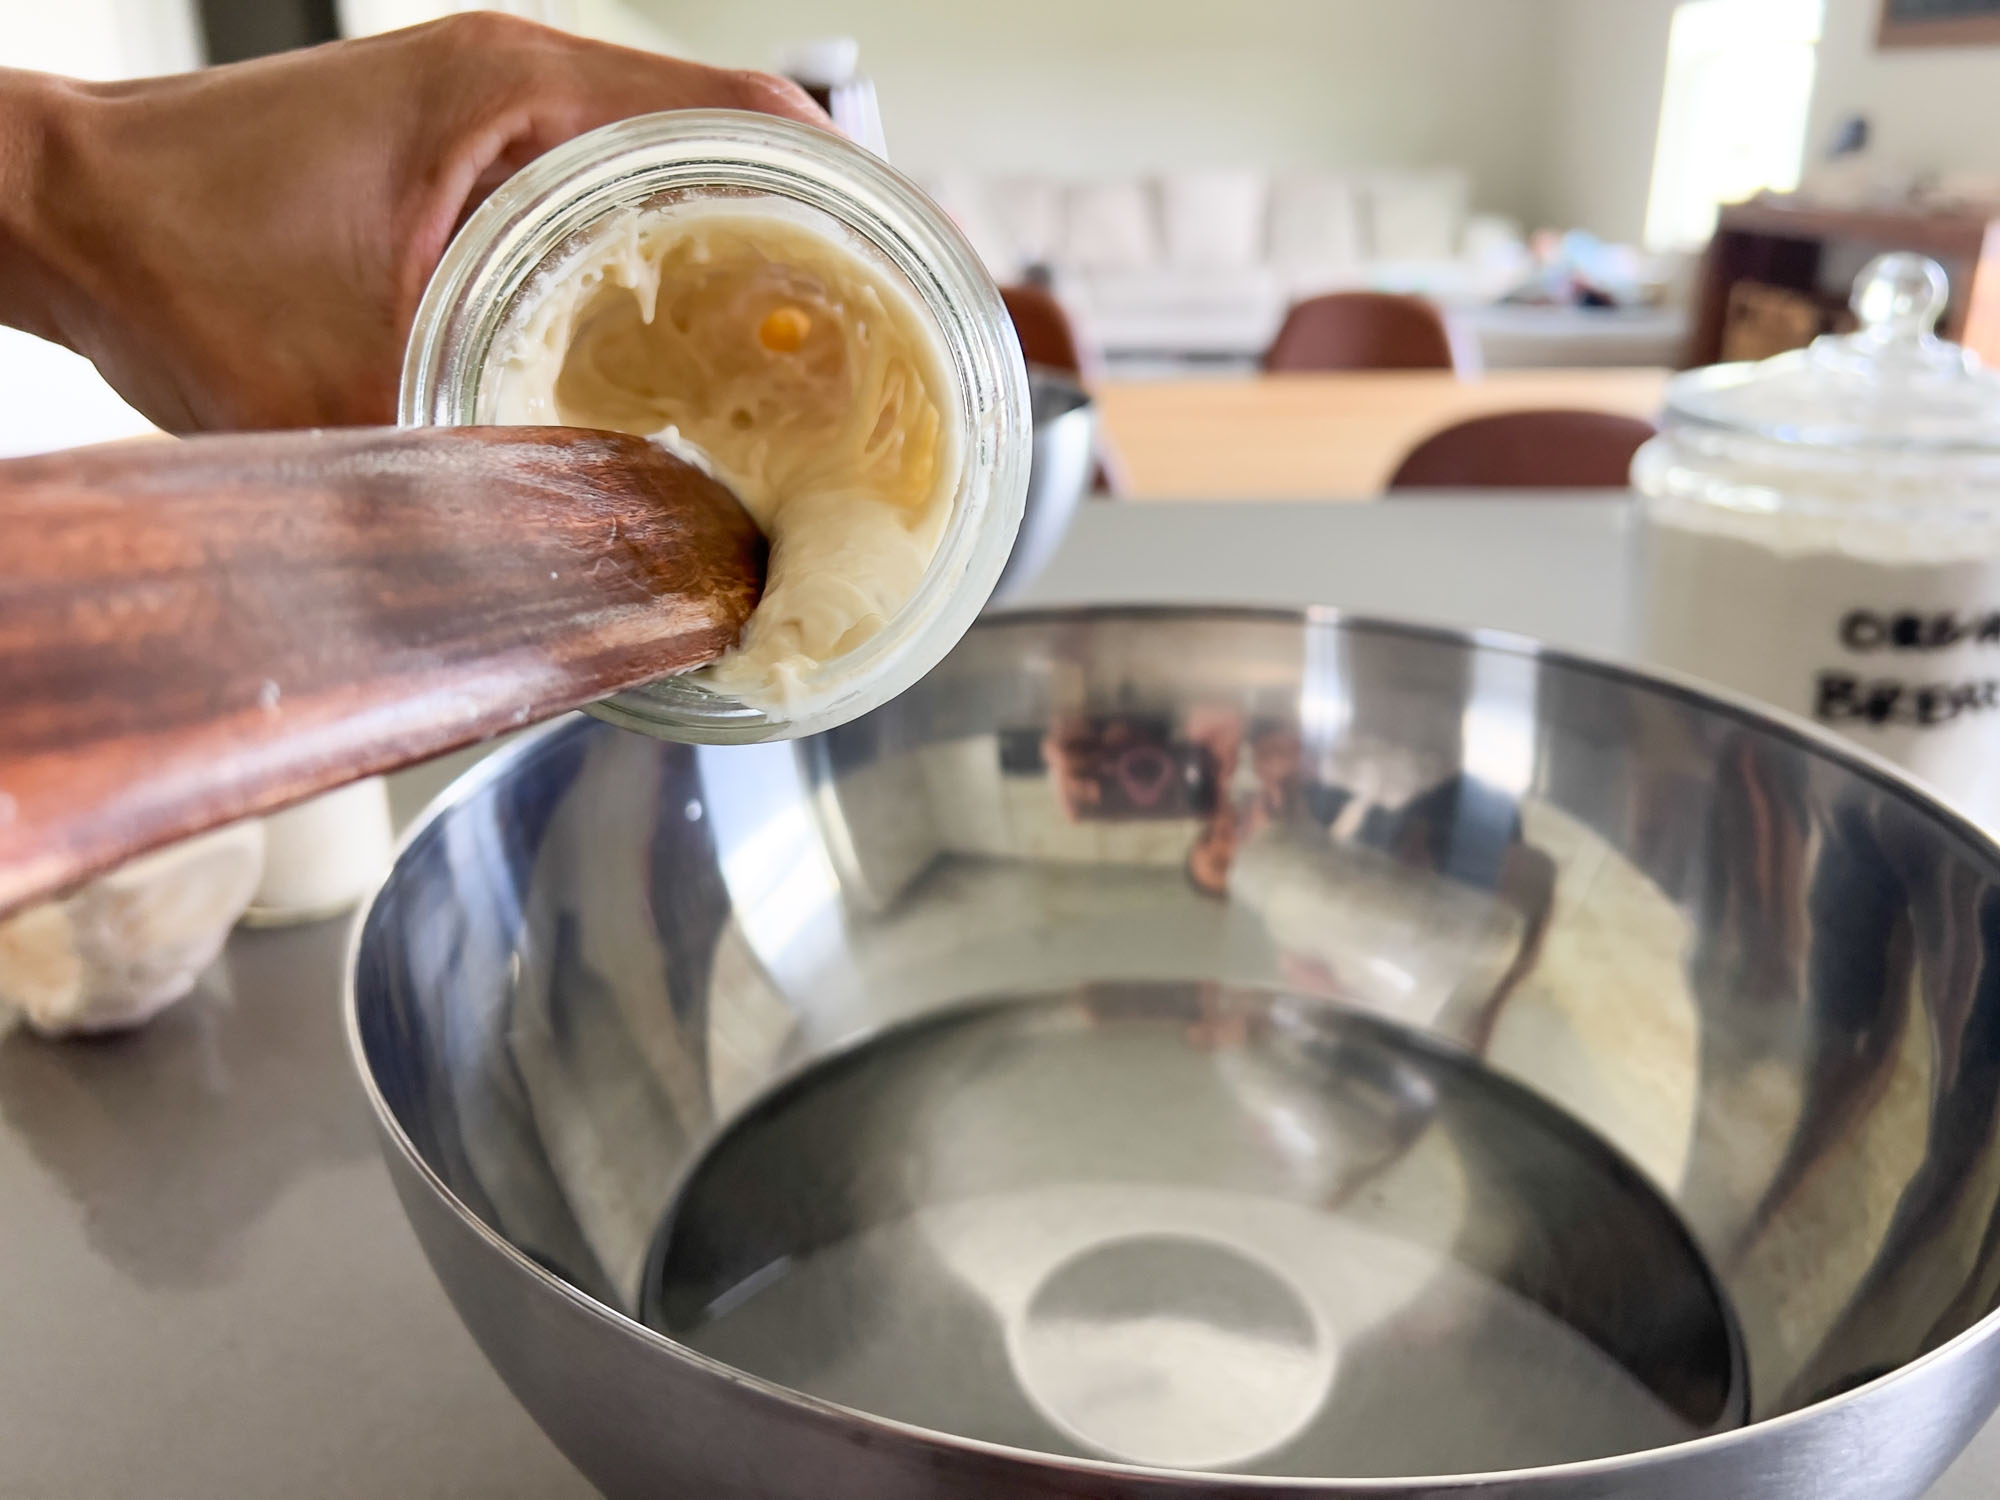
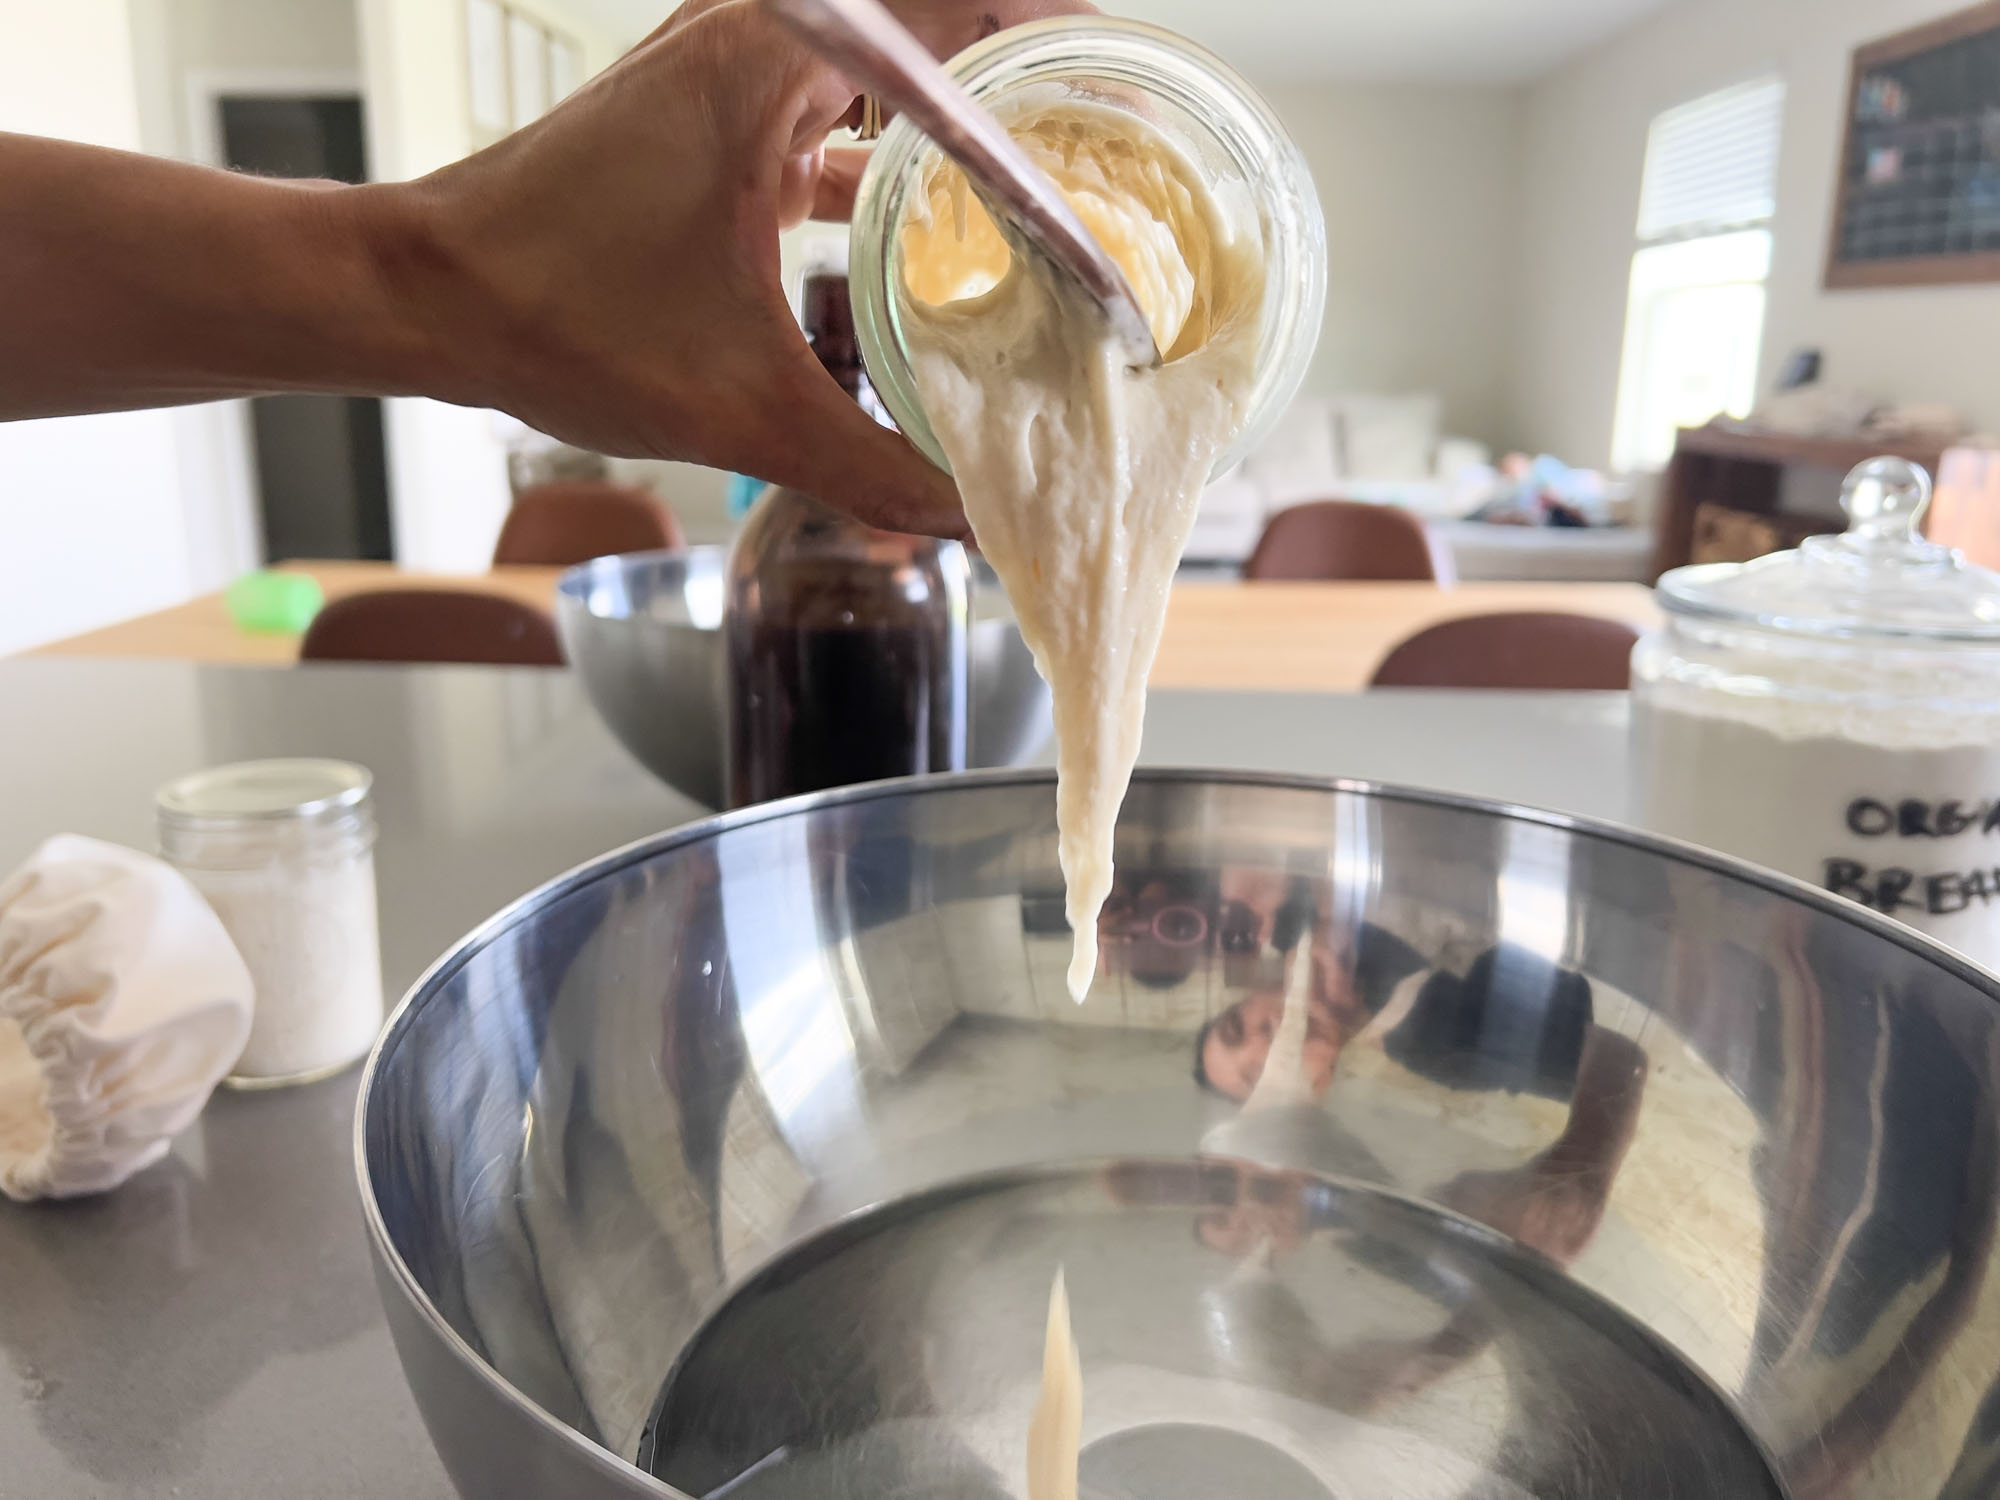
Add 50 to 100 grams of sourdough starter. Choosing between 50 or 100 grams of sourdough starter depends on factors like recipe preferences, desired fermentation time, and flavor goals. It’s a matter of personal choice and experimentation. I’ve tried both 50 and 100 grams, and both have given me great results. For beginners, start with 50 grams and then try 100 grams next time. Experiment to find your preference in terms of taste and the overall baking process.
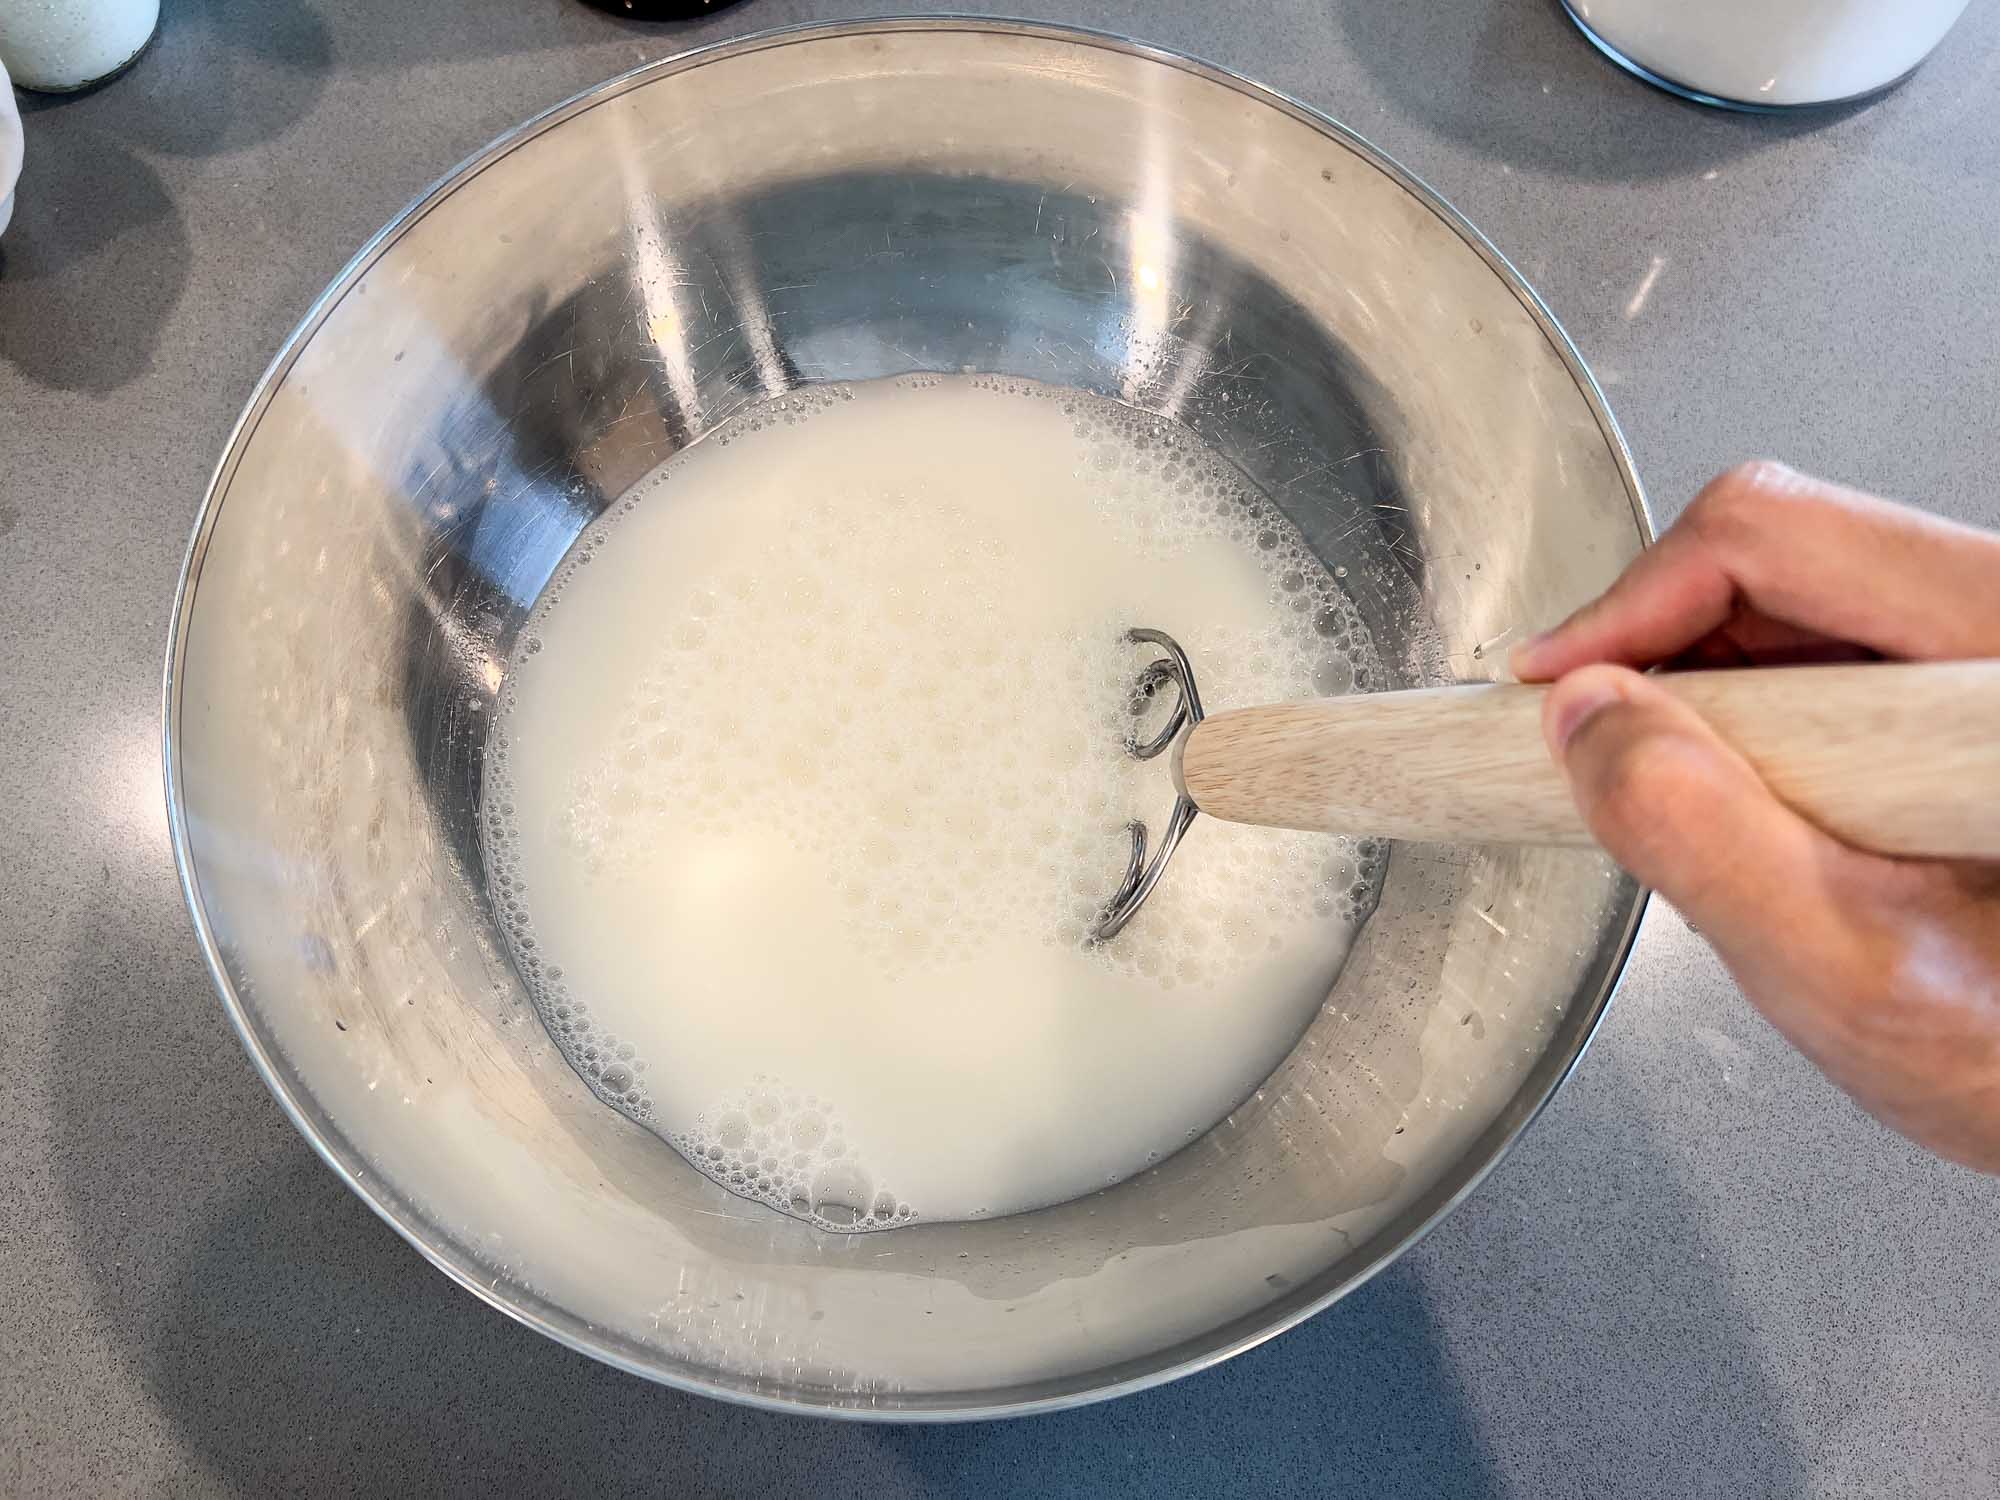
Grab your dough whisk or a dedicated mixing tool, stir to combine, and then add 11 grams of salt.
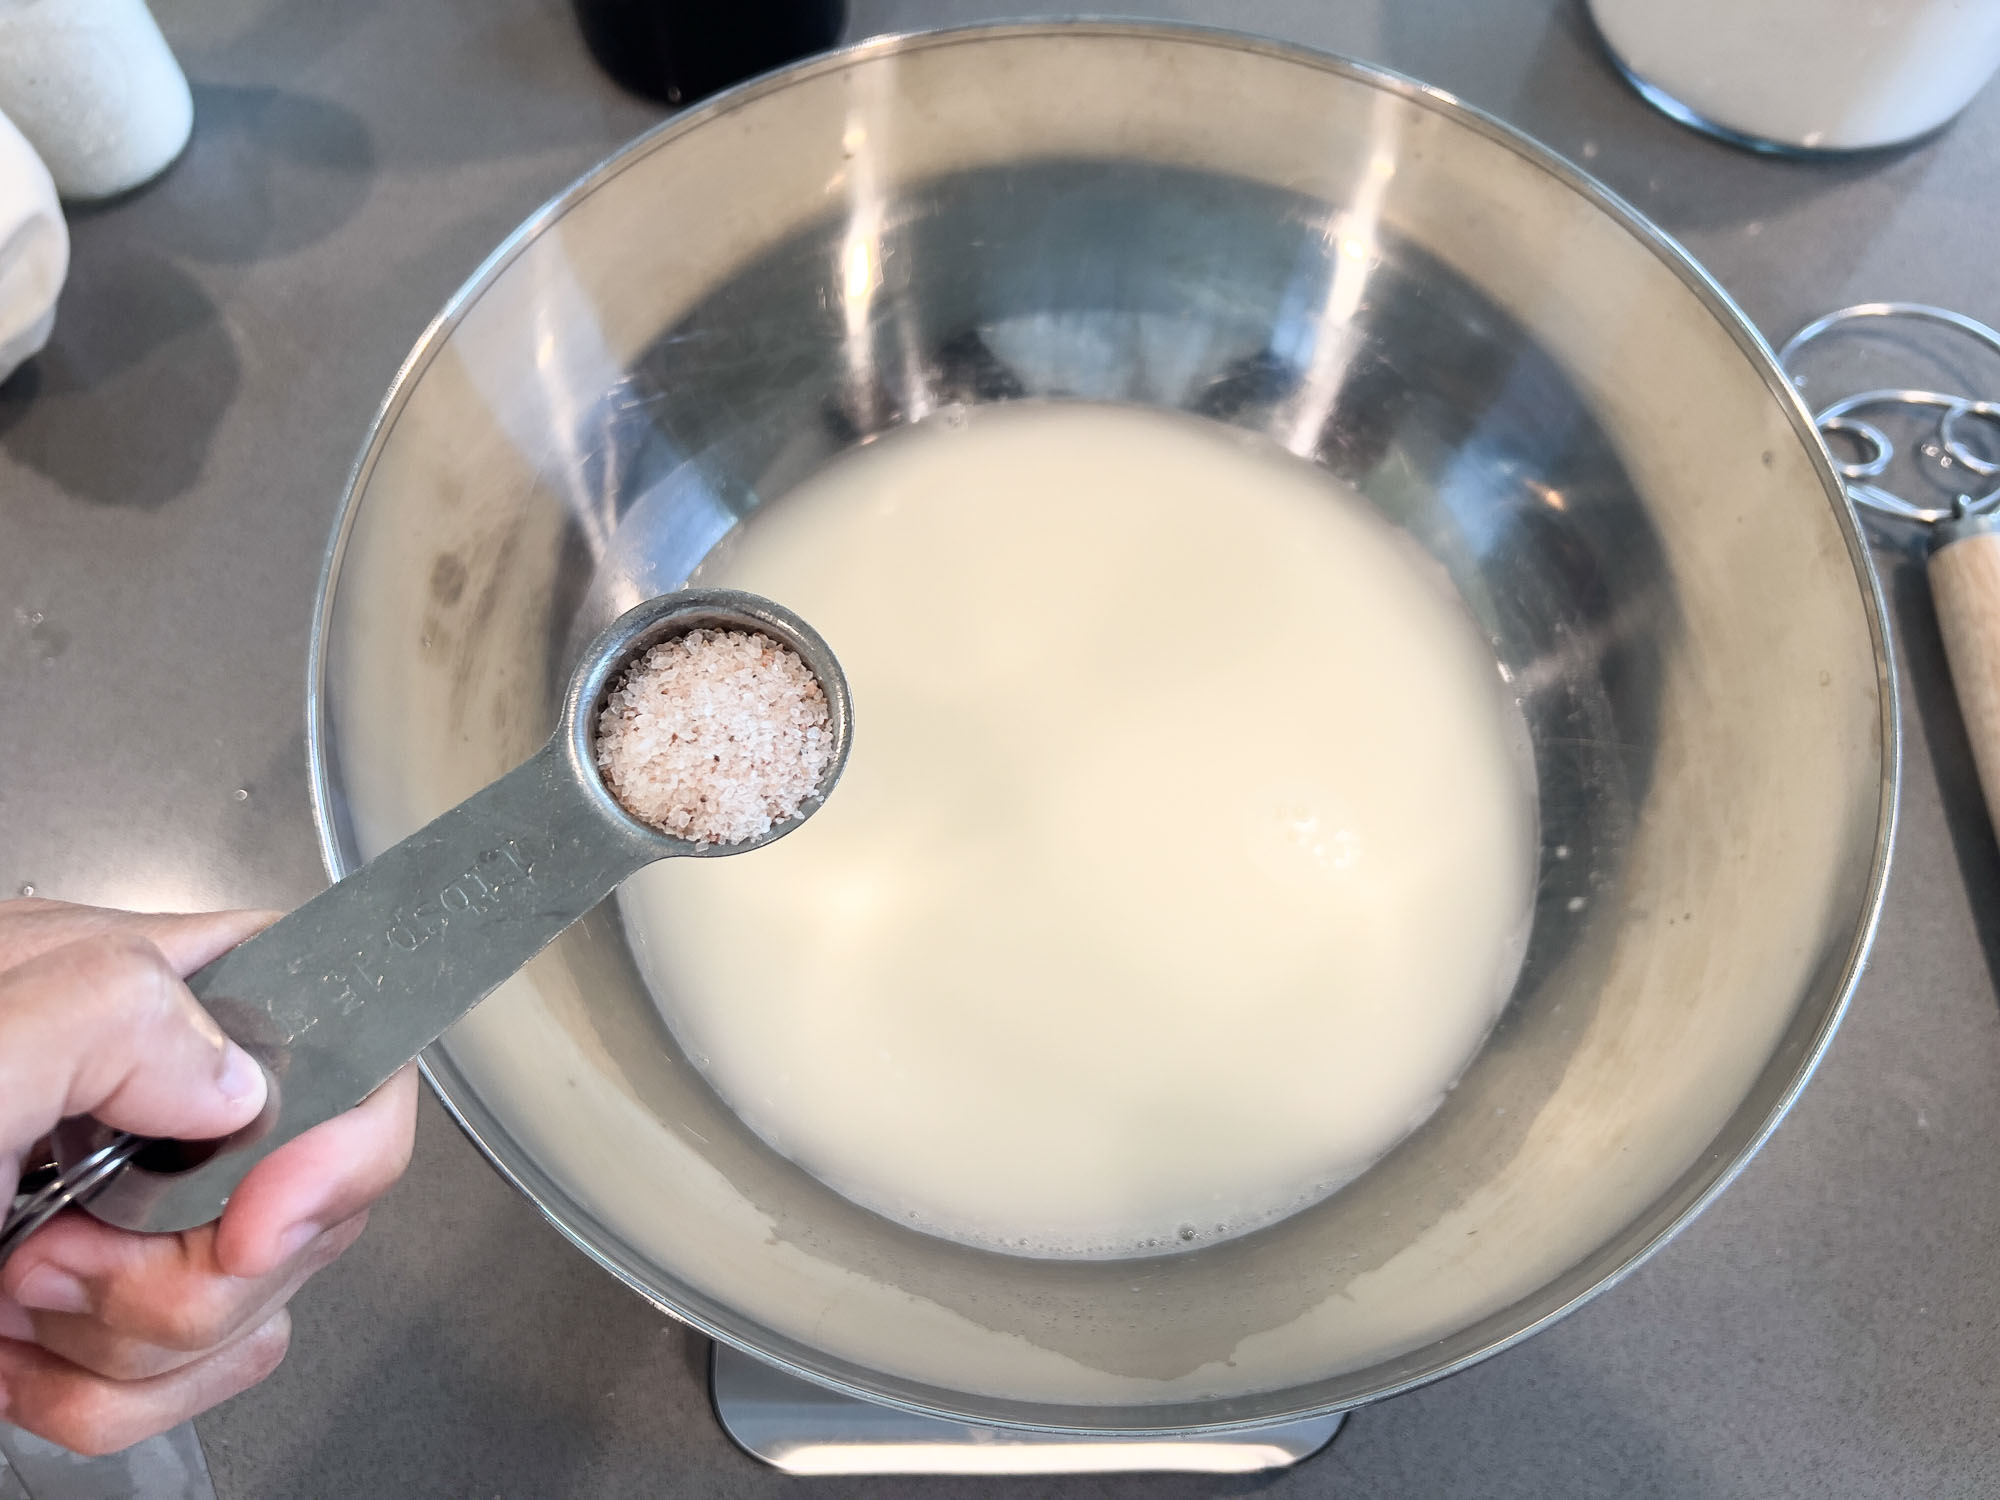
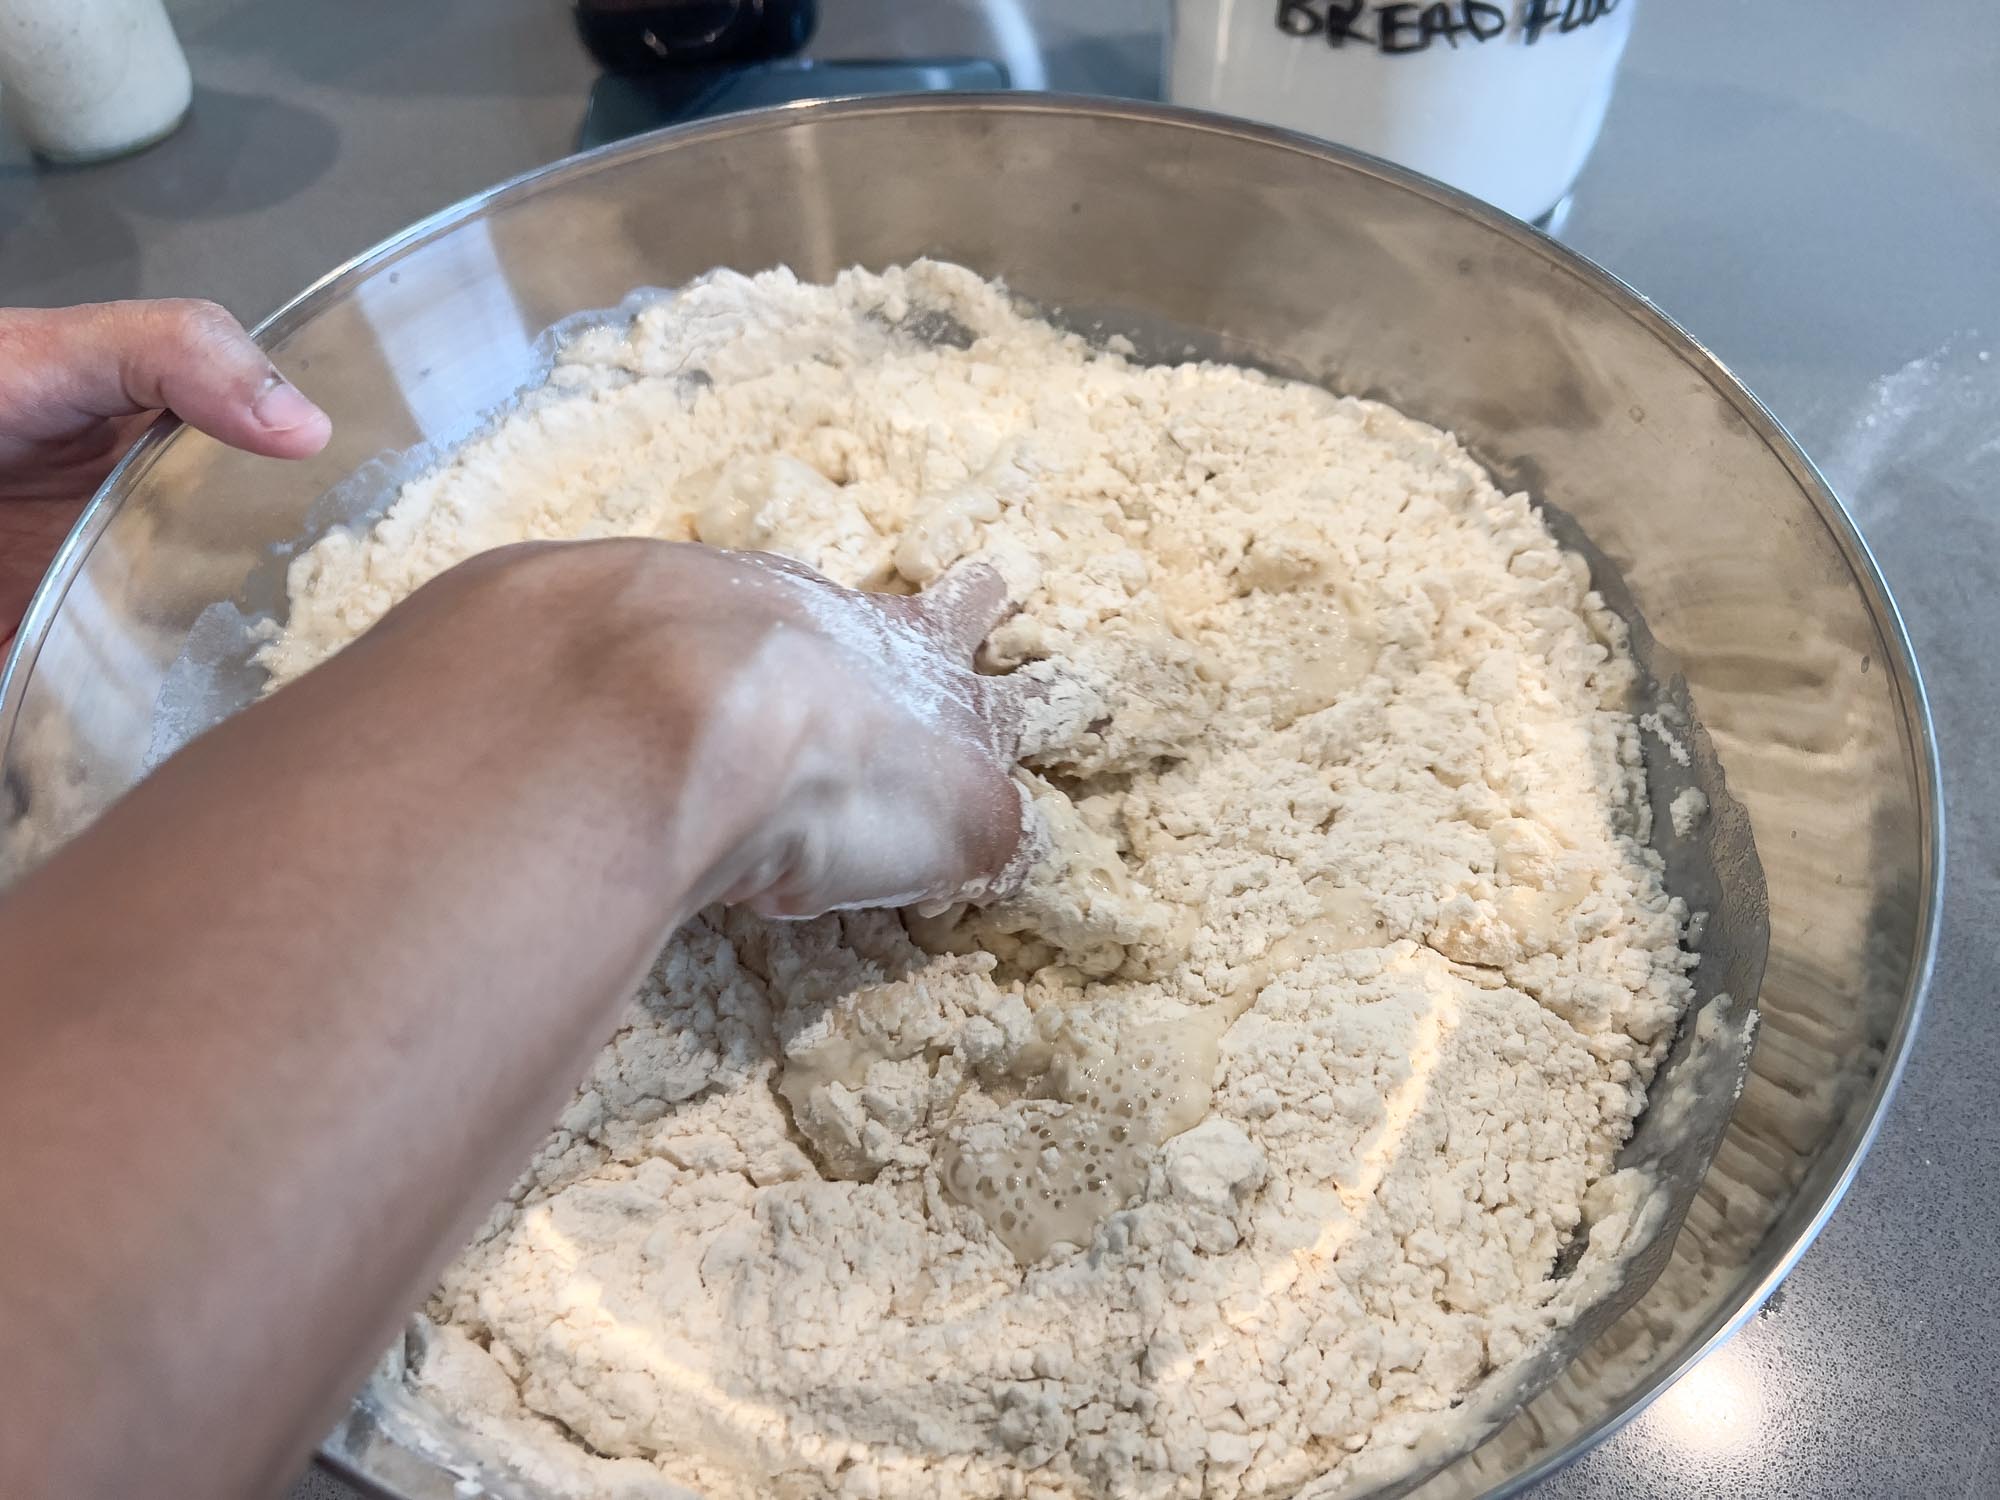
Add 500 grams of bread flour.
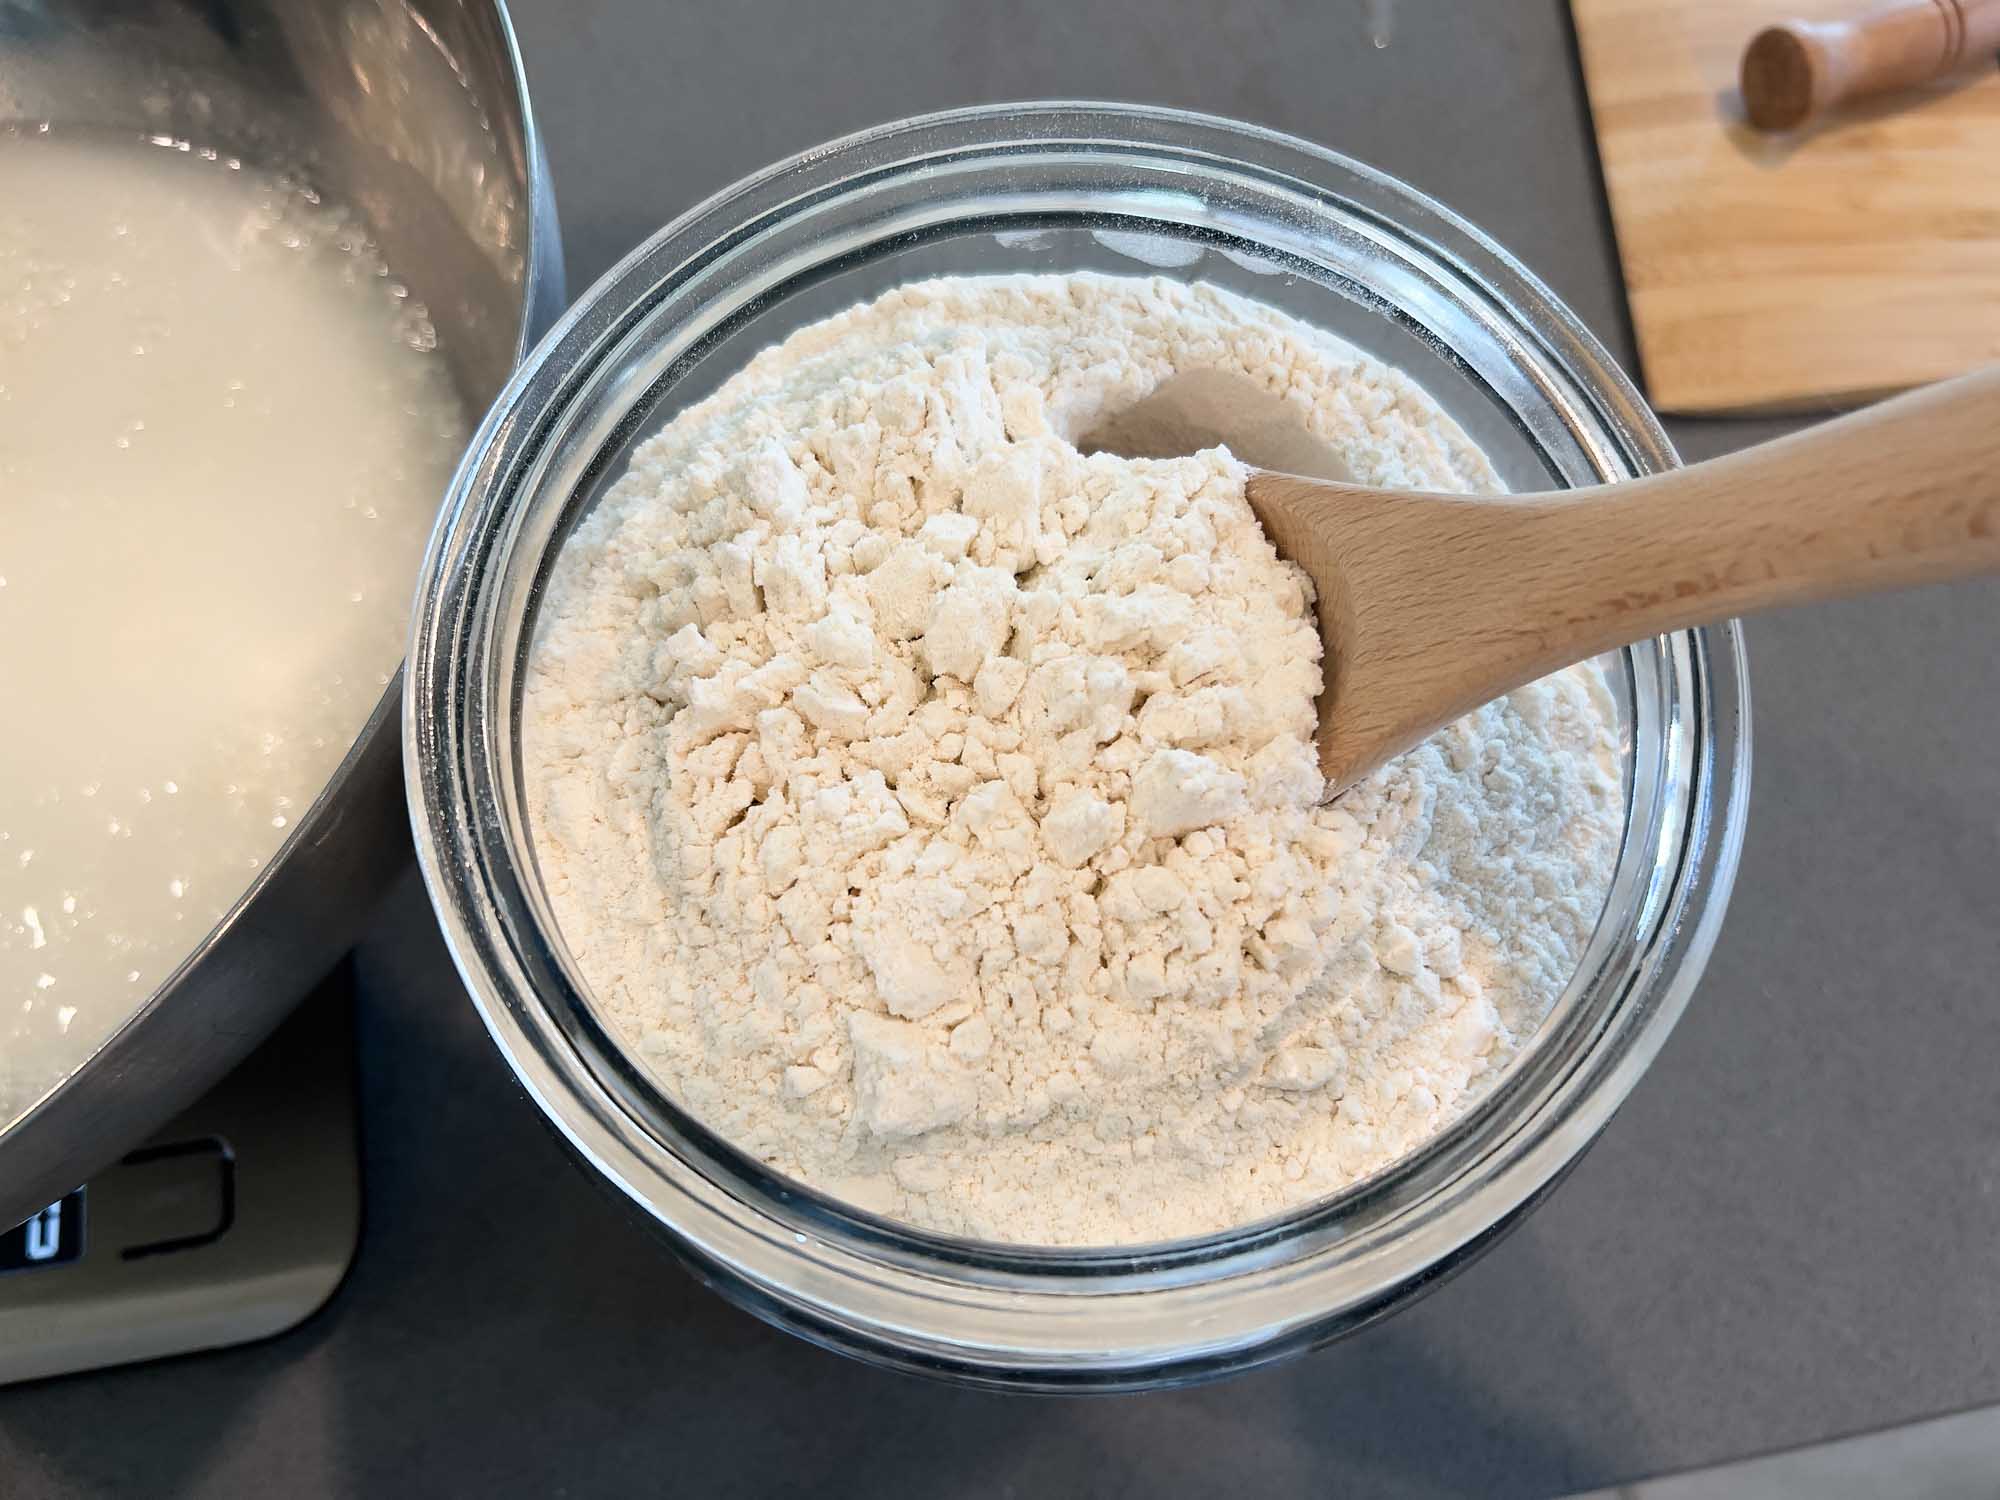
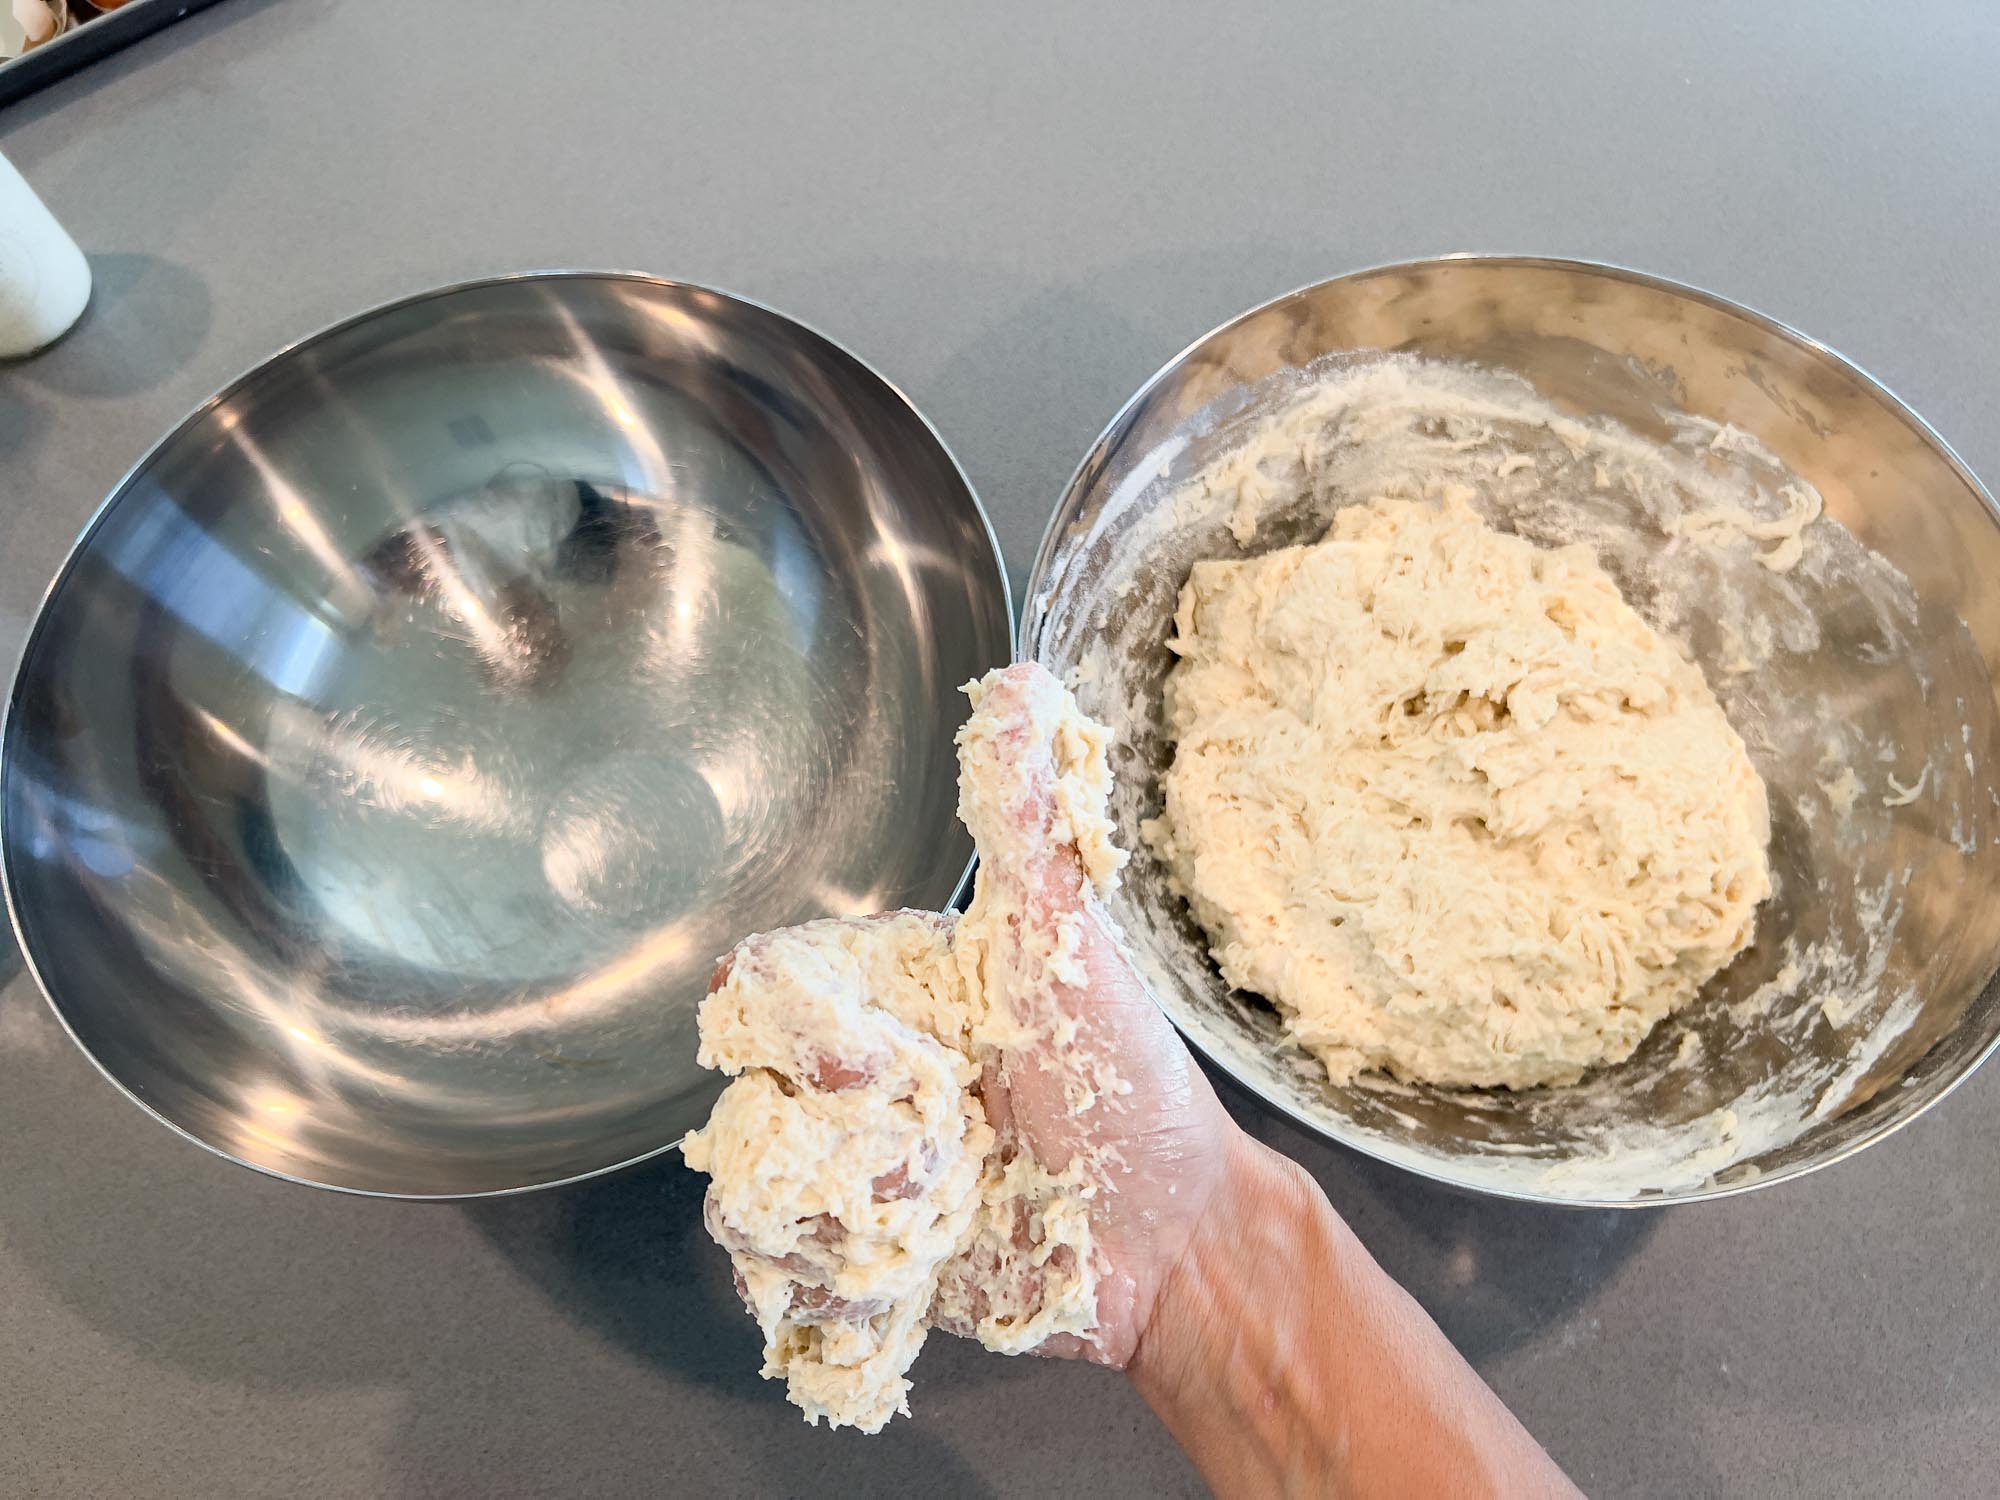
Stir to combine. Personally, I prefer using my hand, but feel free to use a stand mixer or your dough whisk.
Bulk Fermentation
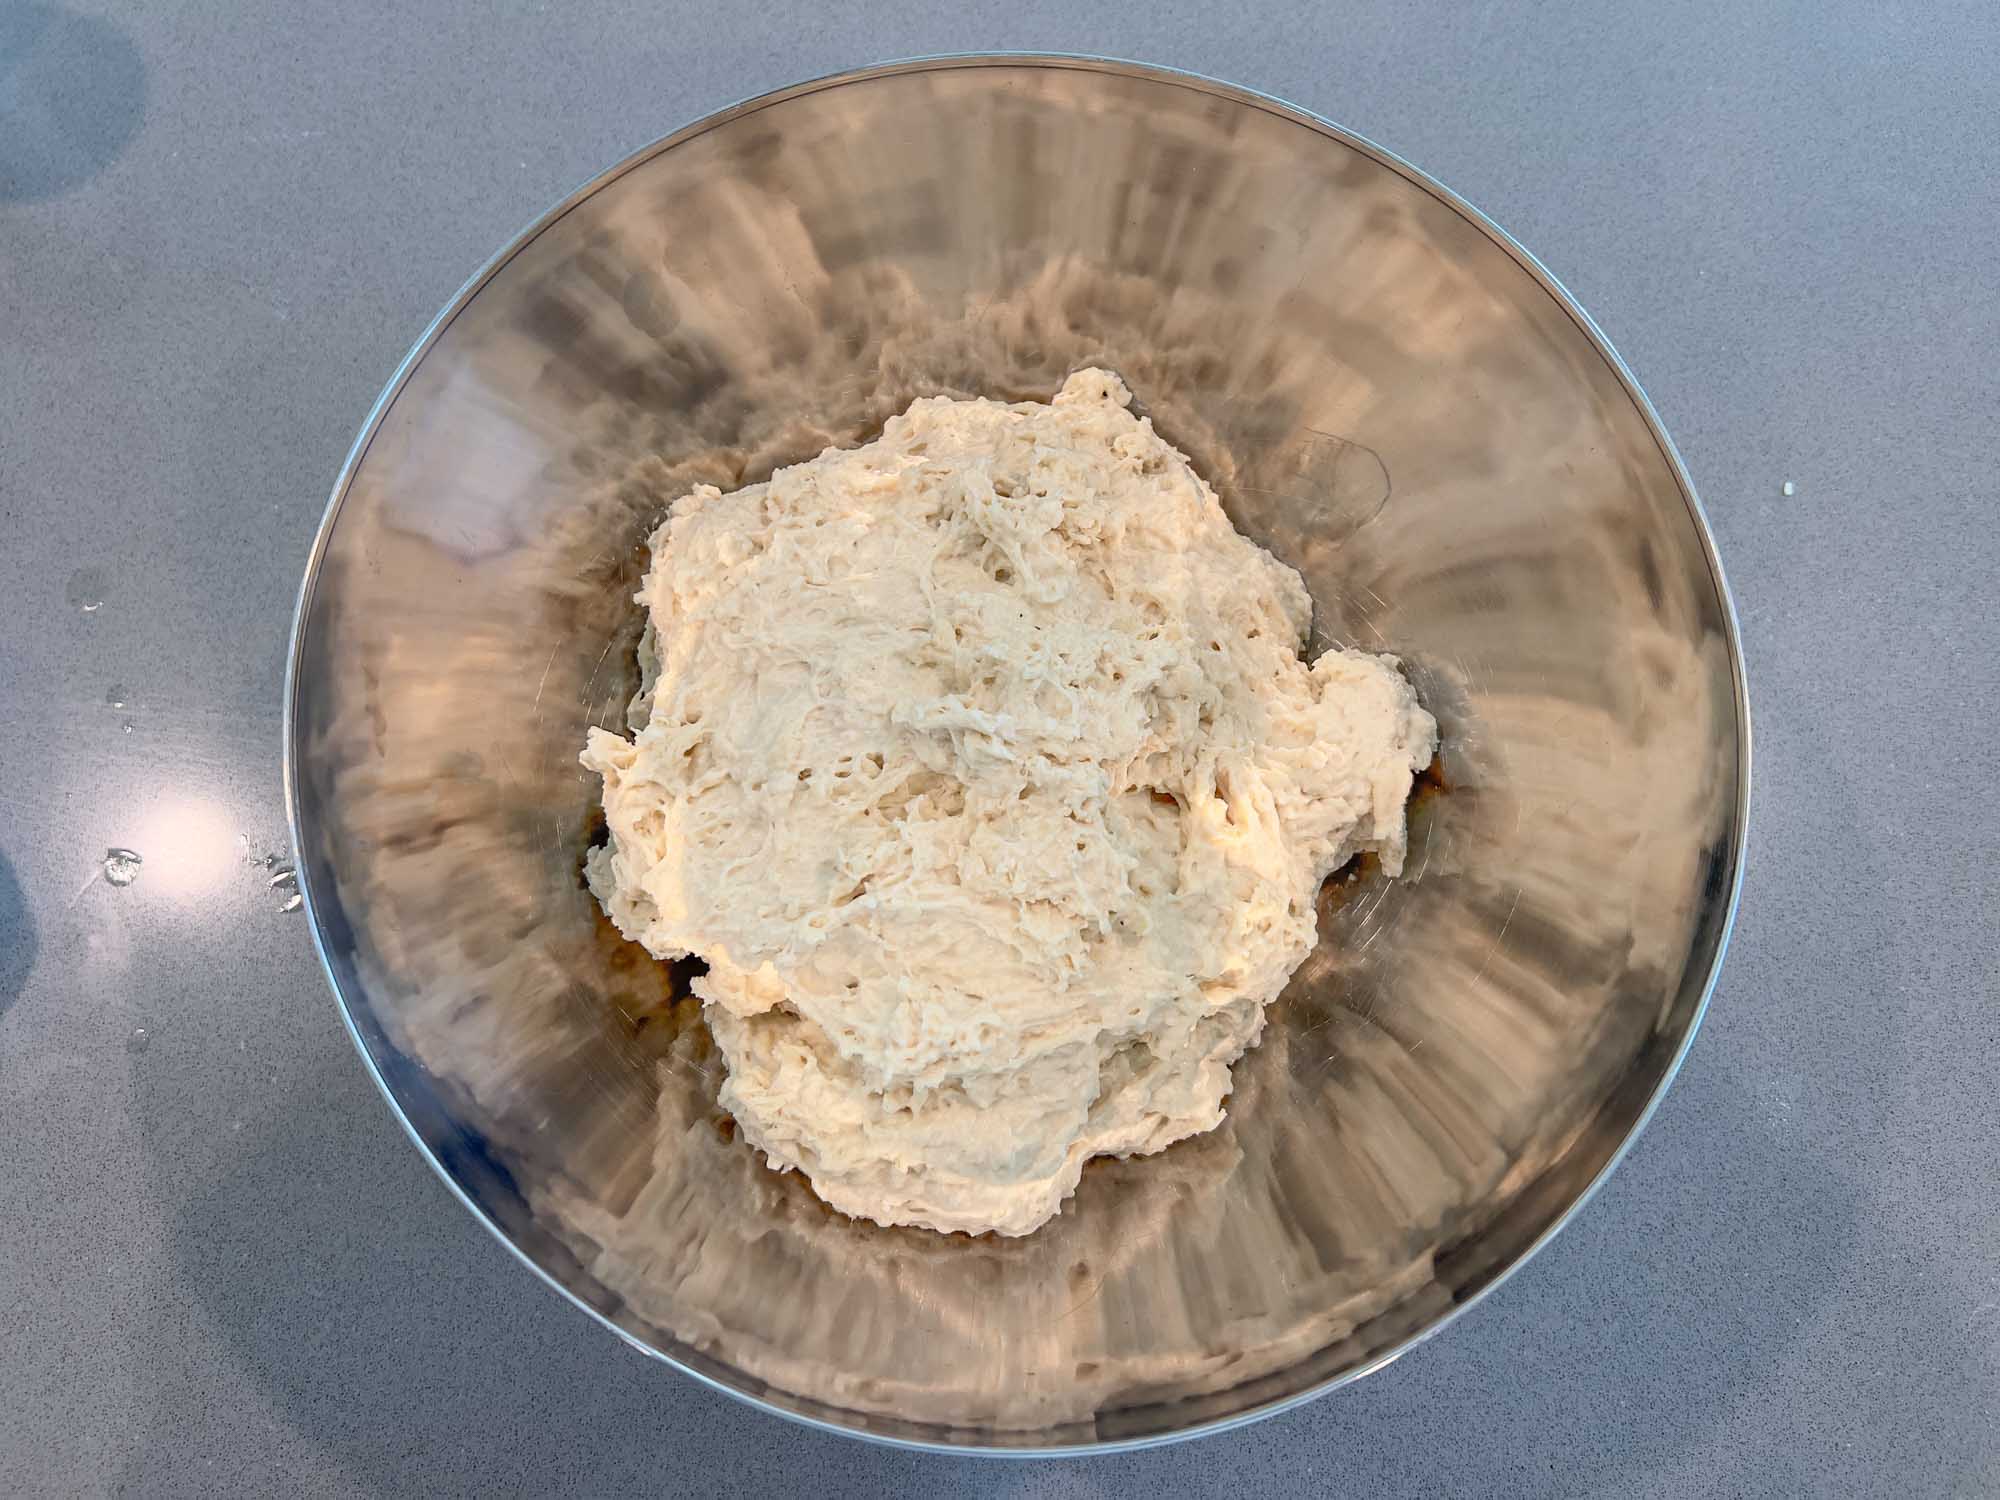
Now, we’re going to let it rise.
During this process, the dough undergoes fermentation, where the yeast in the sourdough starter consumes sugars in the flour, producing carbon dioxide gas. This gas gets trapped in the gluten network of the dough, causing it to expand and rise. Additionally, the enzymes in the flour break down complex carbohydrates into simpler sugars, which contribute to flavor development. This rising period allows the dough to develop its characteristic texture, flavor, and structure.
Now cover it, and let it rest for 30 minutes.
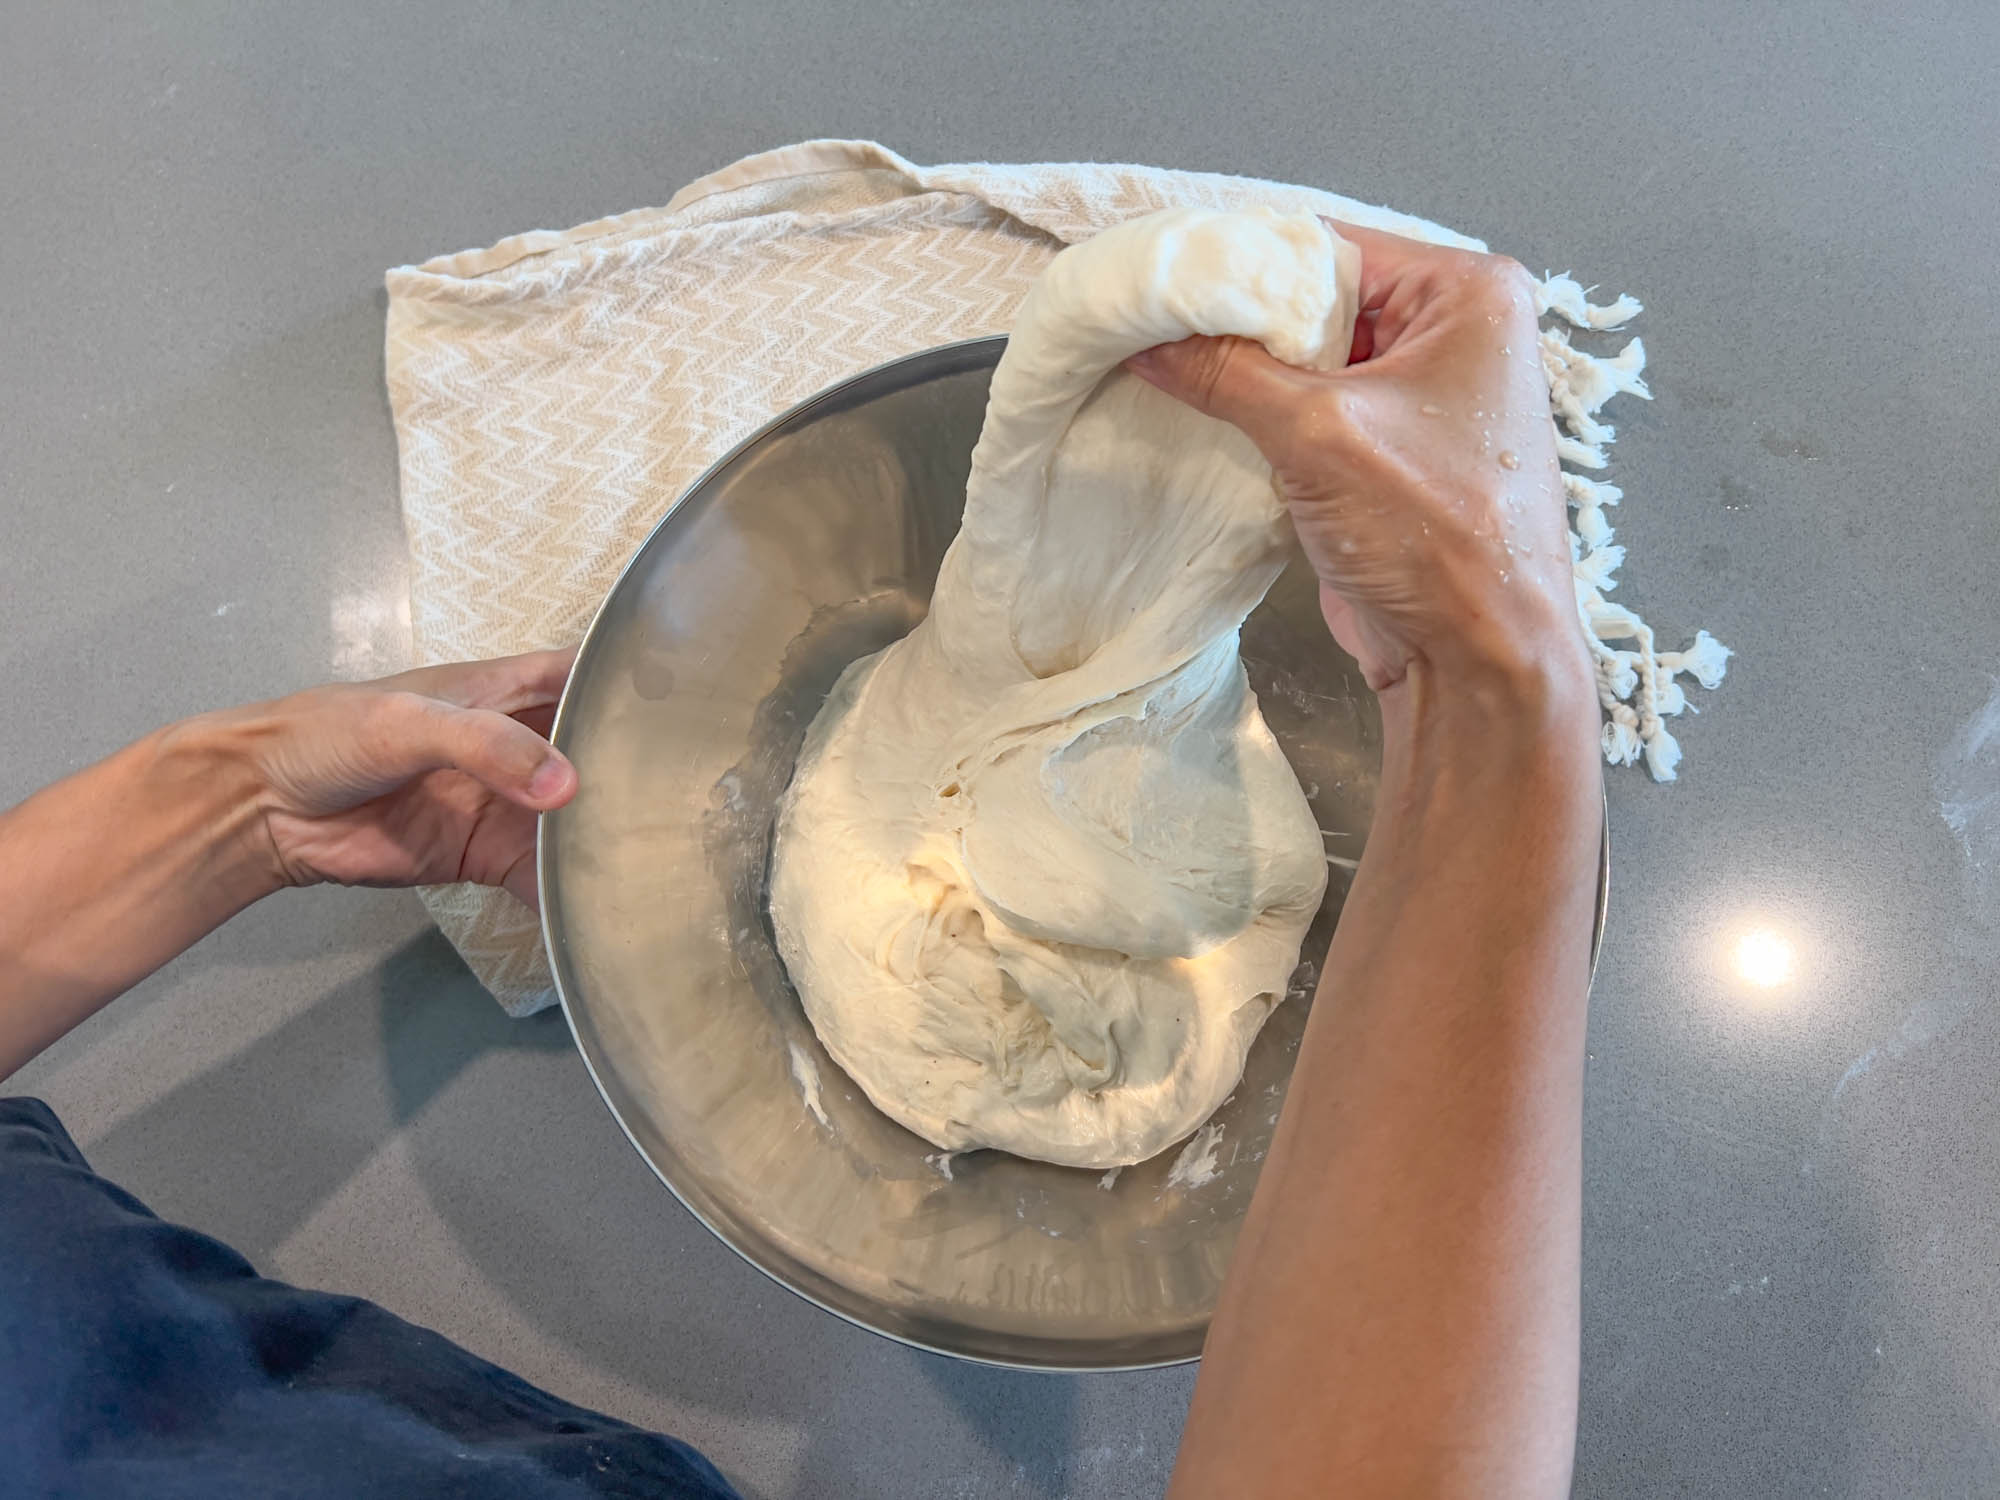
Conduct A Series of Stretch and Folds.
What are Stretch and Folds?
Stretch and folds are a technique used in bread-making to develop gluten and improve the structure of the dough. During this process, you gently stretch out a portion of the dough and then fold it over itself. This action helps to align the gluten strands, which strengthens the dough and traps gas produced by fermentation, resulting in better rise and texture in the final bread. Stretch and folds also redistribute yeast and fermentation byproducts throughout the dough, promoting even fermentation and flavor development. Incorporating stretch and folds into the bread-making process contributes to a more robust and flavorful loaf.
In this recipe, you will perform a series of 4 stretch and folds every 20 minutes. This entire process takes just under an hour and a half.


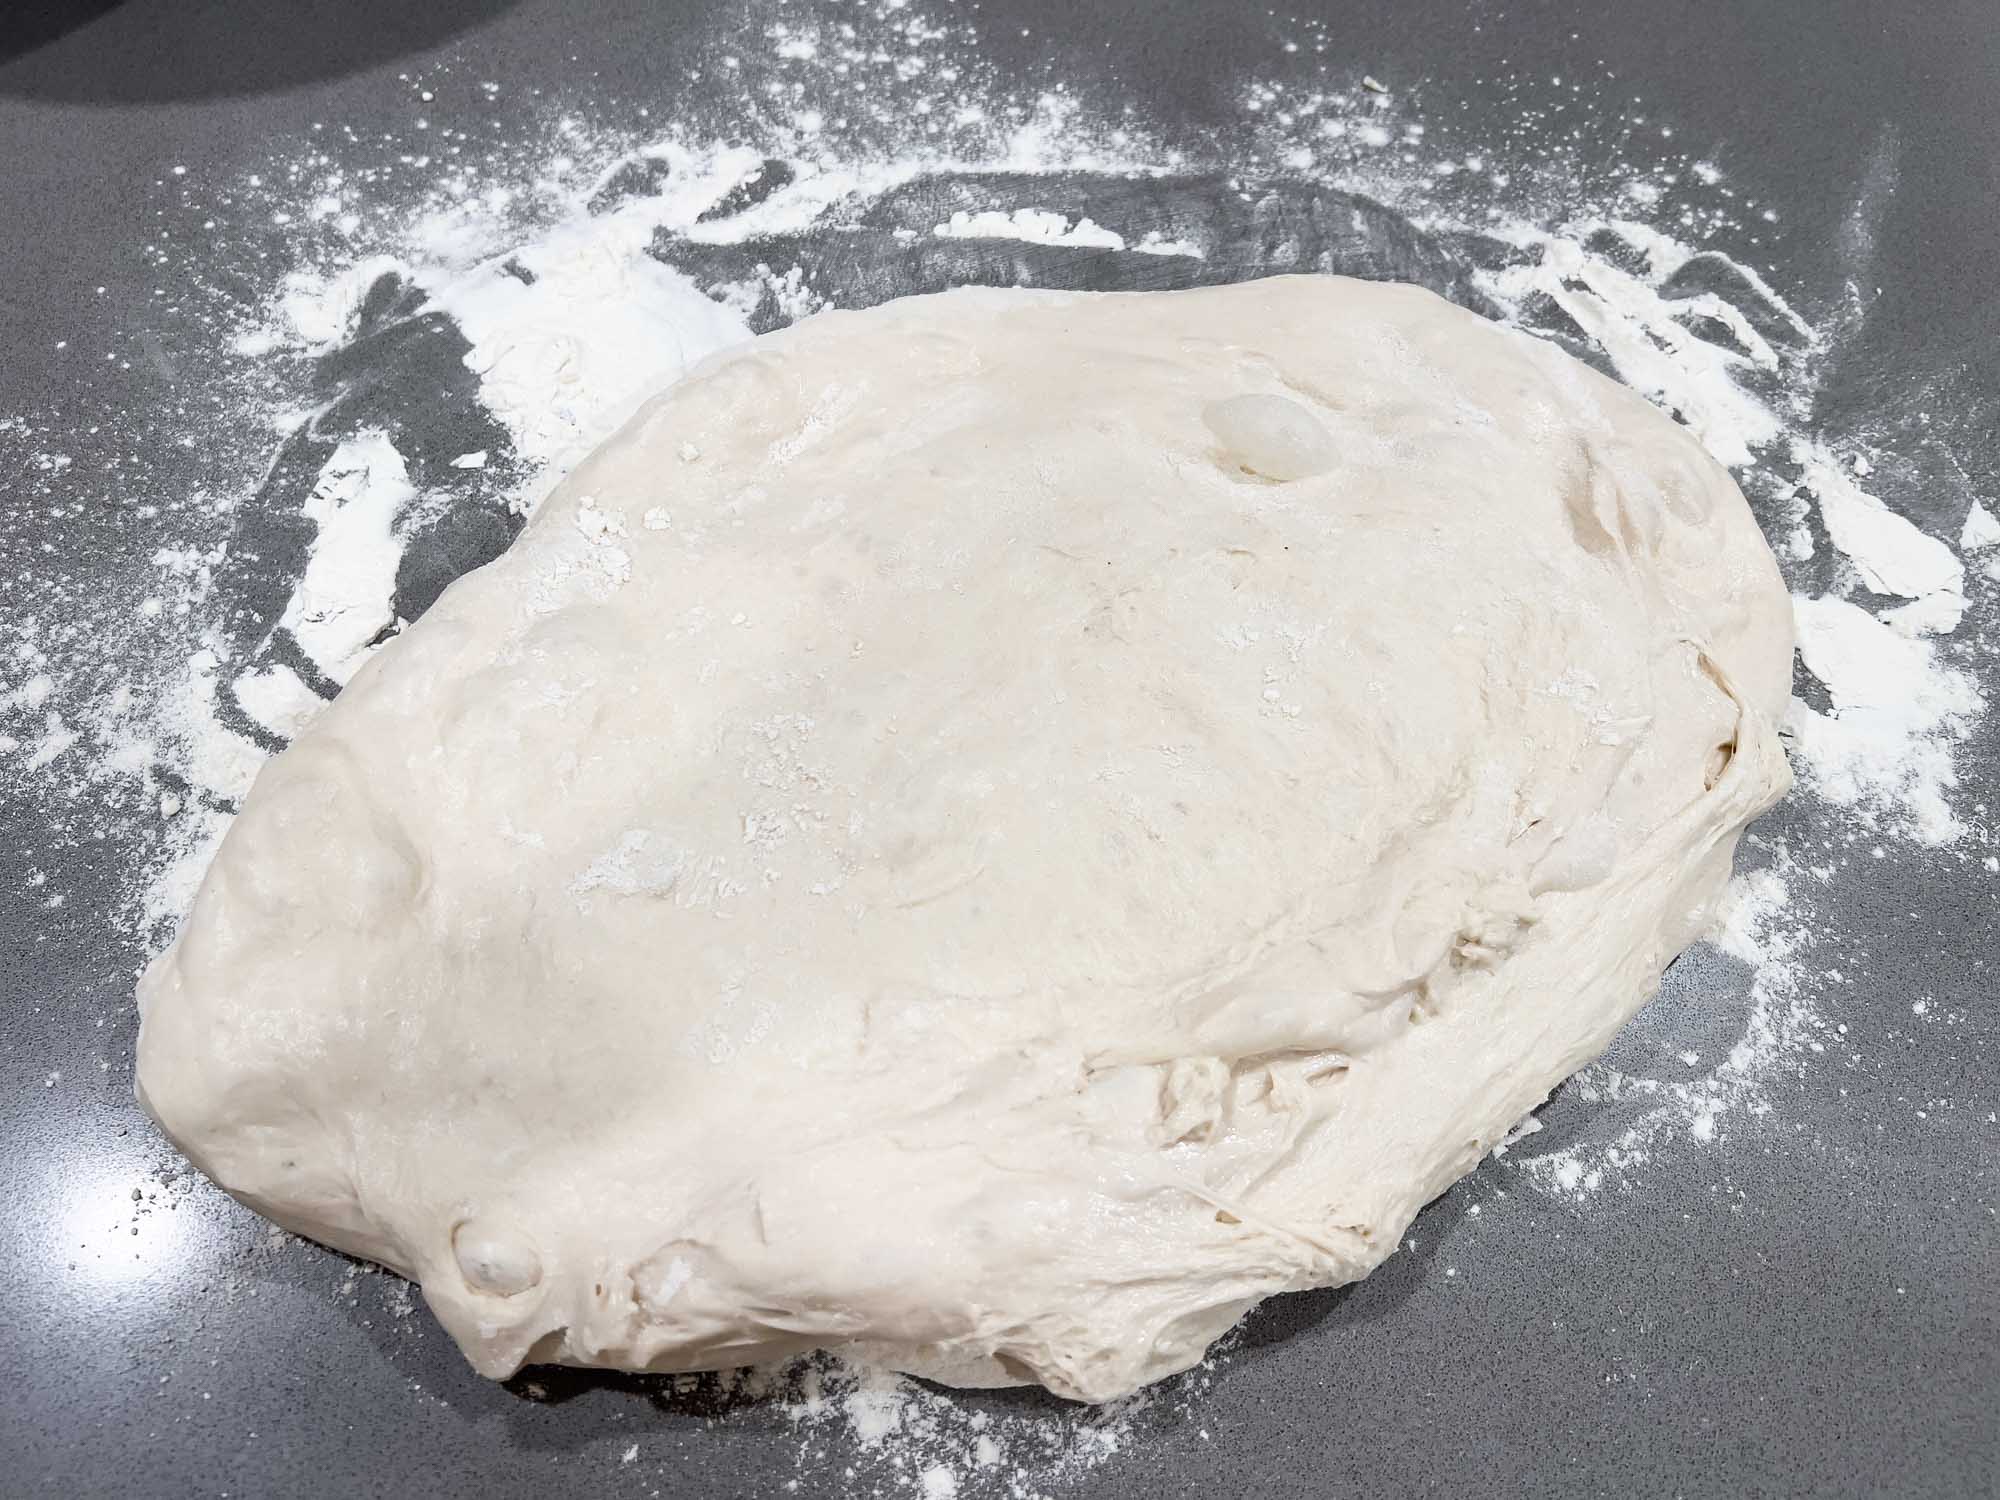
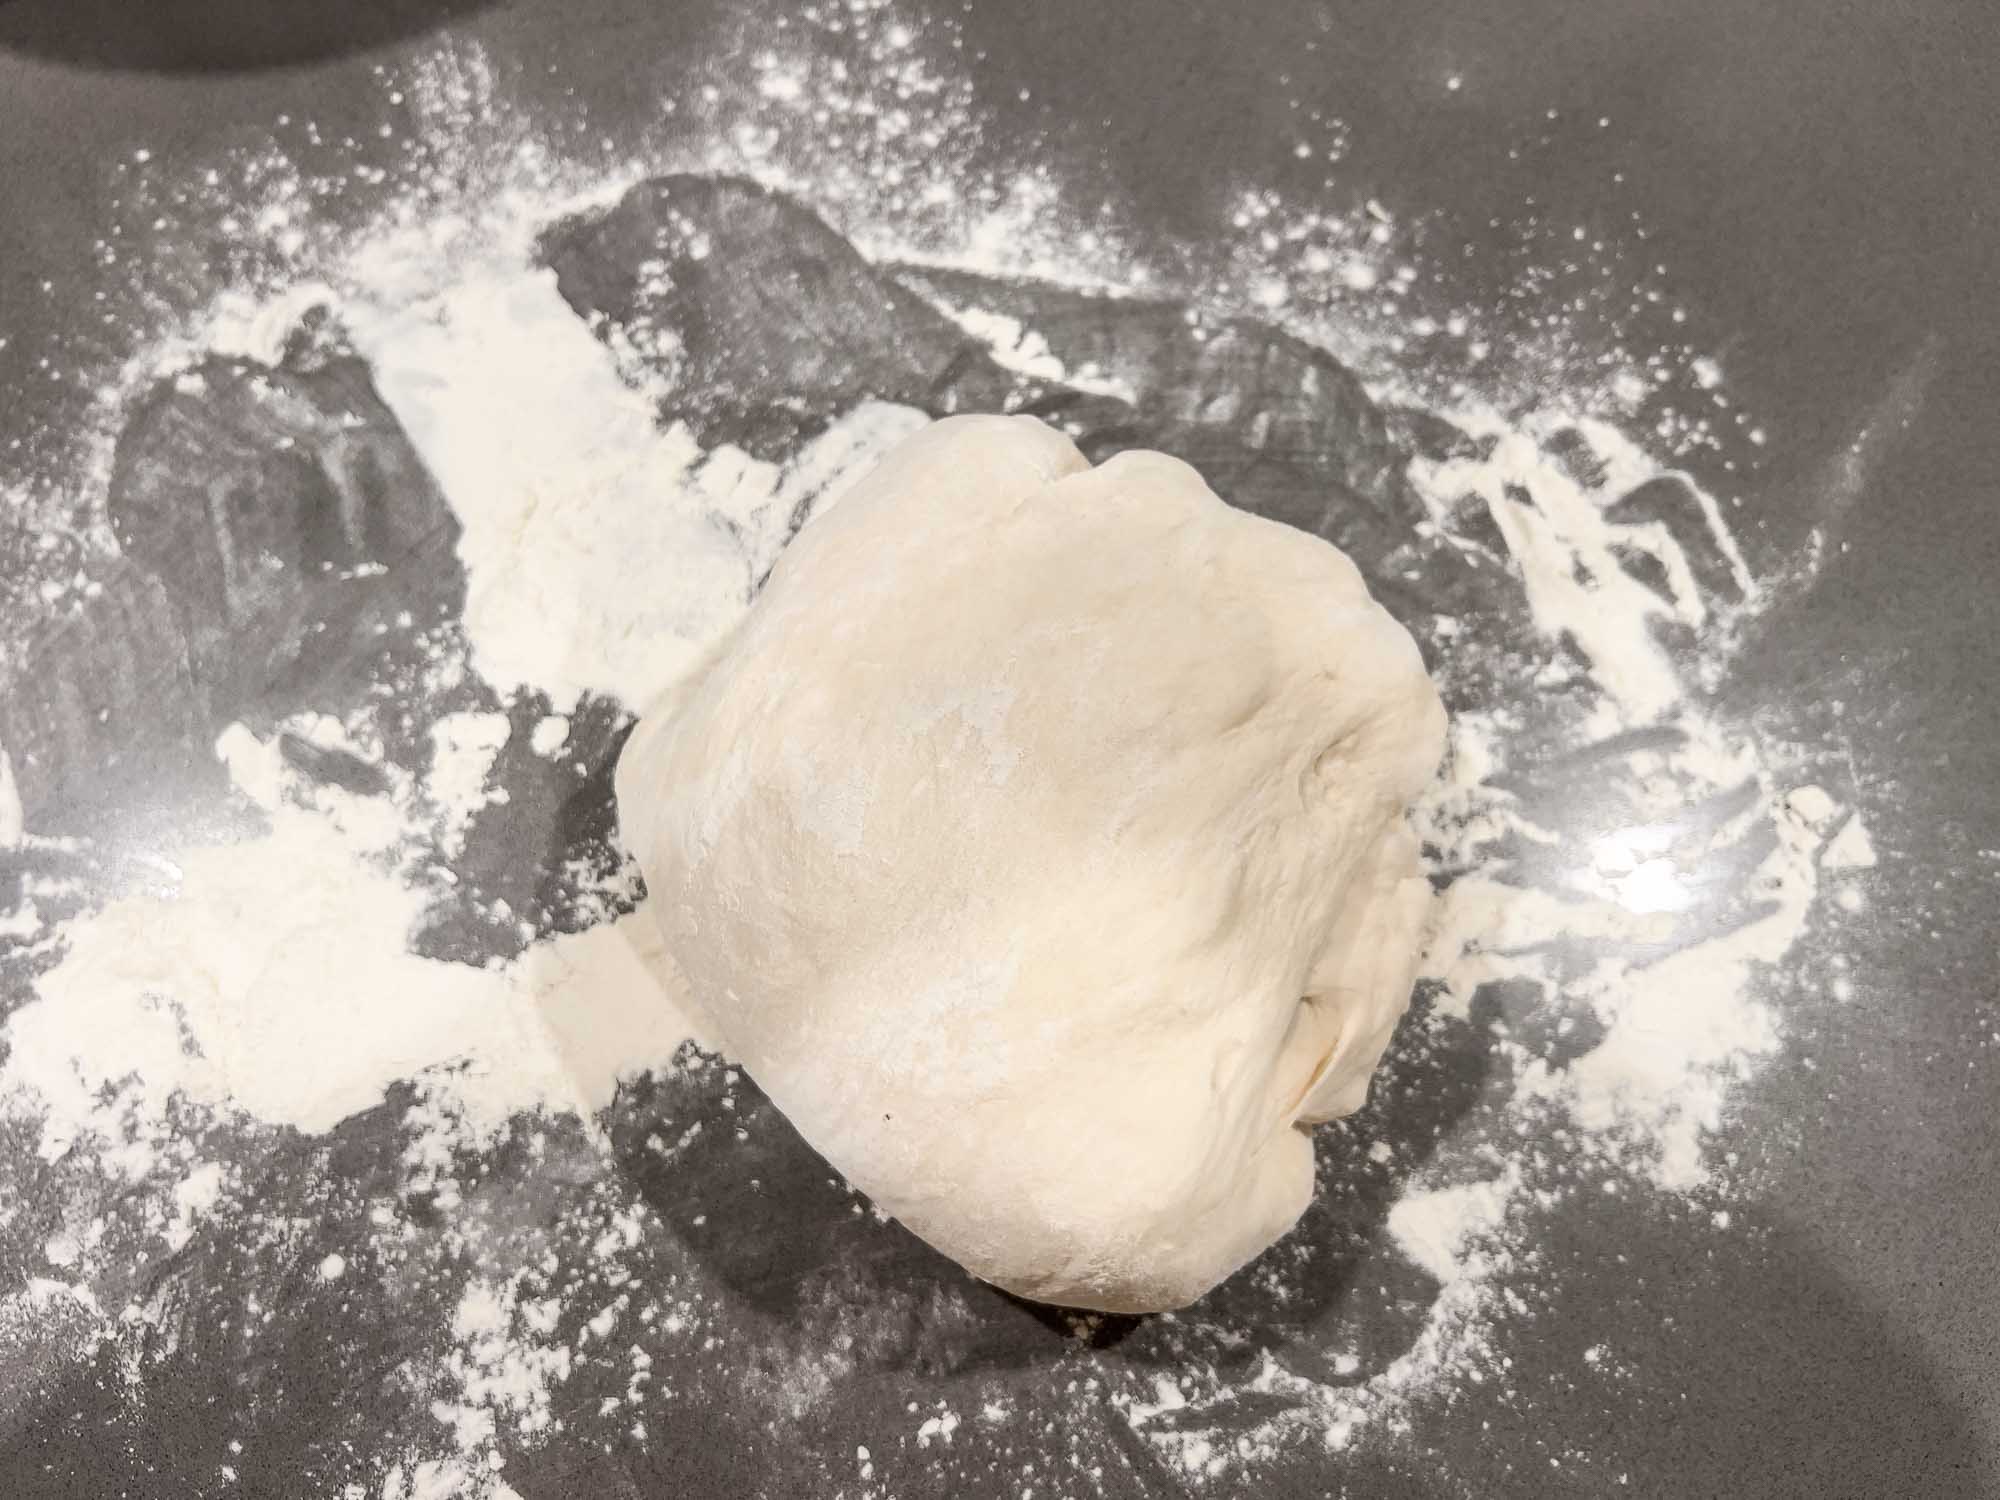
The photos above are the first stretch and fold; now, I’ll show you the second stretch and fold. Notice how the dough is changing?
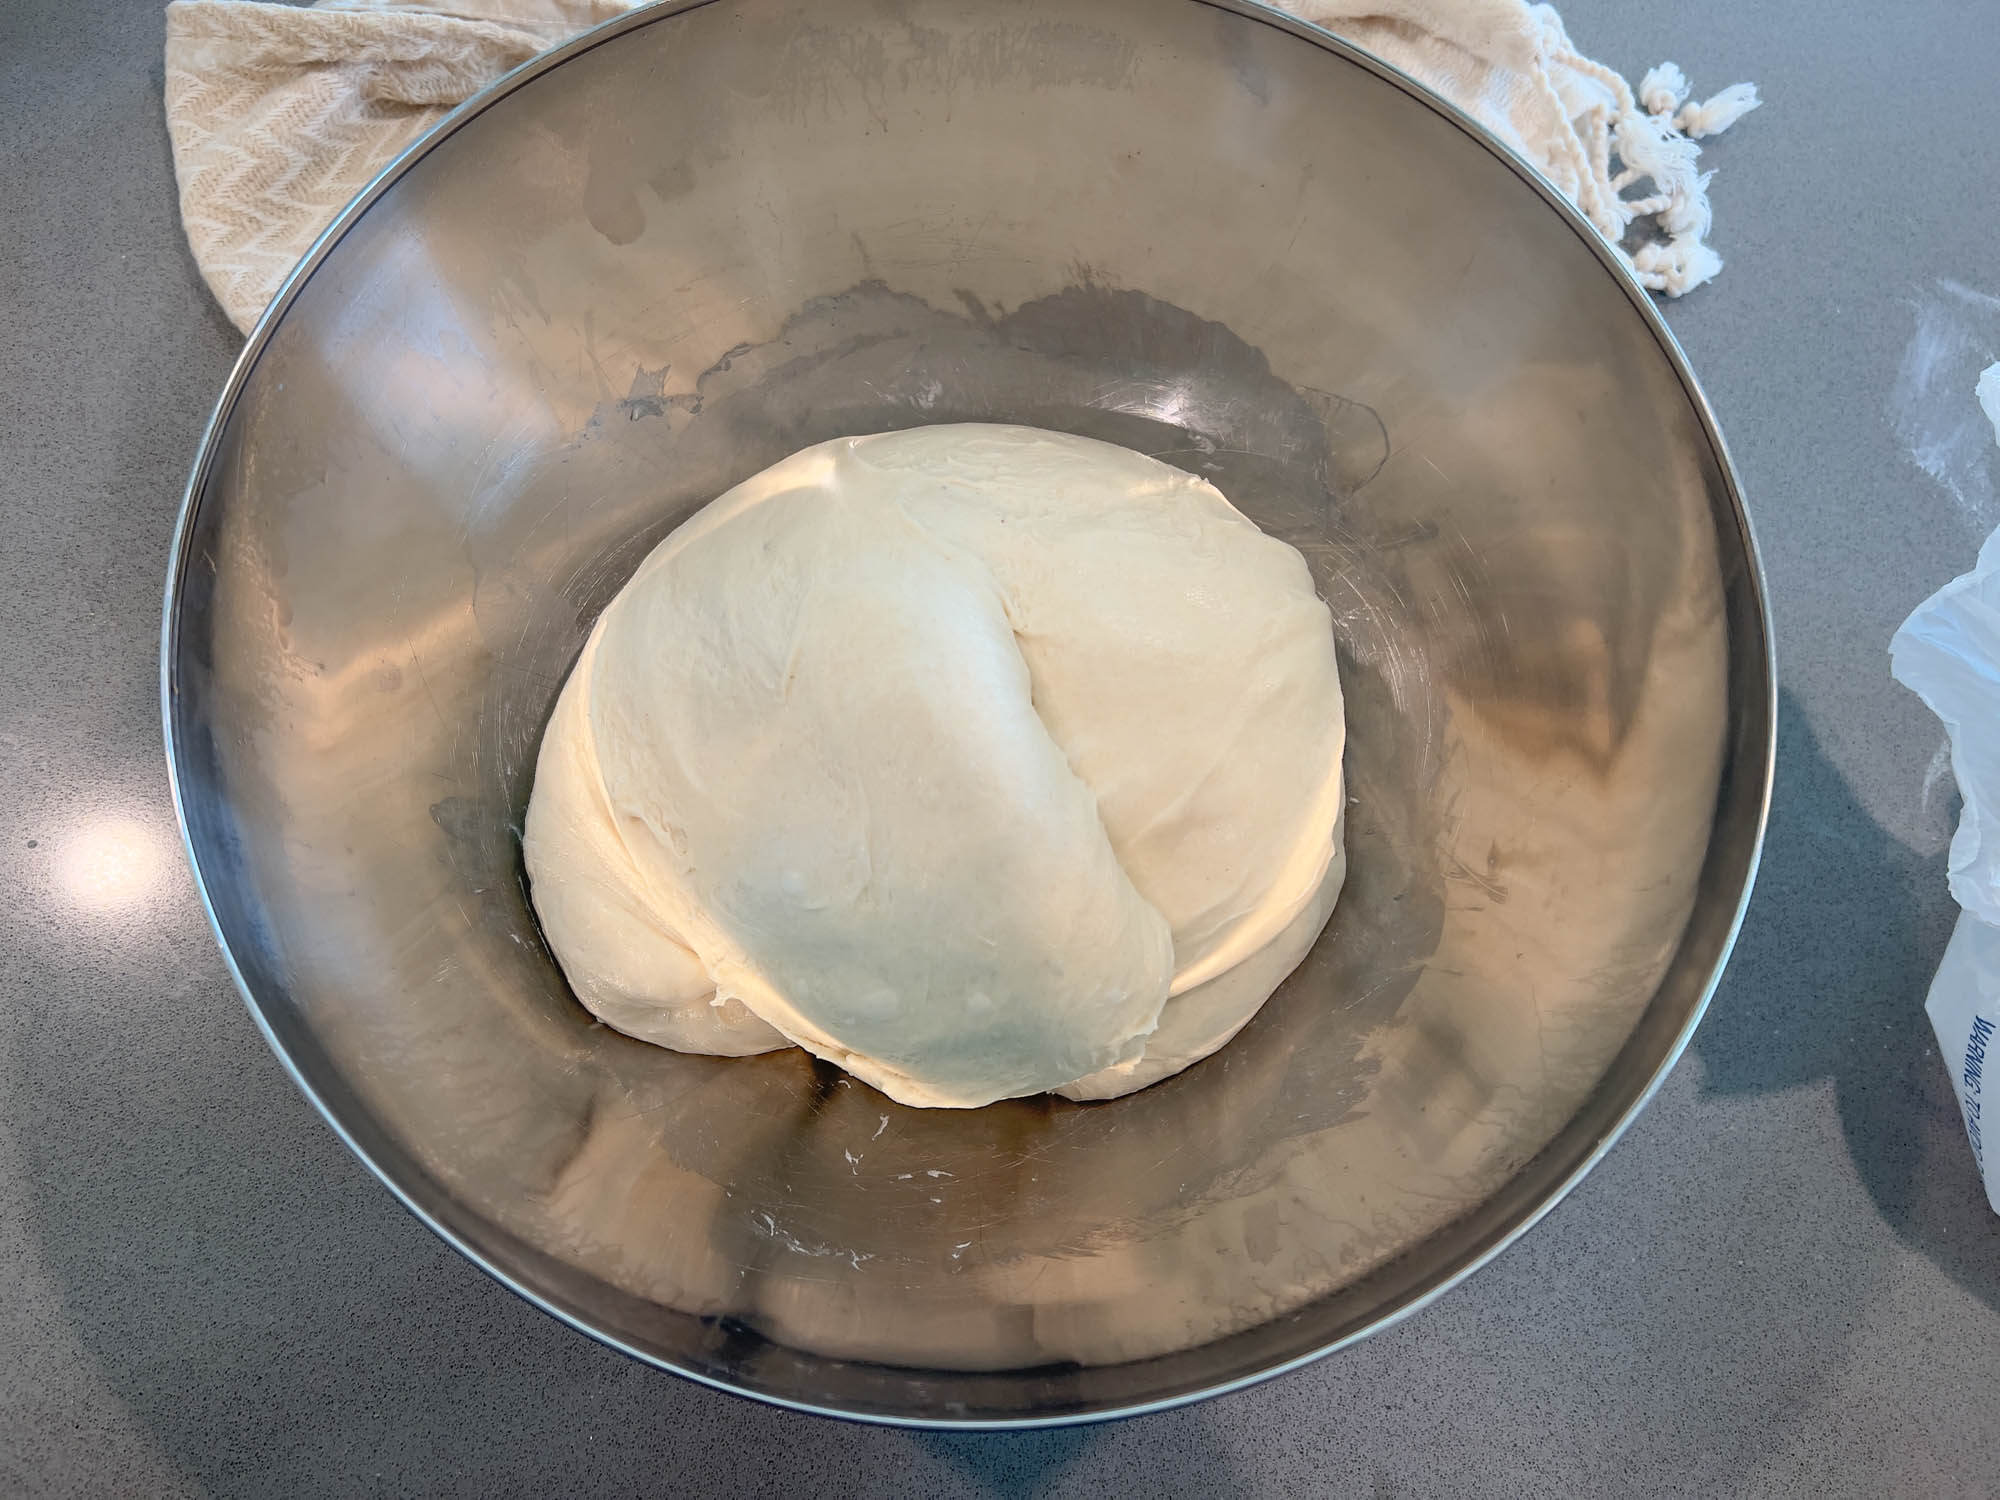
During the stretch and folds and resting periods, several transformations occur in the dough. With each set, you should notice the dough becoming stronger and more elastic.
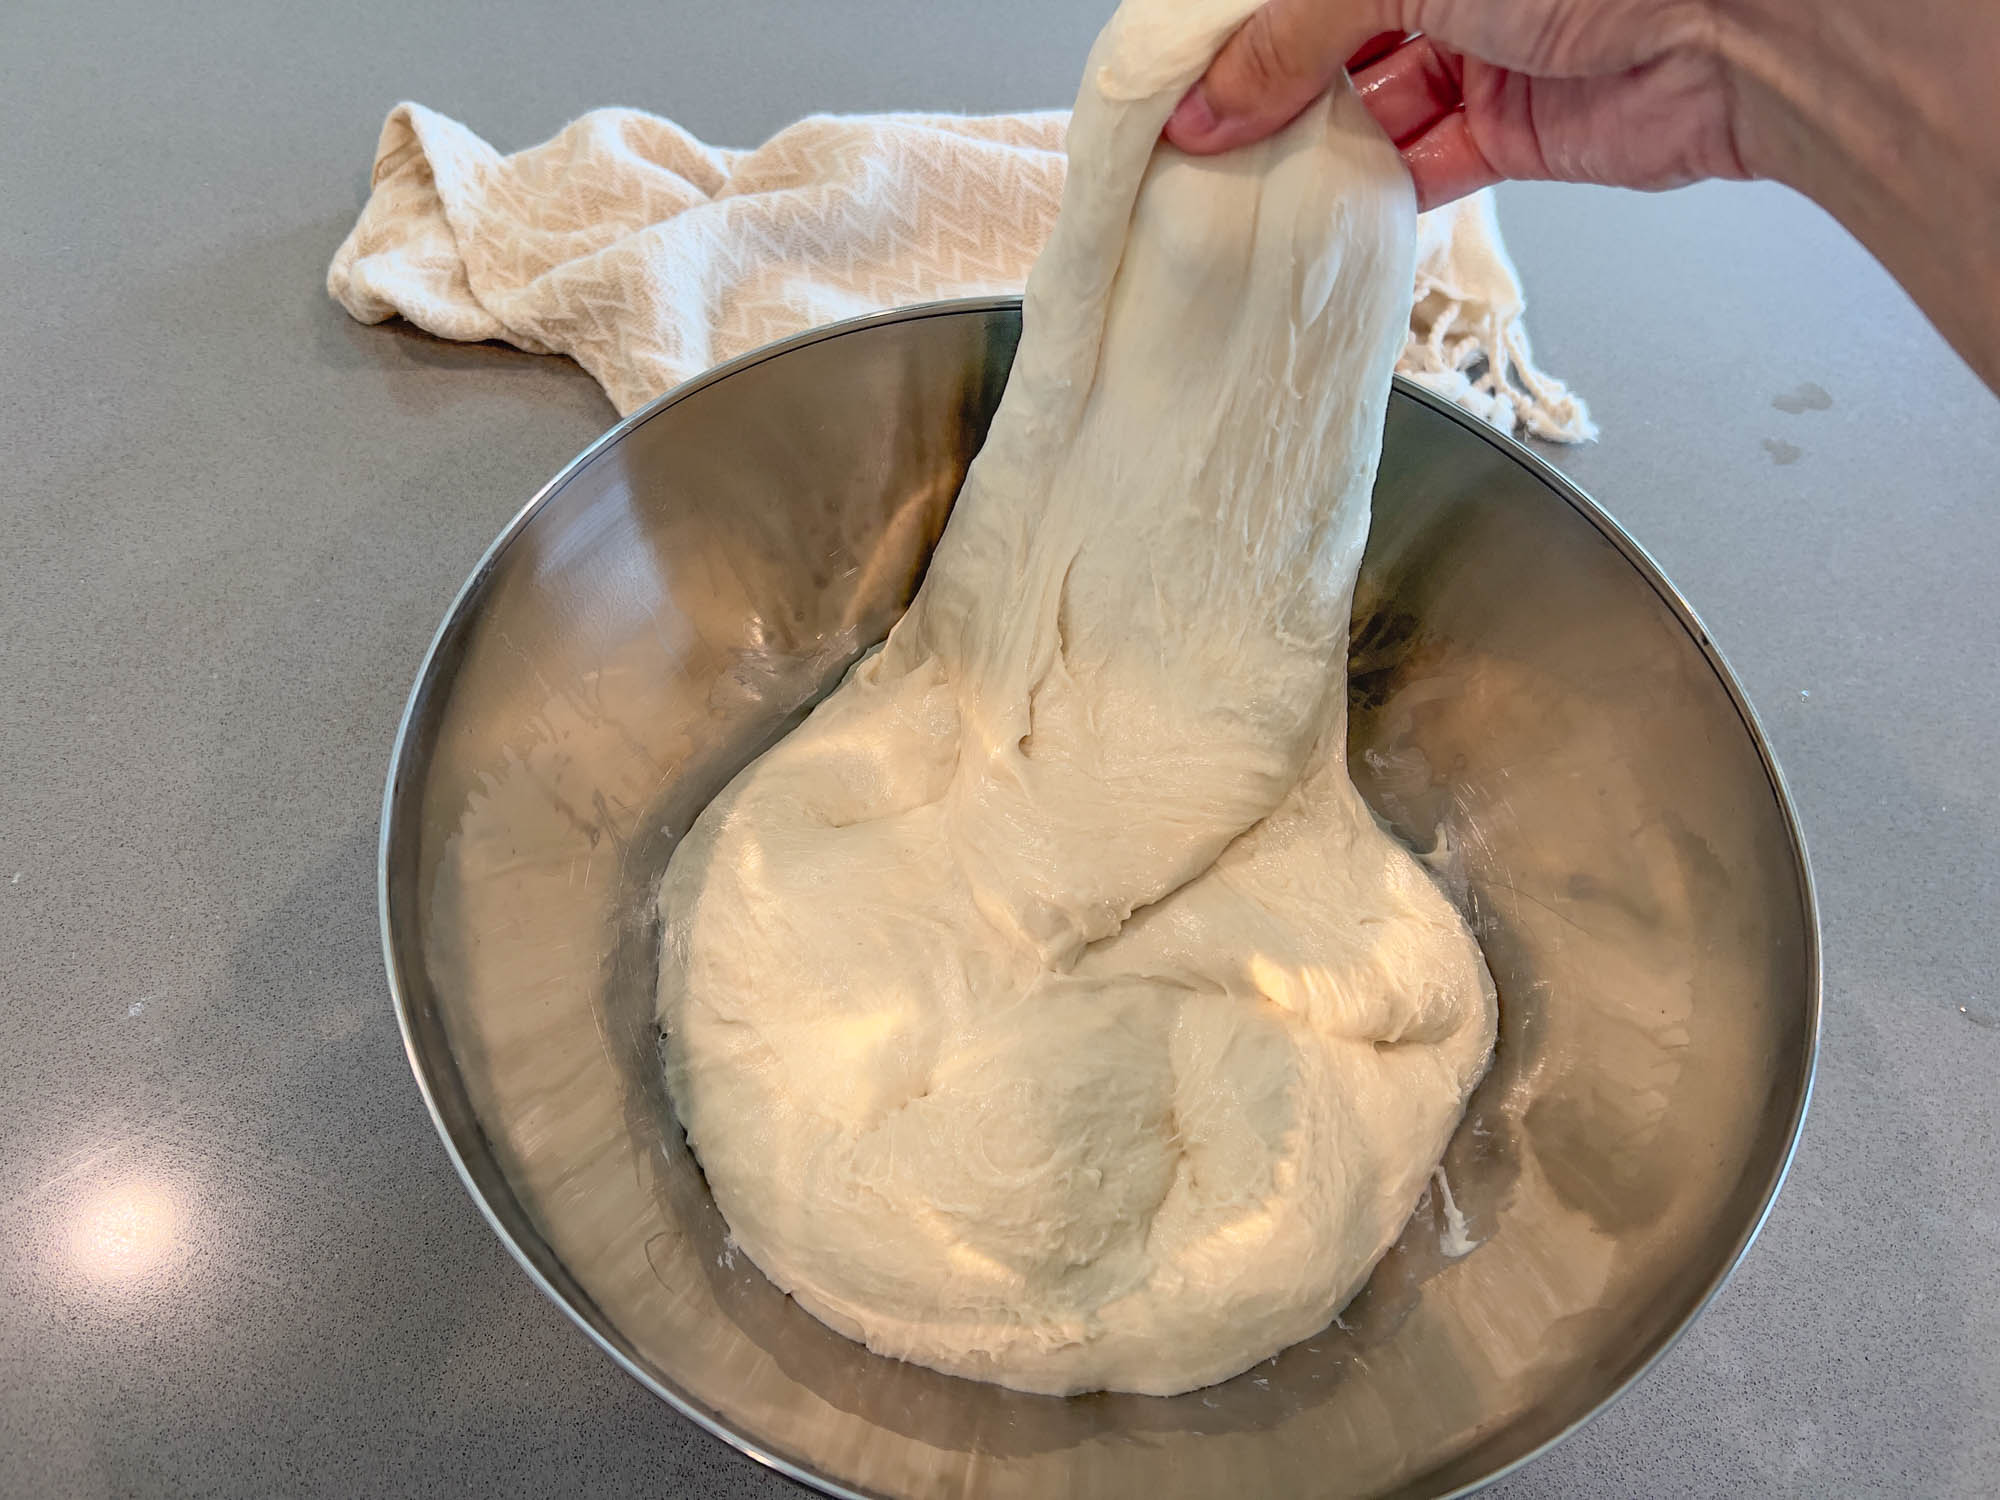
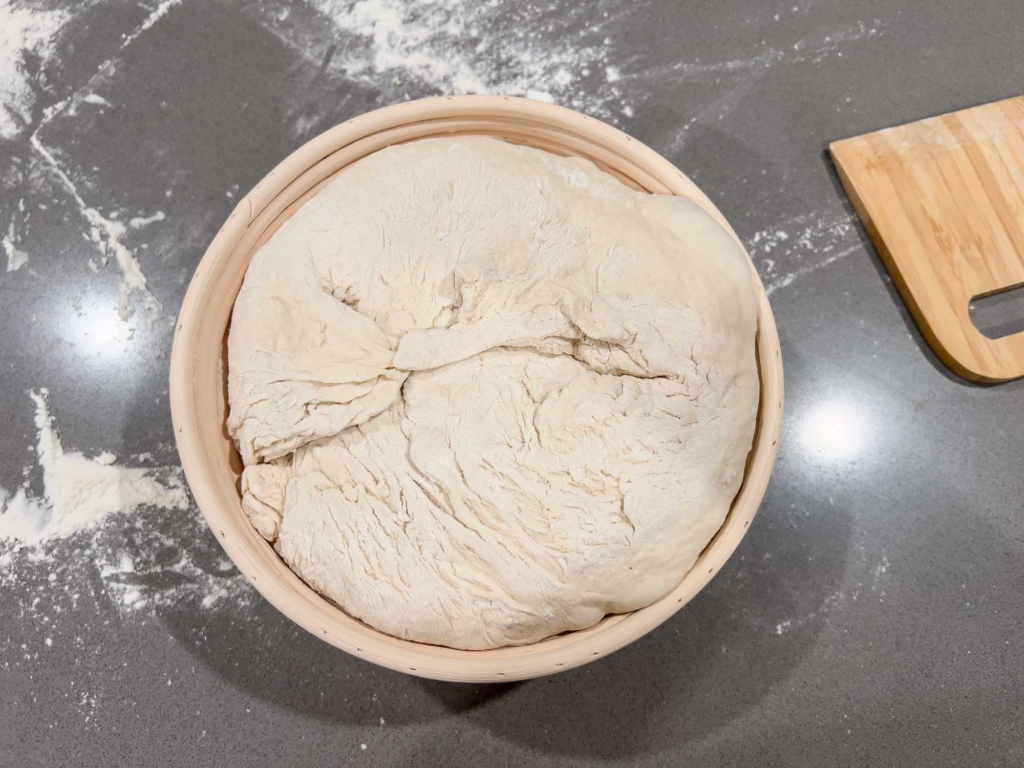
Here’s how your dough should look at the end of the 4 sets of stretch and folds.
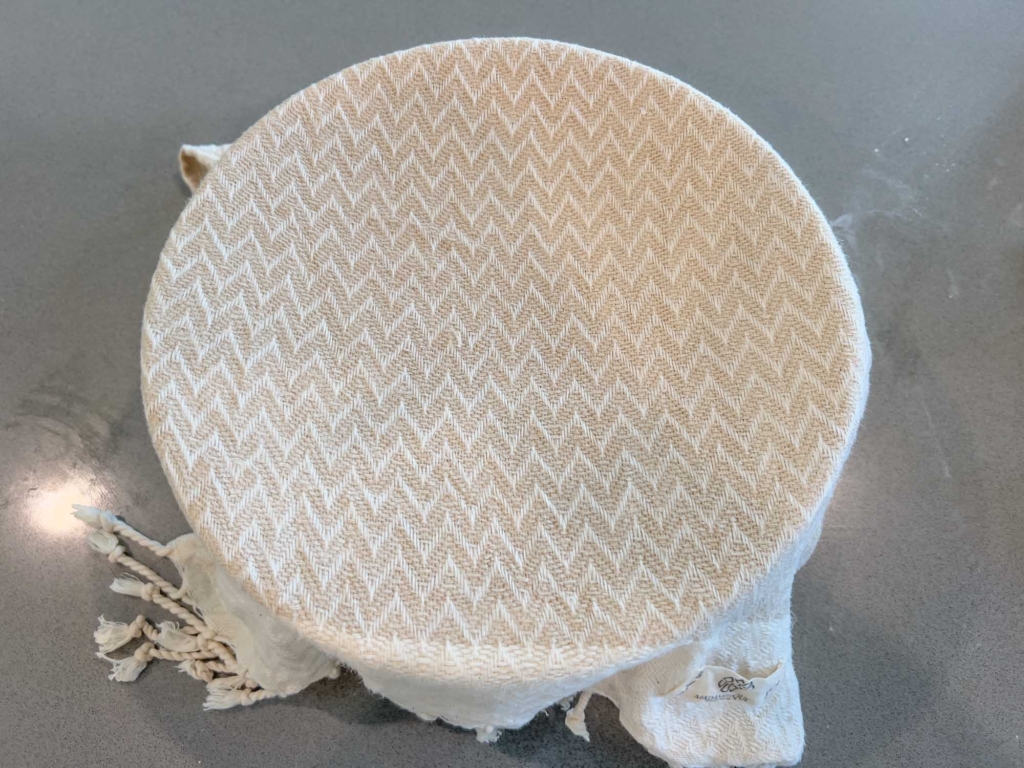
After the 4th set of stretches and folds, cover the bowl with a cotton or linen tea towel and set it aside until the dough increases in volume by approximately 50%.
What does that mean? The bulk fermentation time can vary based on factors like the strength of your starter and the temperature of your kitchen. It might require some trial and error to determine what works best for you. You could find a 75% increase in volume suits your preference, or you might consider it too long. Sourdough is all about experimenting and adapting based on your experiences. Personally, I prefer a 50% increase as it avoids over-proofing and results in a perfectly risen loaf.
I’ve passed the 50% increase, resulting in a dense, flat bread. That was around a 12 hour proof. For me, achieving a 50% increase typically takes around 8-10 hours, but this timeframe may vary depending on the temperature in your home. To maintain a consistent temperature during proofing, I like to place my dough in the oven with the light on. Make sure that no one turns on your oven while the dough is proofing.
You see this increase?
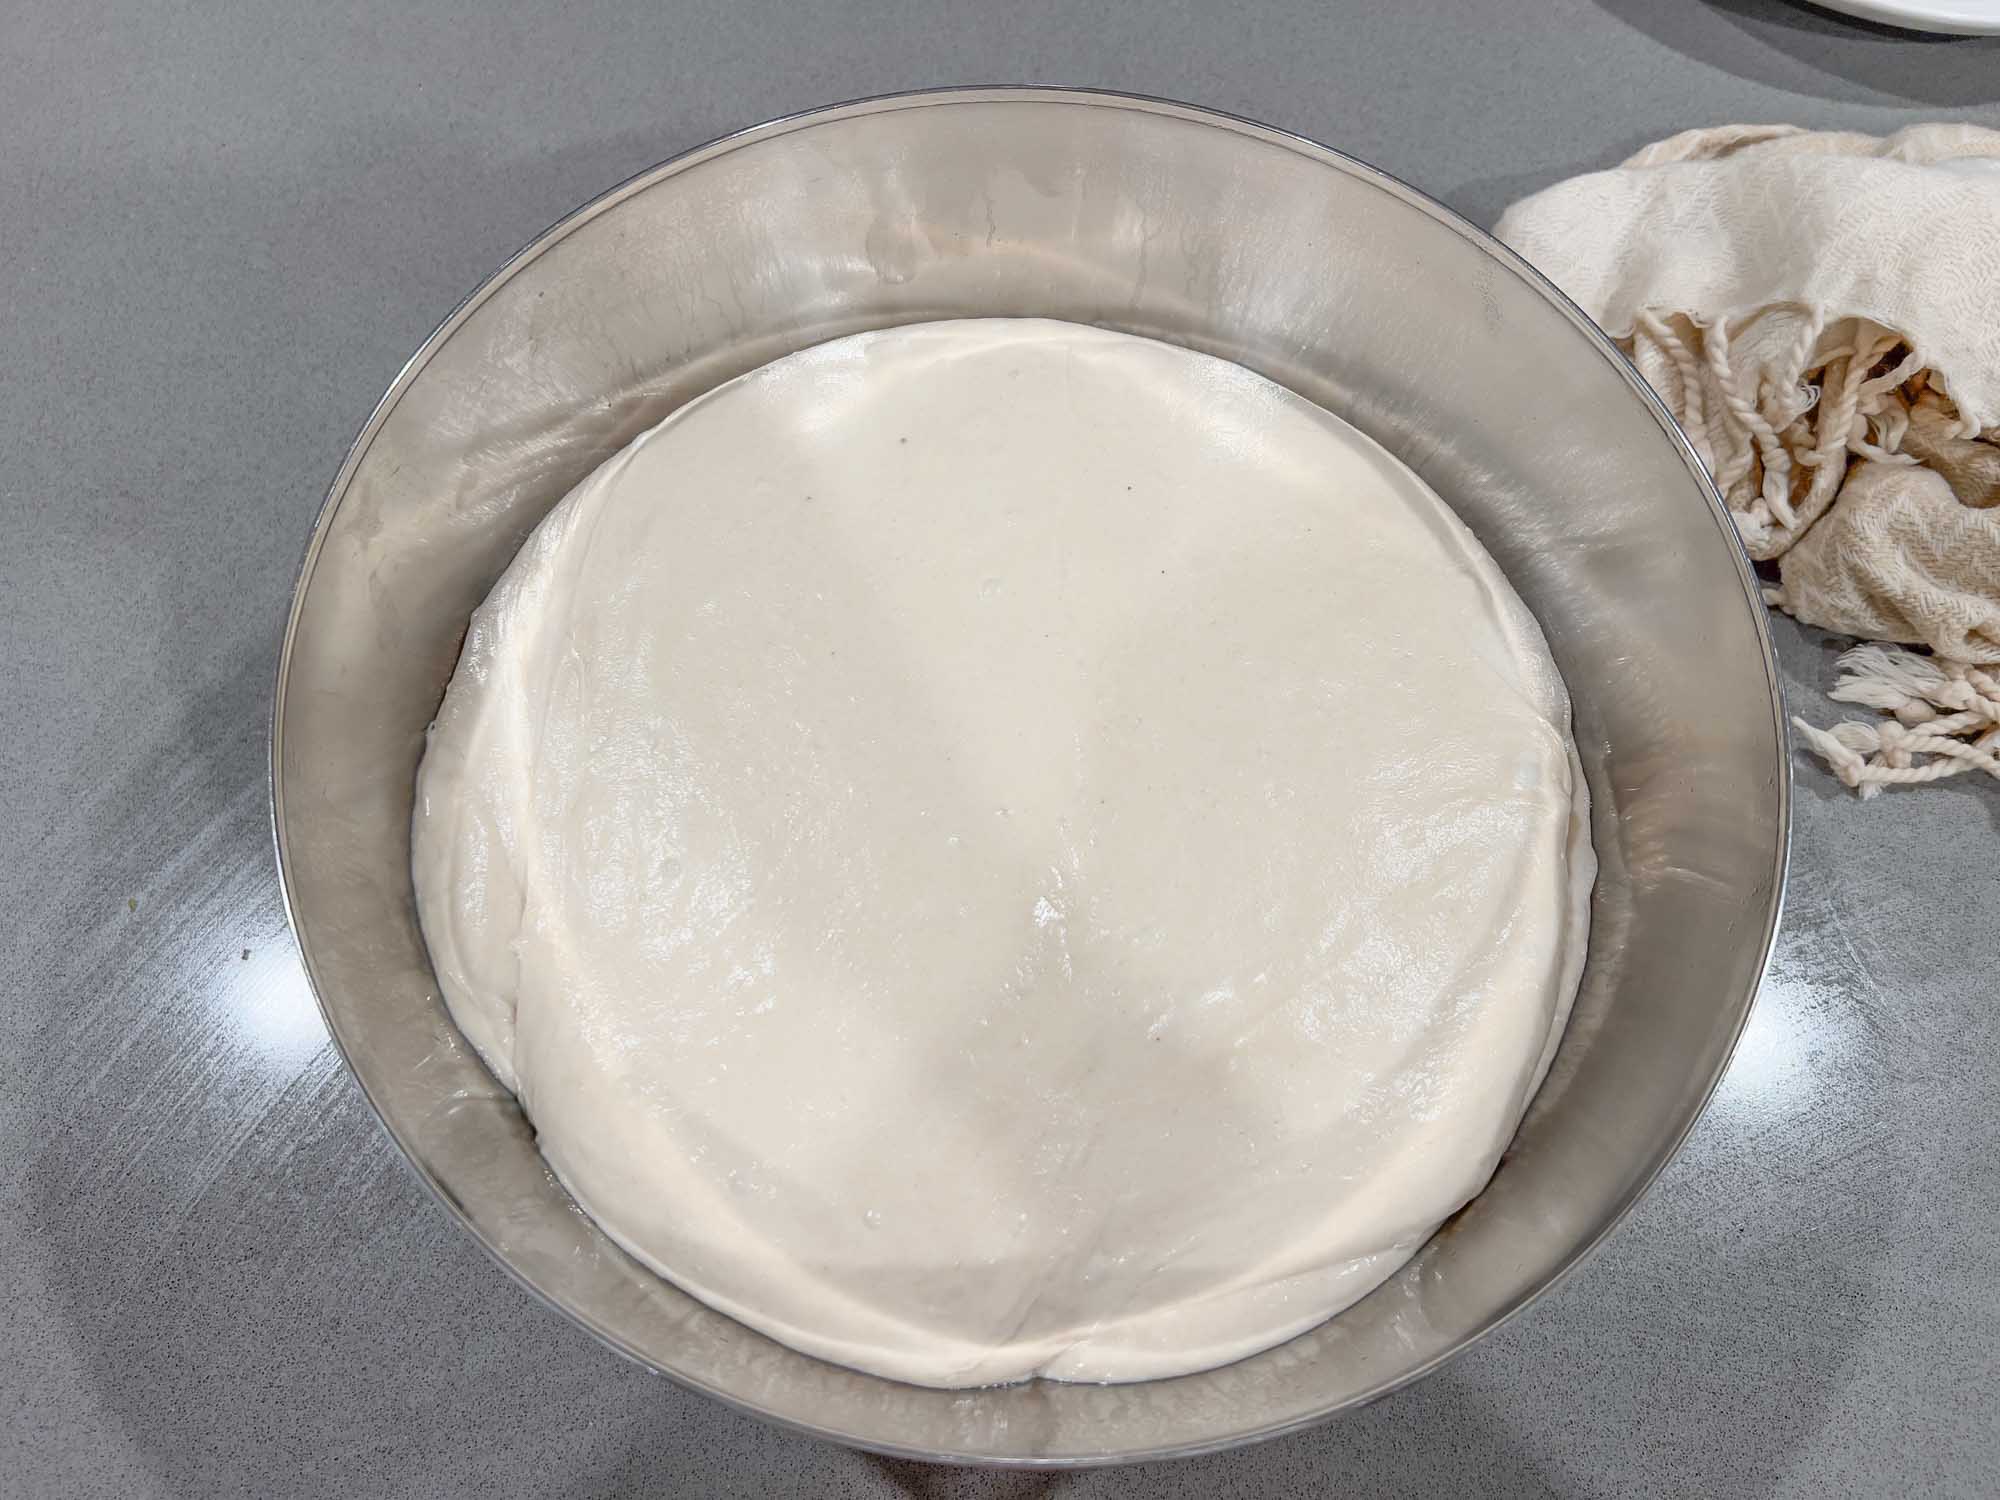
To measure the 50% increase, you can use visual cues or markings on the bowl. For example, you can mark the initial level of the dough on the side of the bowl before fermentation begins and then visually estimate when the dough has increased by 50% from that level. Alternatively, you can use a ruler or measuring tape to measure the height of the dough before and after fermentation, aiming for a 50% increase in height. Adjusting the fermentation time based on these observations can help achieve the desired rise and texture in your sourdough bread.
Shaping The Dough
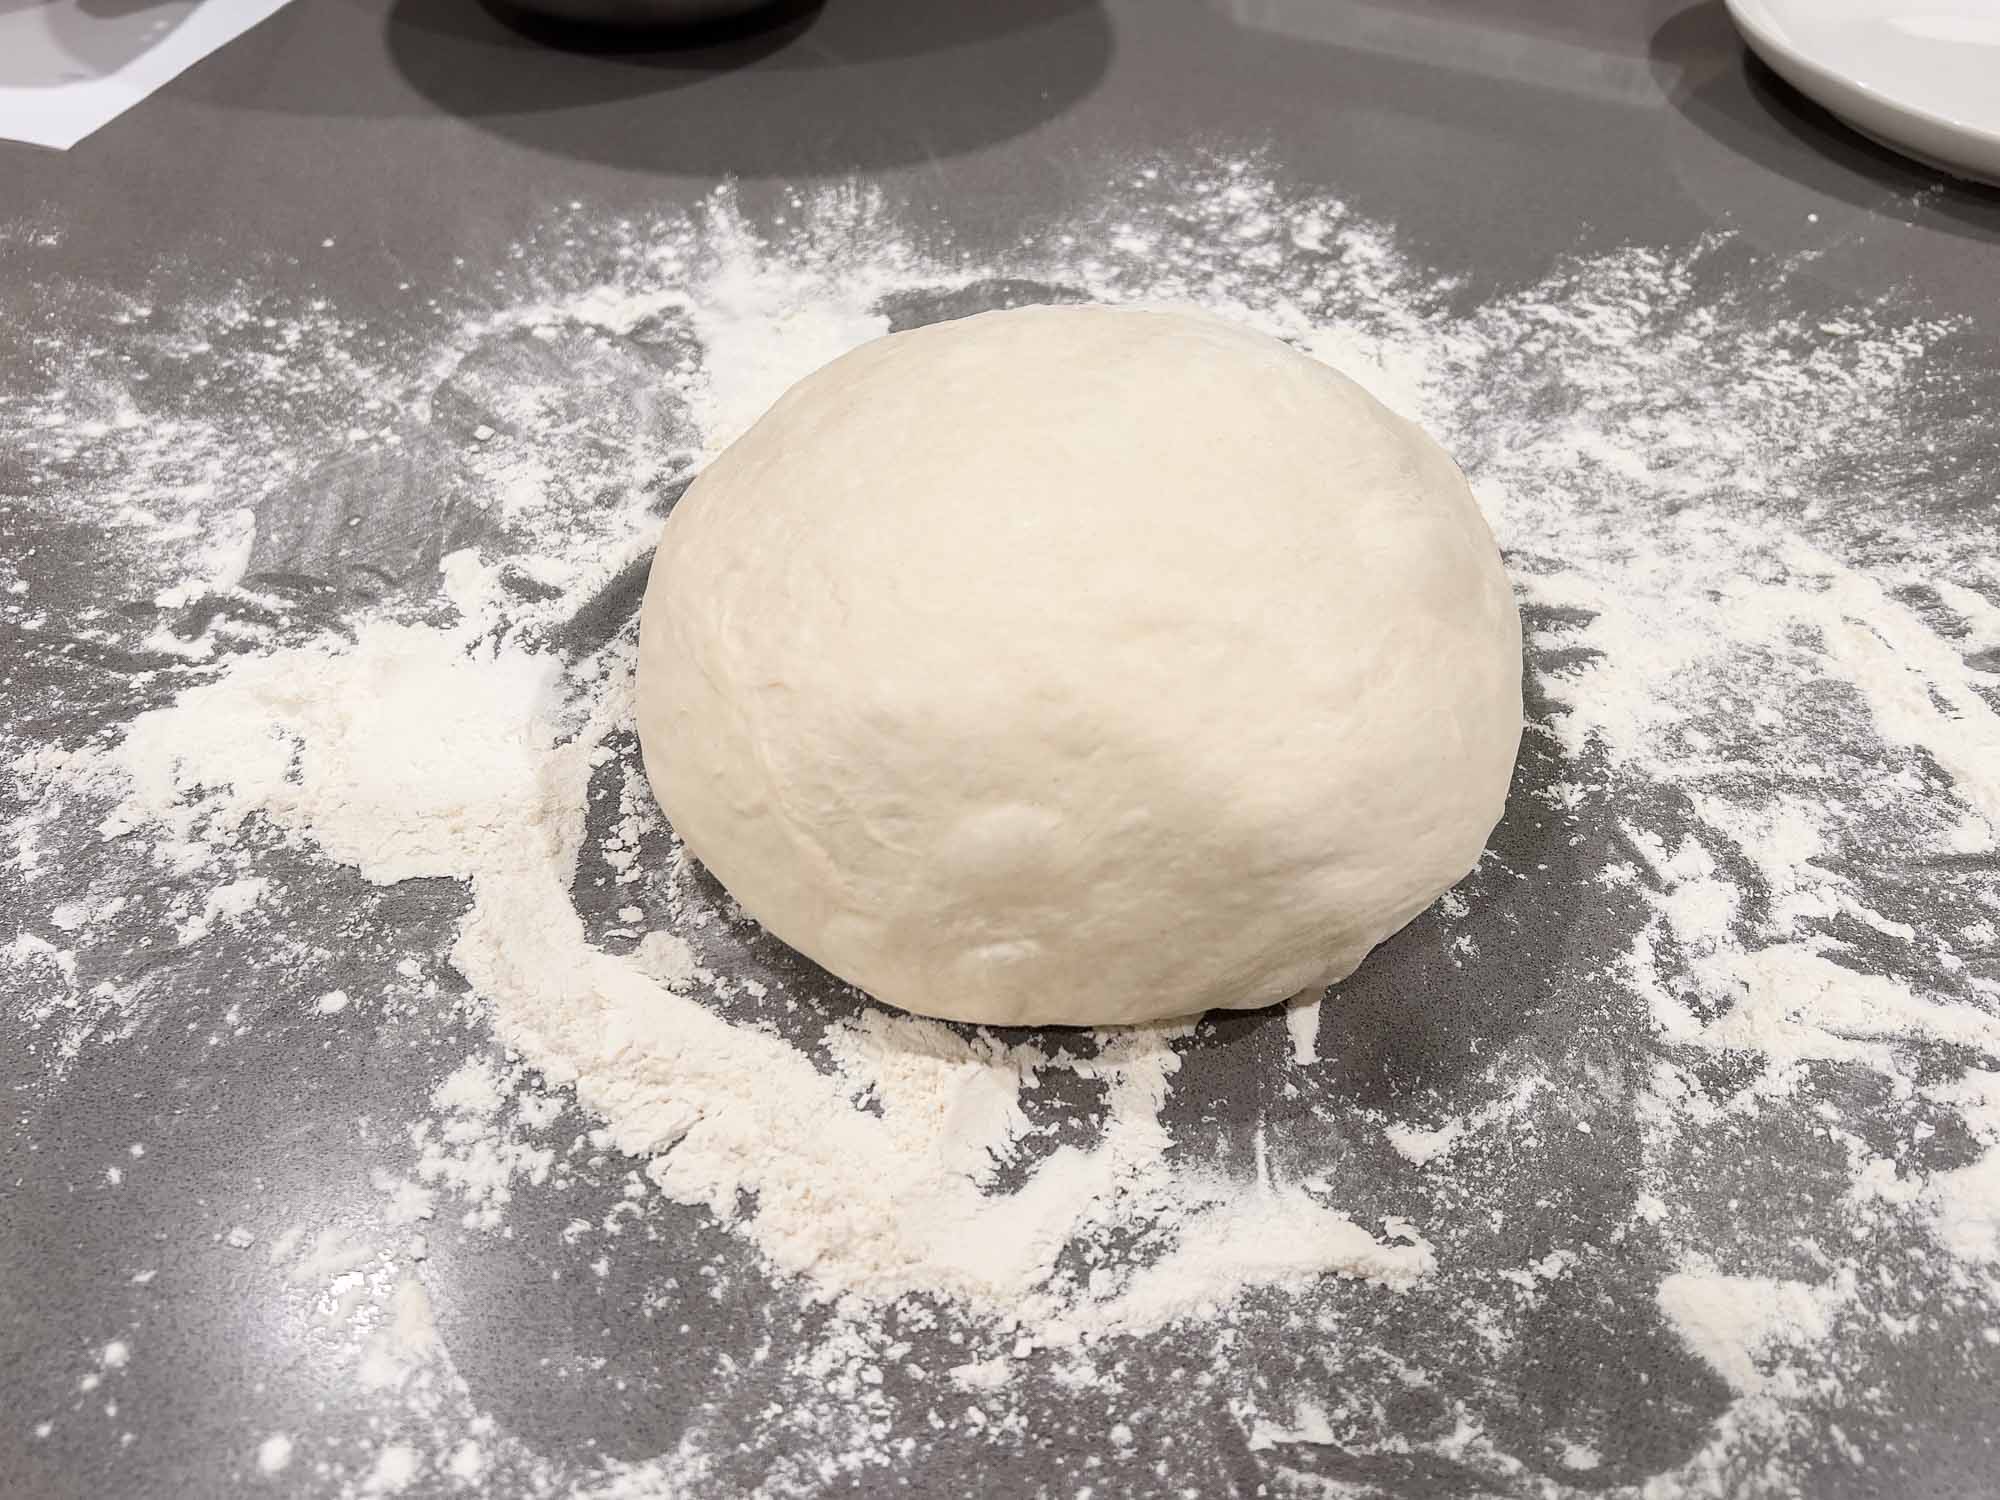
Once the dough has undergone bulk fermentation and increased in volume, it’s time to shape it. Gently turn the dough out onto a lightly floured surface, and carefully shape it into the desired form, whether it’s a round boule or an oblong batard (fancy way to say Oval shaped). This process helps create tension on the surface, contributing to a well-formed and structured final loaf.
What Is Shaping The Dough?
Shaping the dough involves forming it into a specific shape before the final proofing and baking stages. This step helps give the bread its final appearance and structure, enhancing its texture and aesthetics.
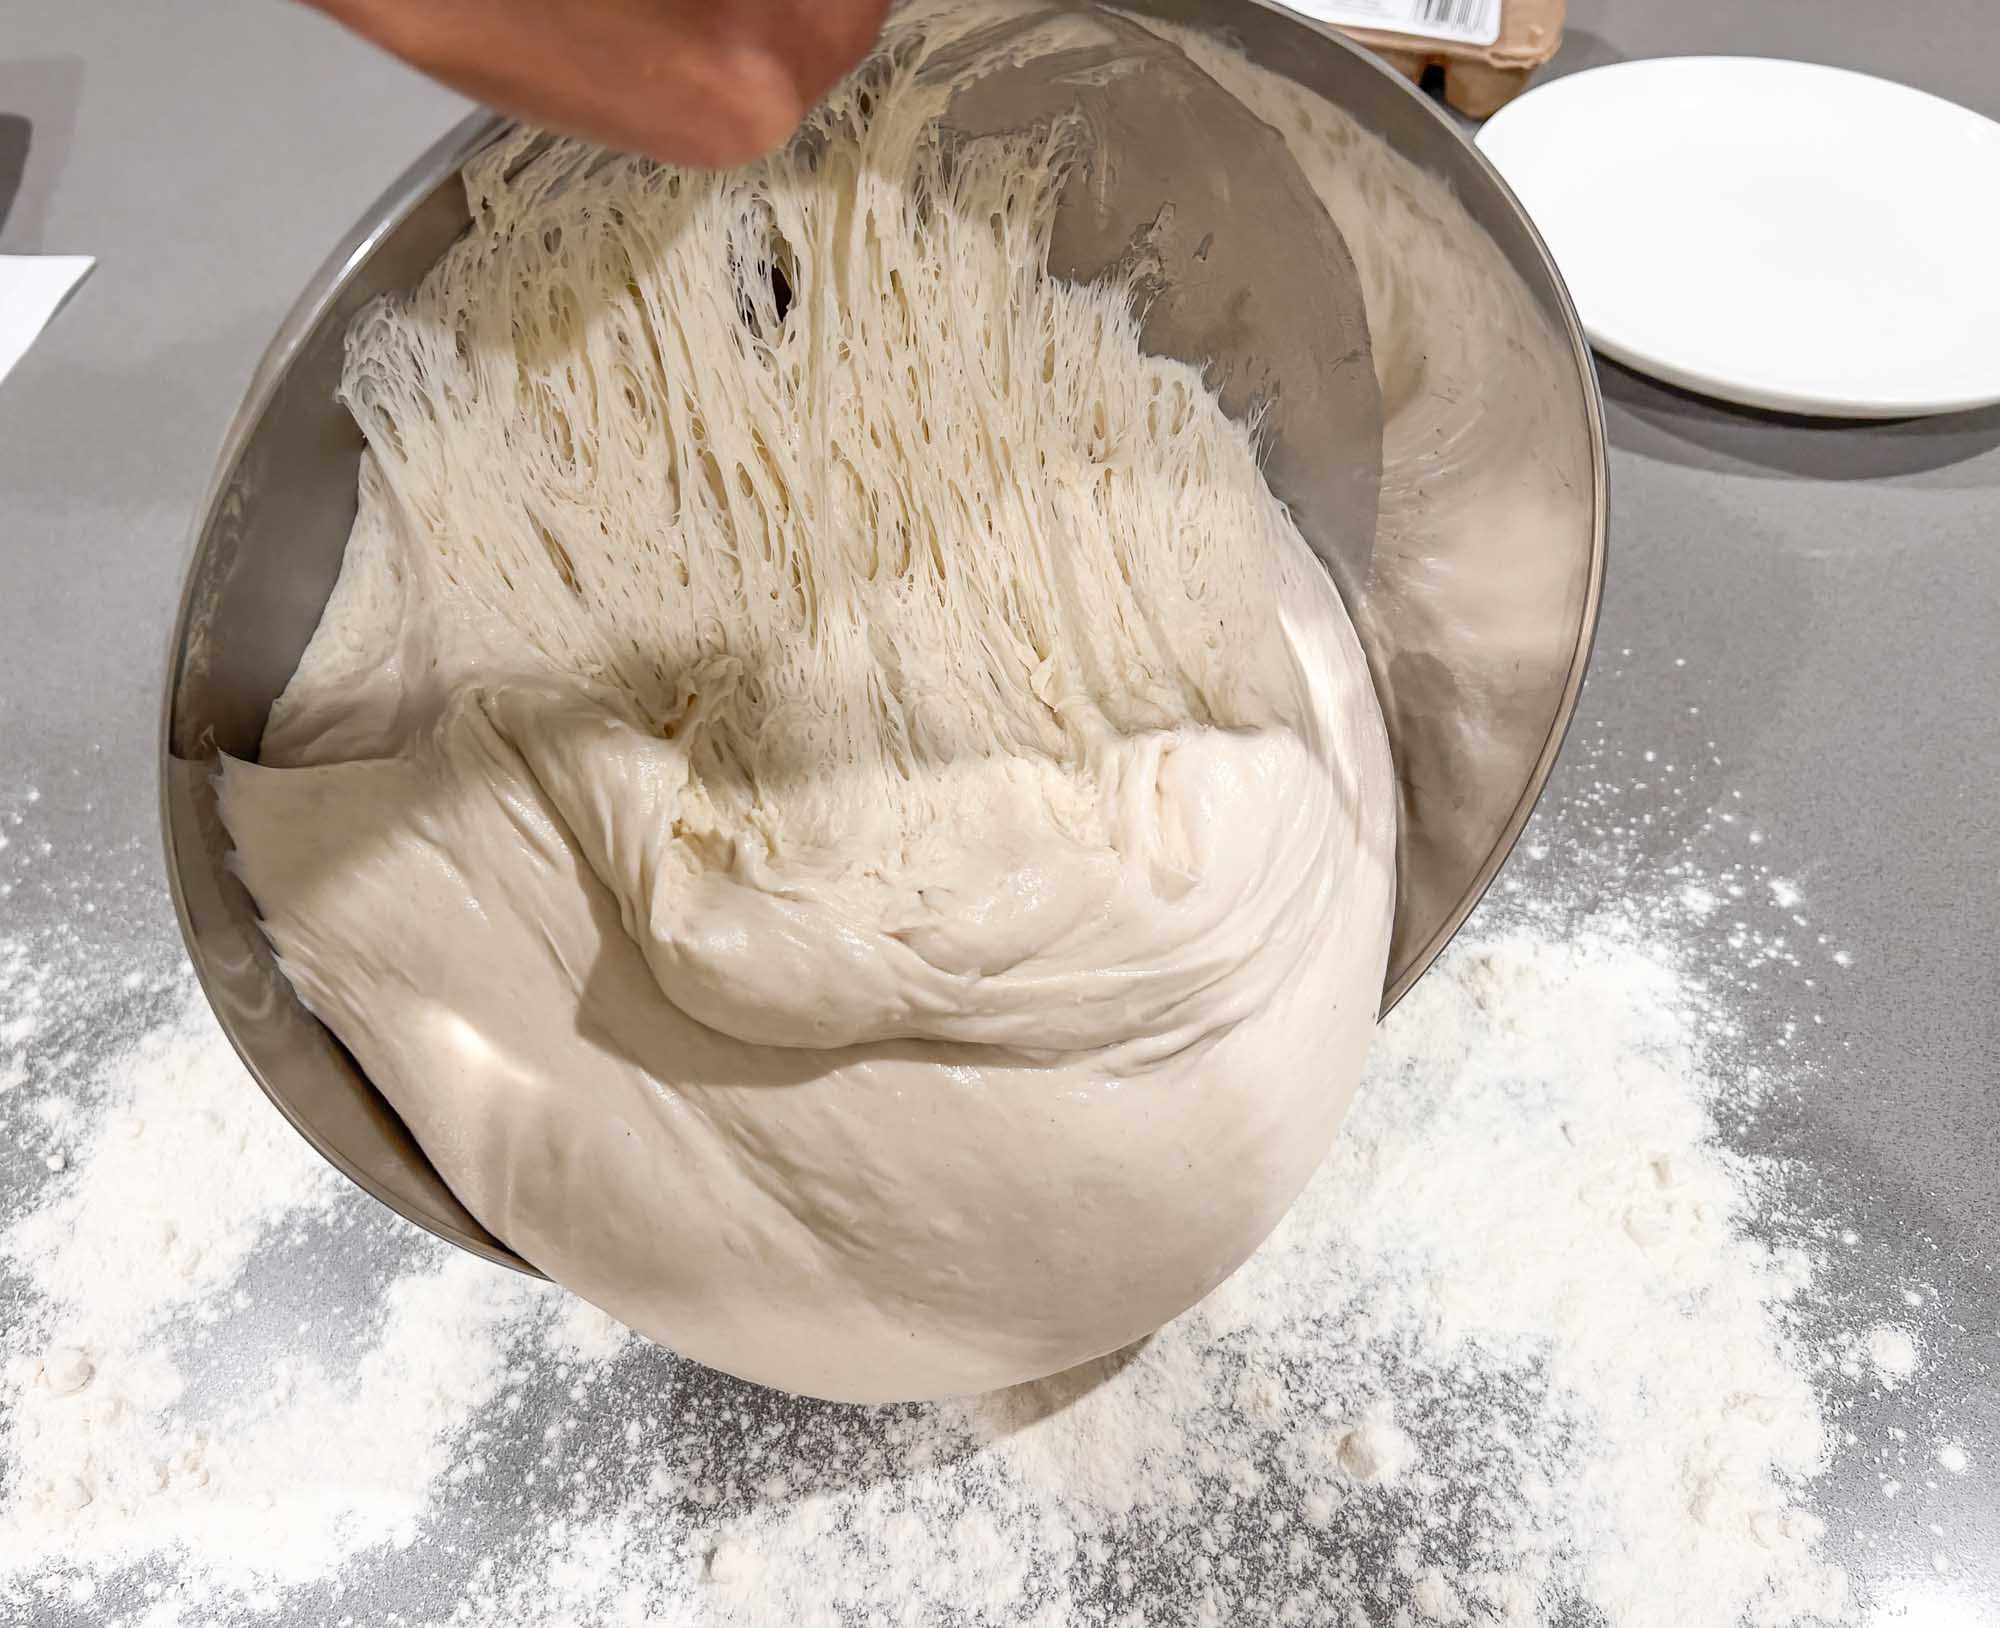
Turn the dough out onto a lightly floured work surface.
Gently shape the dough into a round or oval, allowing it to rest for 20-40 minutes. This phase is known as the bench rest.
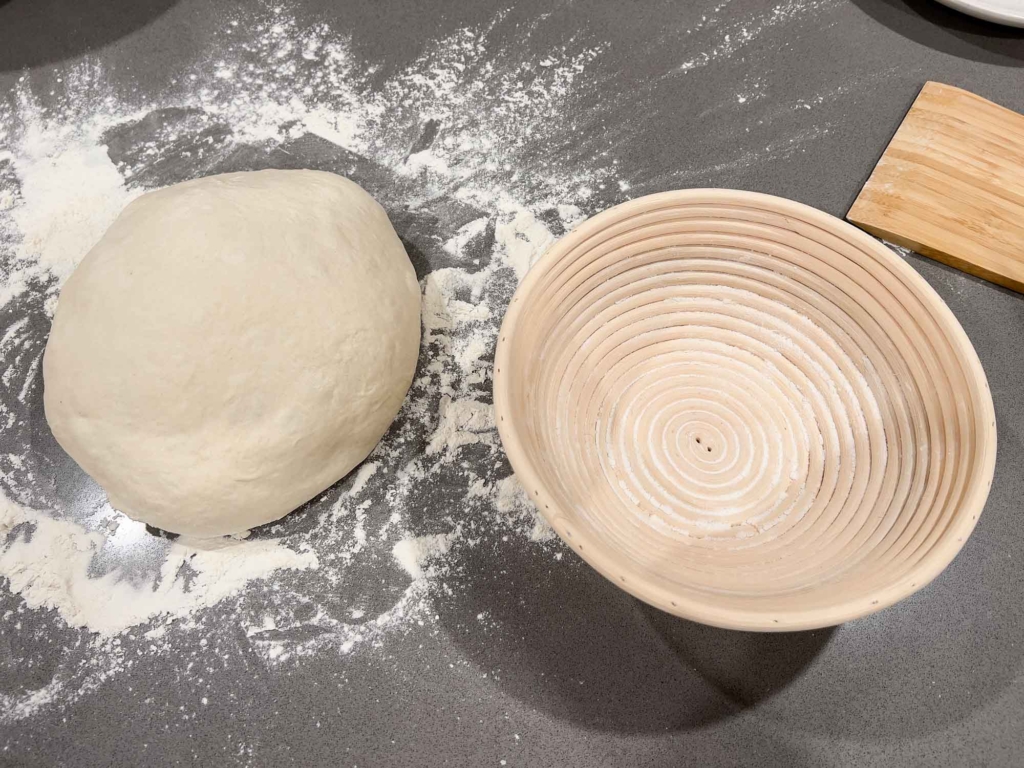
Next, prepare the banneton by either lining it with a tea towel and dusting with rice flour or simply dusting the banneton with rice flour directly.
The use of rice flour serves a specific purpose in the bread-making process. Unlike wheat flour, rice flour has less gluten, which reduces the likelihood of the dough sticking to the banneton during the final proofing. Additionally, rice flour has a finer texture, preventing it from being absorbed into the dough and ensuring a smooth release from the banneton, ultimately contributing to a well-formed and visually appealing crust on the baked bread.
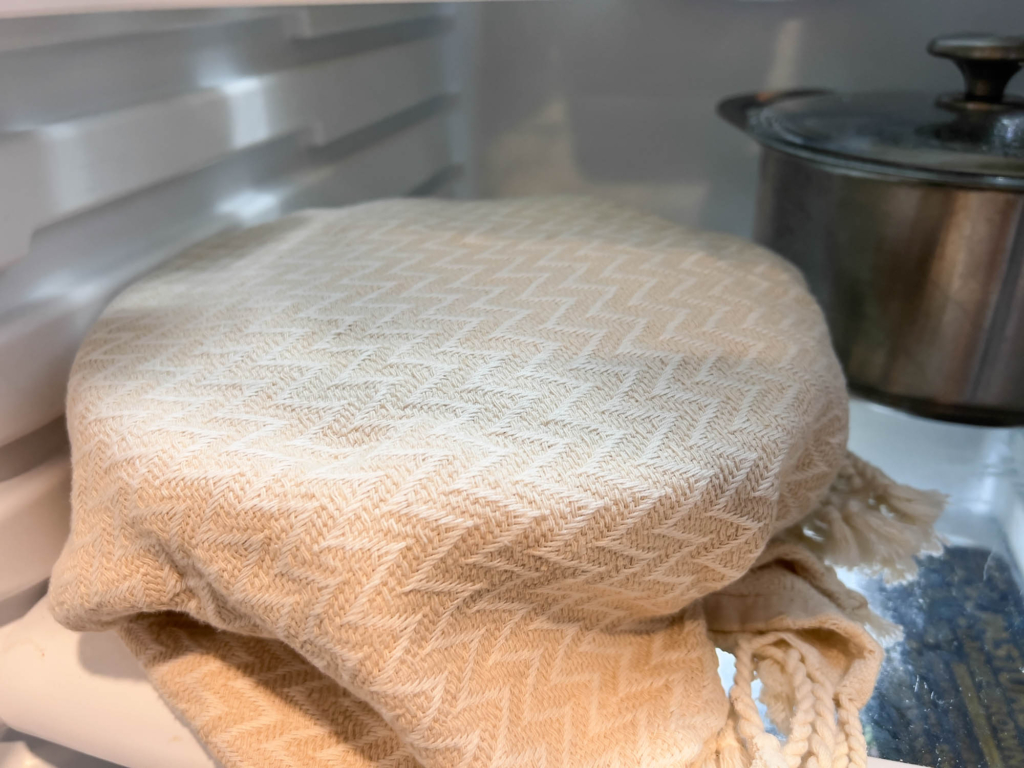
Cold Proof
Now it’s time to cold proof your dough.
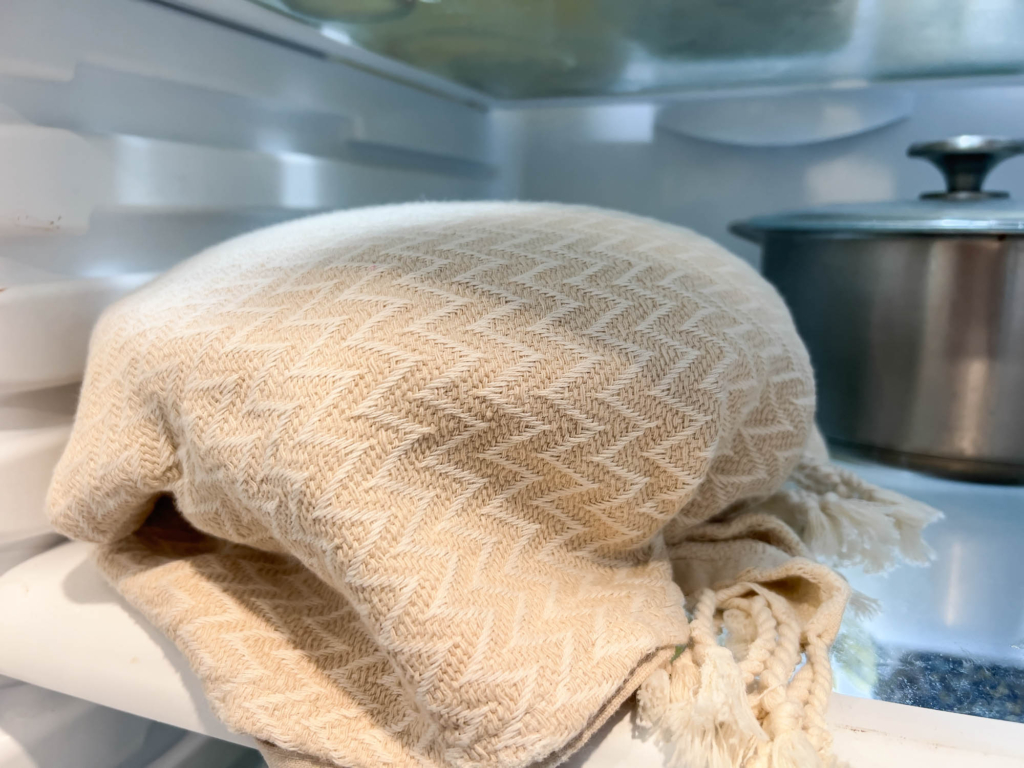
Cold proofing is a process where the shaped dough undergoes fermentation in the refrigerator instead of at room temperature. This extended fermentation period in a cooler environment slows down yeast activity and enzyme action. Cold proofing offers several benefits:
- Flavor Development: The longer, slower fermentation enhances the flavor of the sourdough by allowing more complex compounds to develop.
- Texture Improvement: Cold proofing contributes to a better texture in the final bread, as it allows the gluten network to mature gradually, resulting in a chewier and more well-structured crumb.
- Convenience: Cold proofing provides flexibility in scheduling the baking process. You can prepare the dough in advance and refrigerate it until you’re ready to bake.
Time To Bake
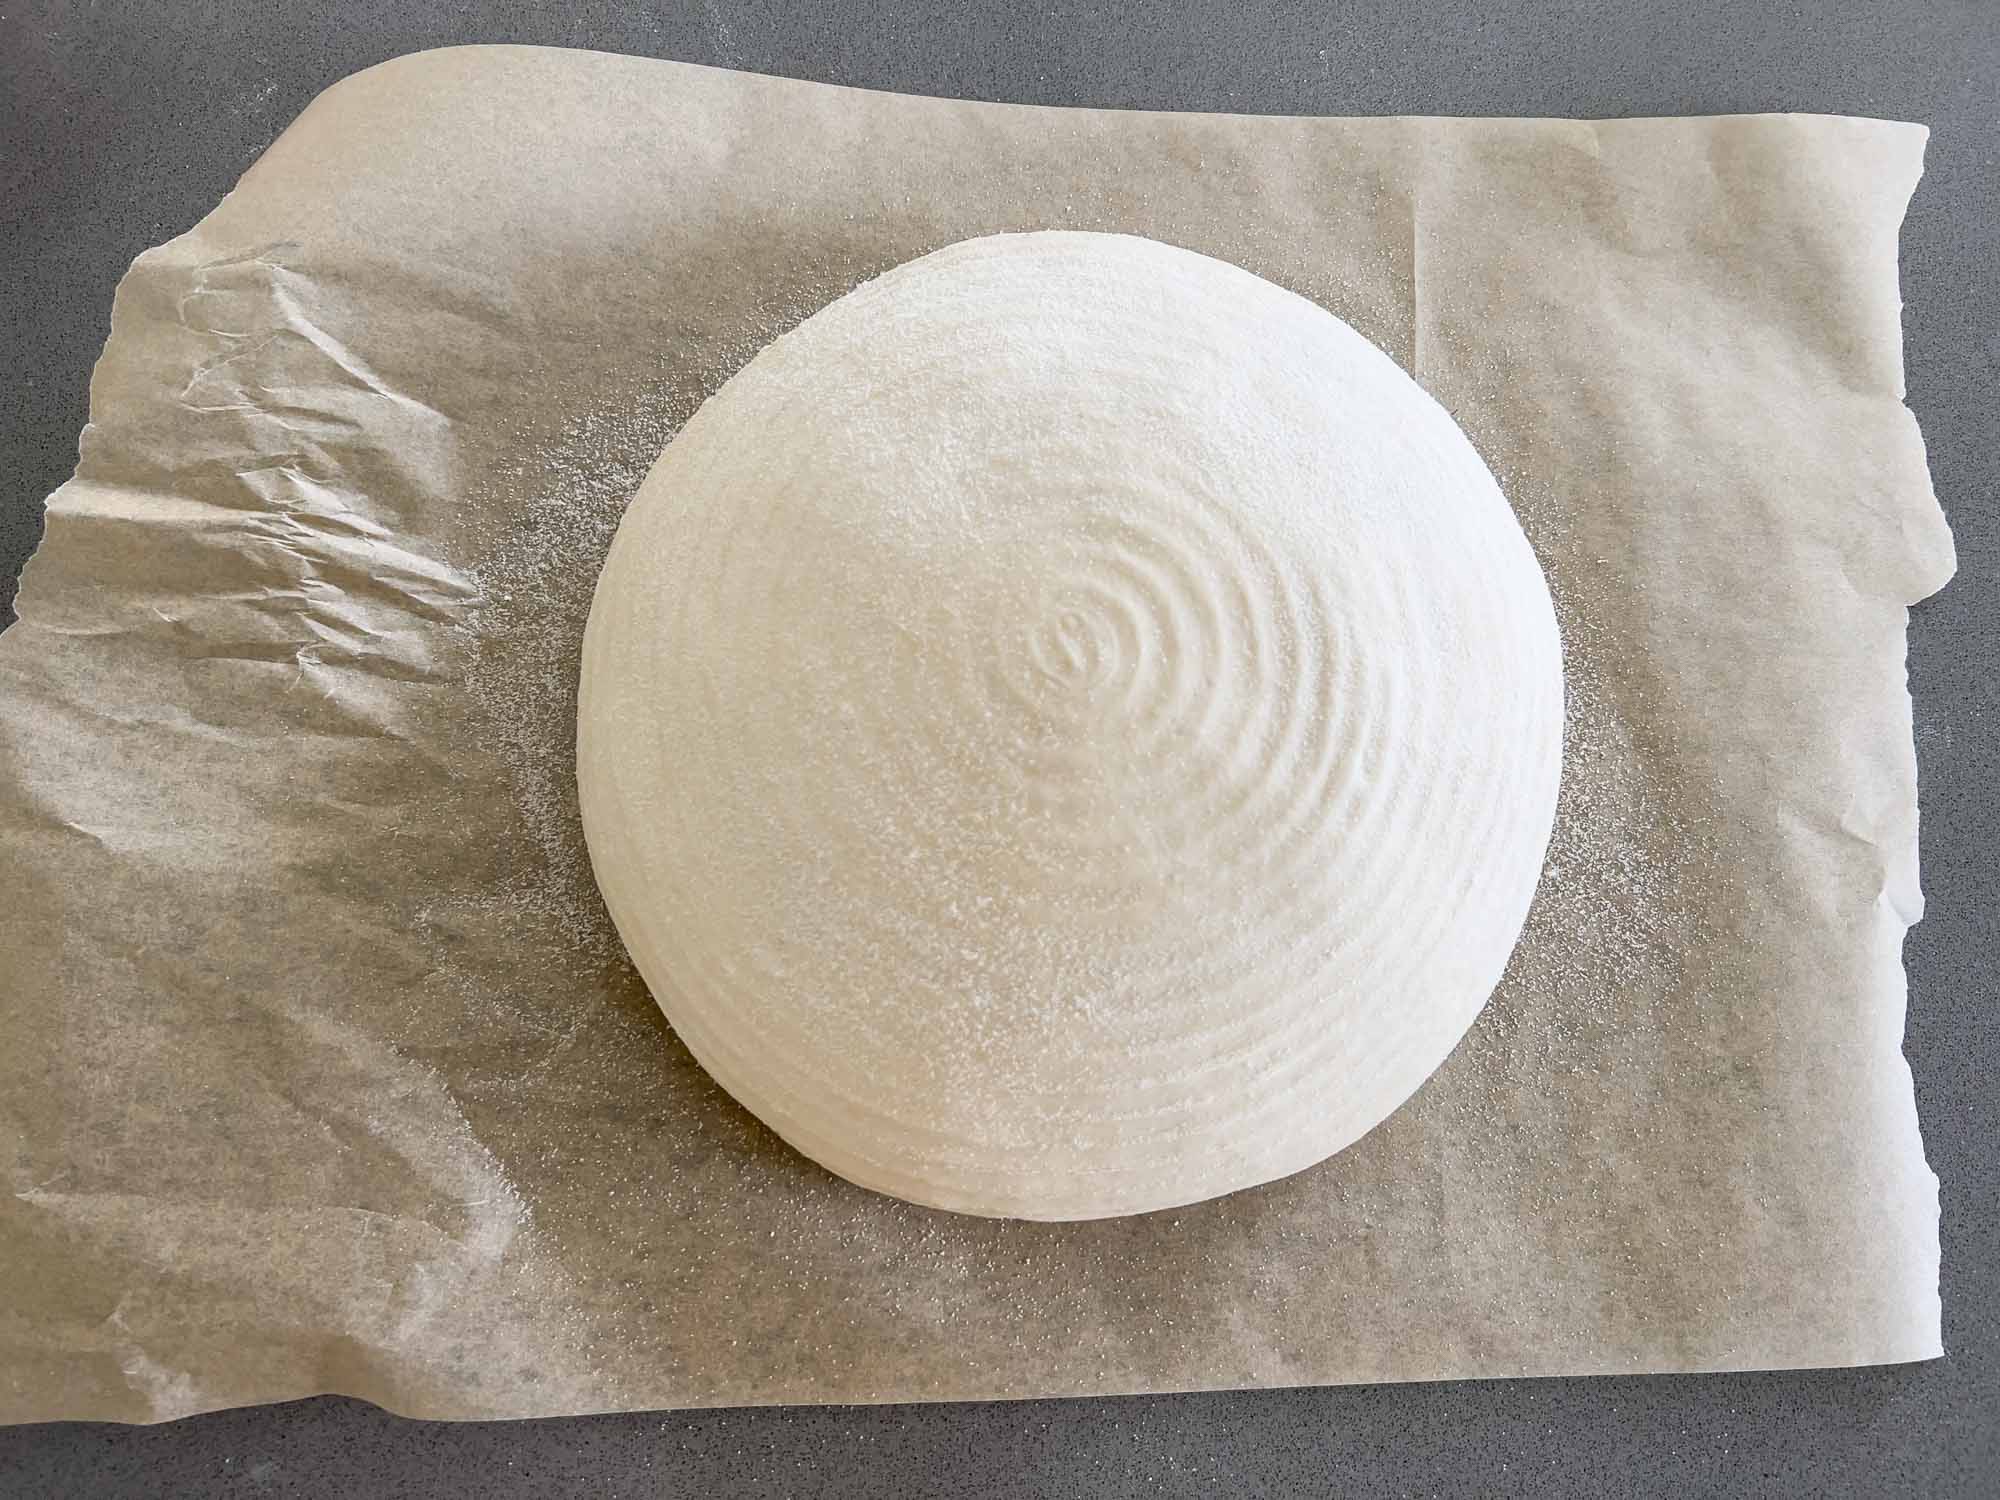
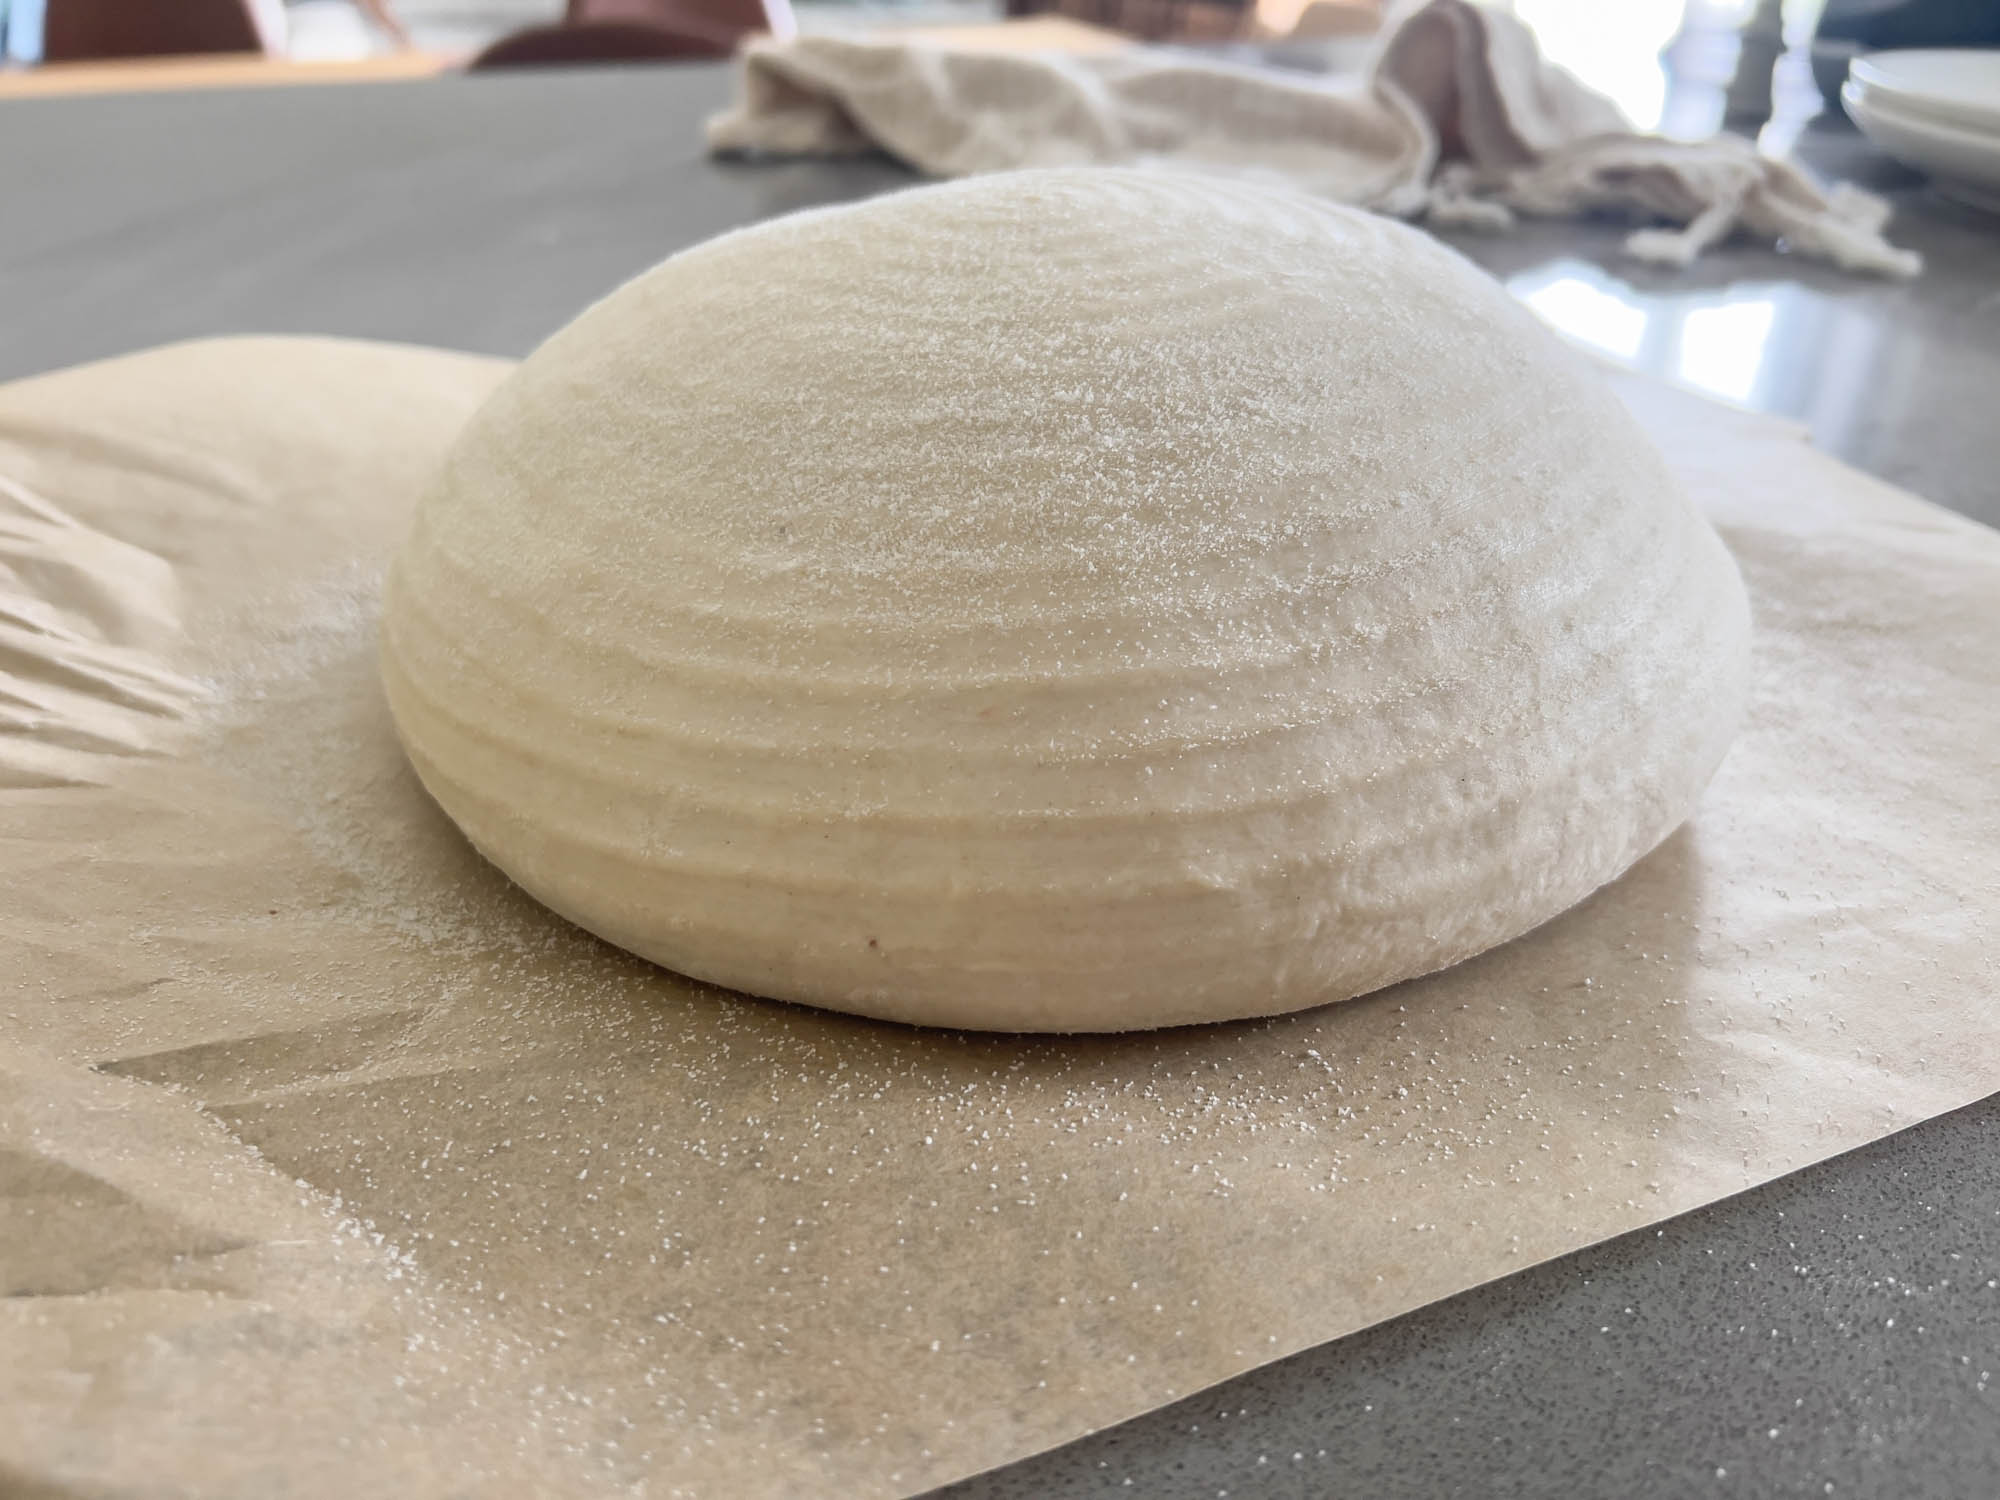
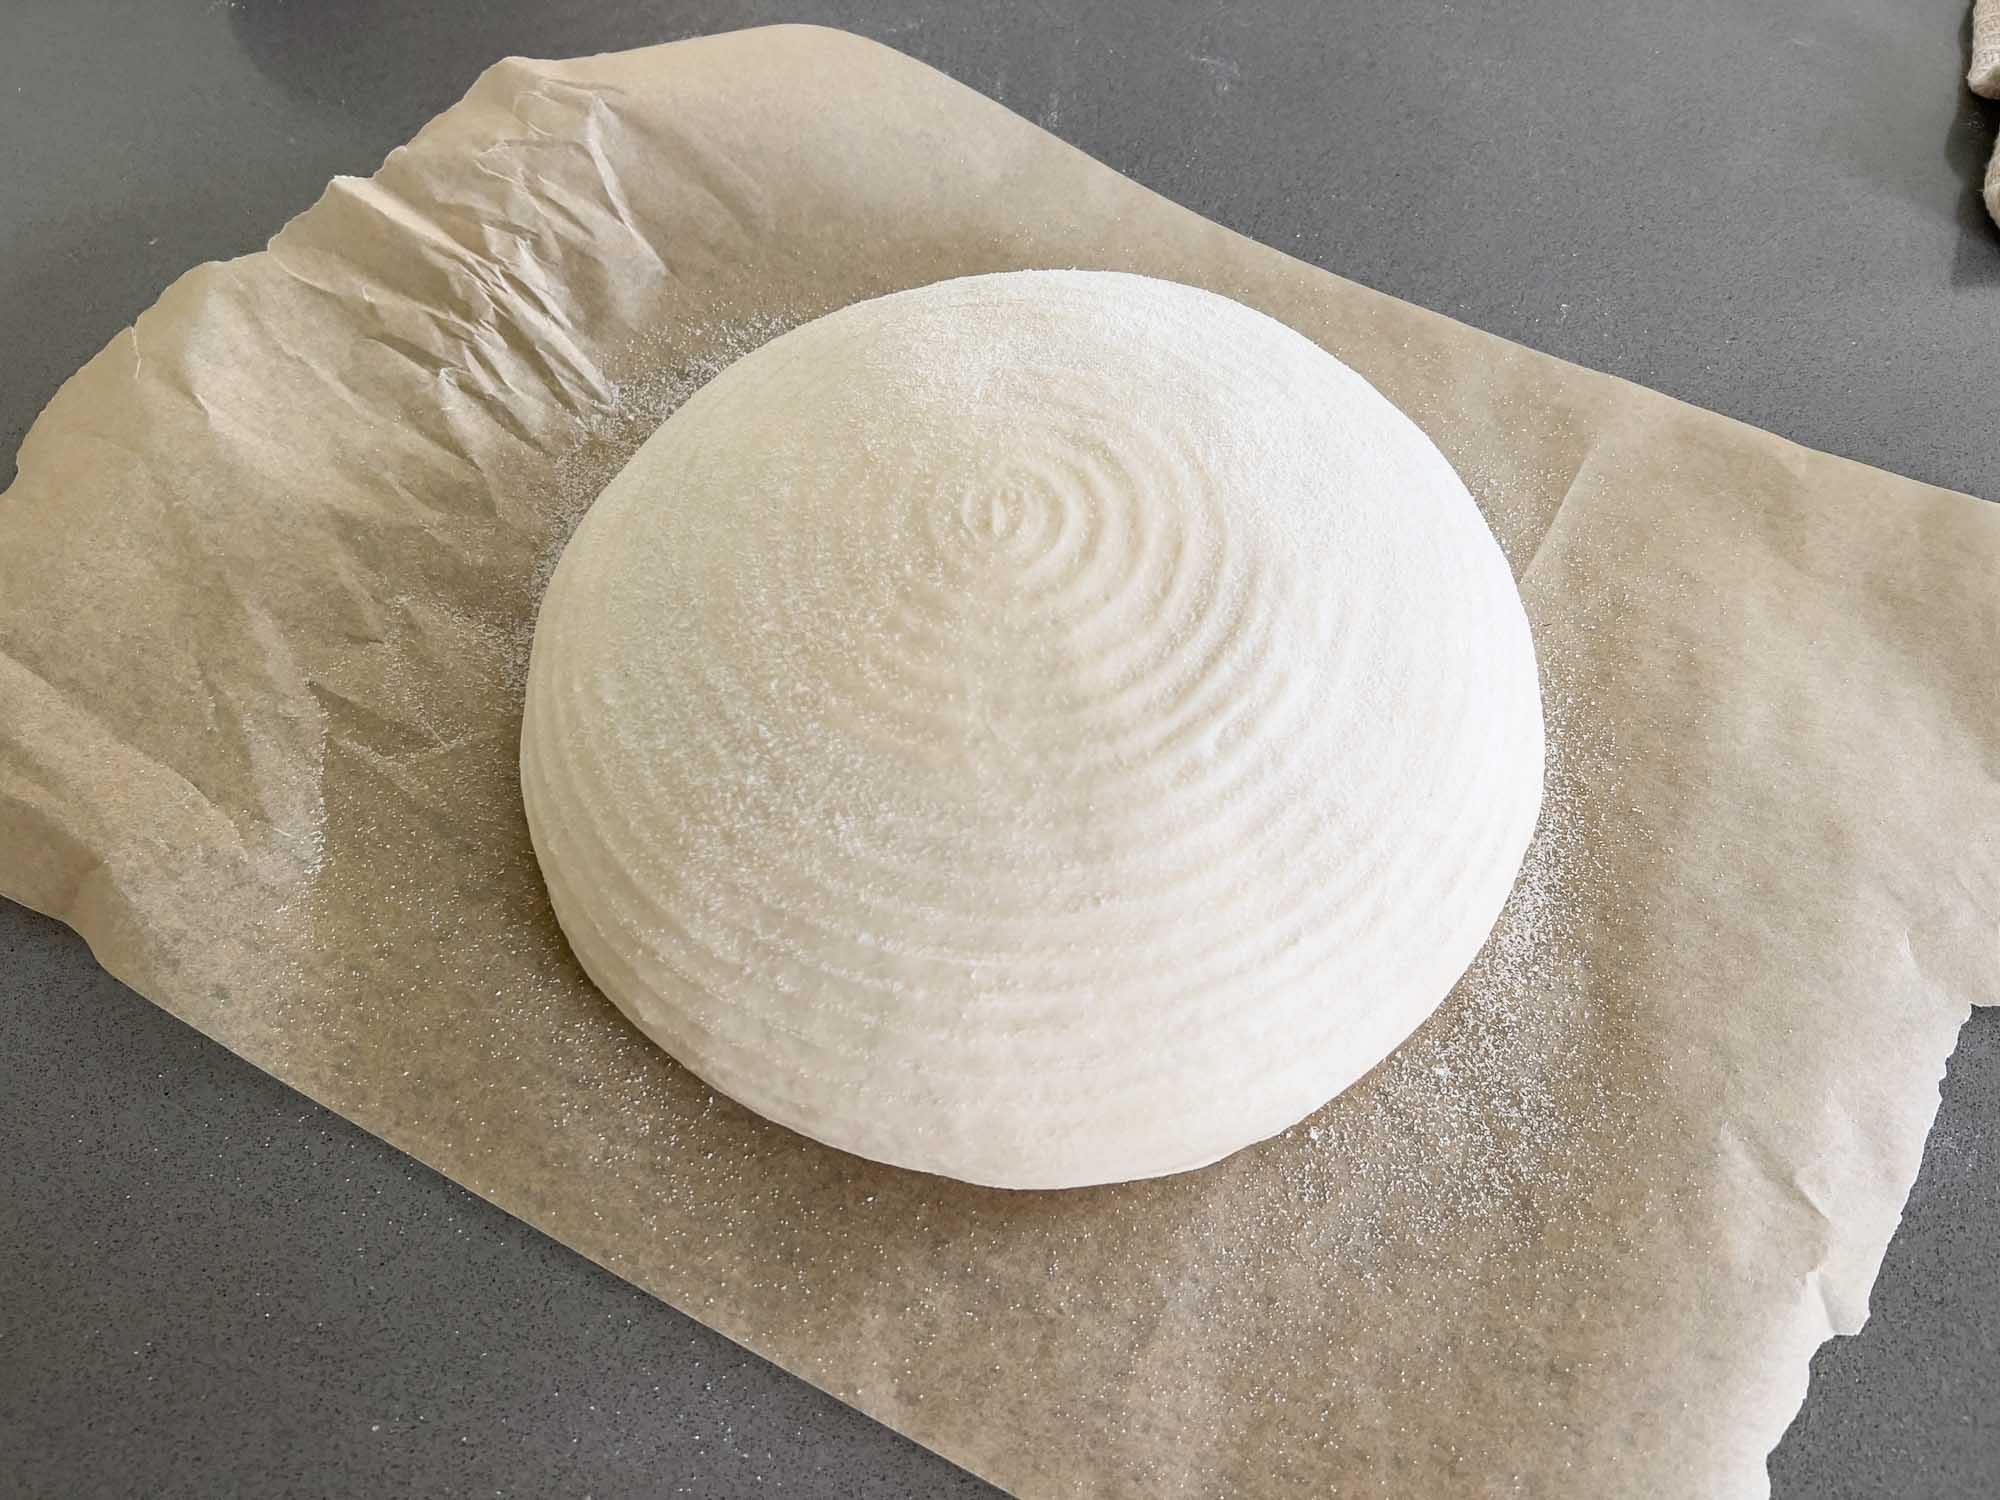
I personally love to bake mine the next morning. I swear by cold proofing. There’s just something so special it does to the texture and flavor, and it’s a step I can’t skip. So, I’m sharing all the secrets. Now it’s time to remove the bowl from the fridge and turn the dough out onto a sheet of parchment paper.
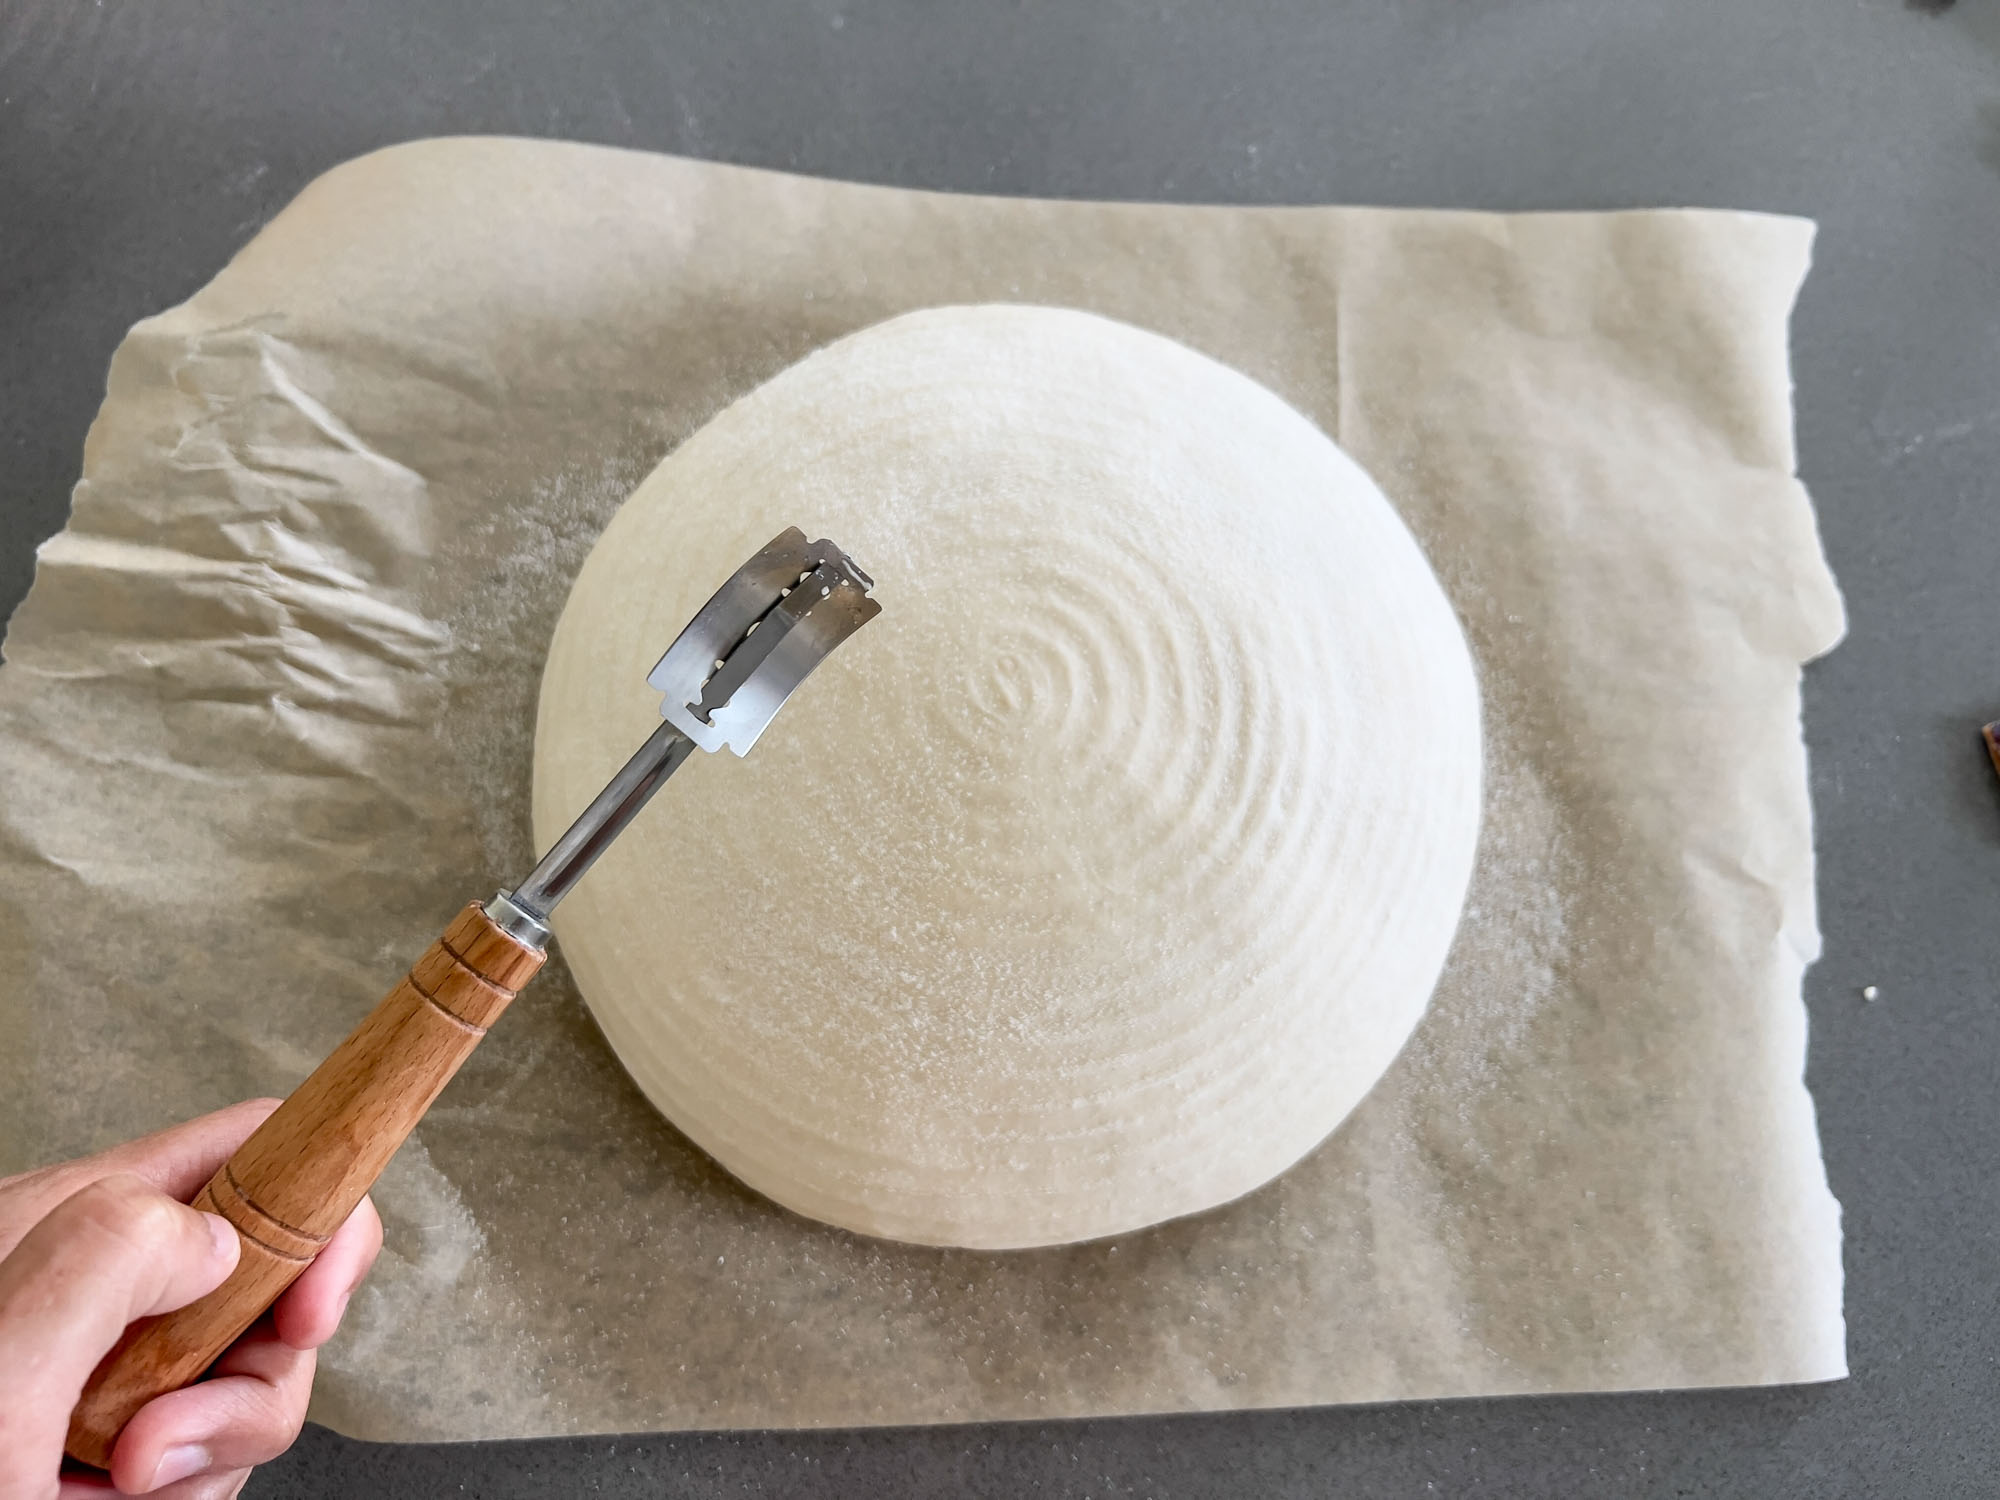
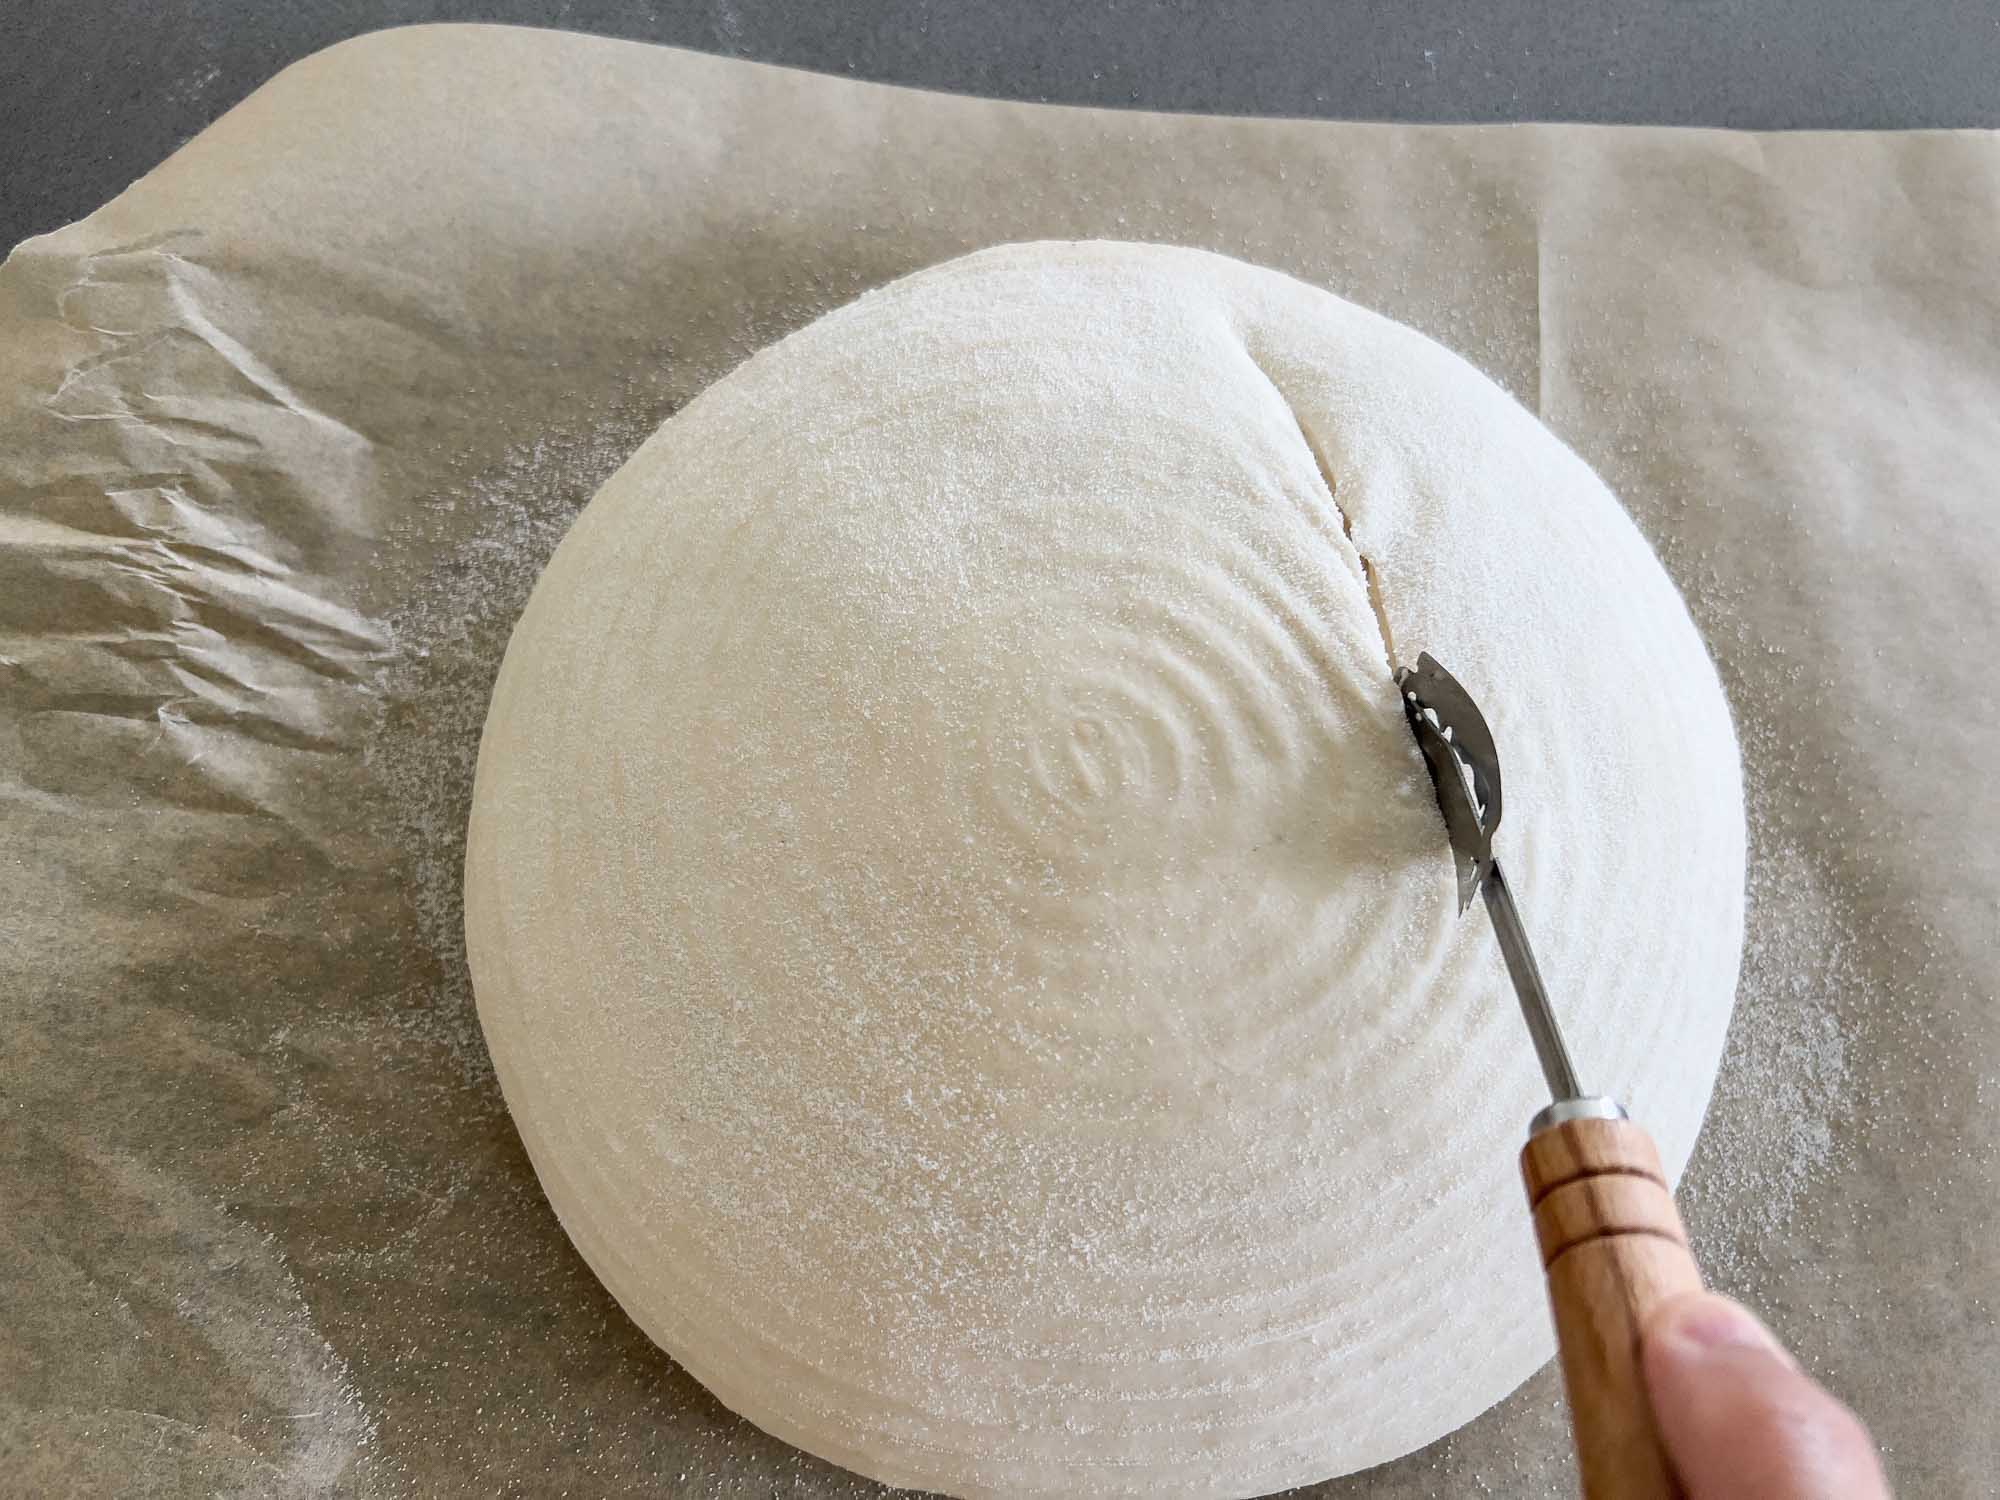
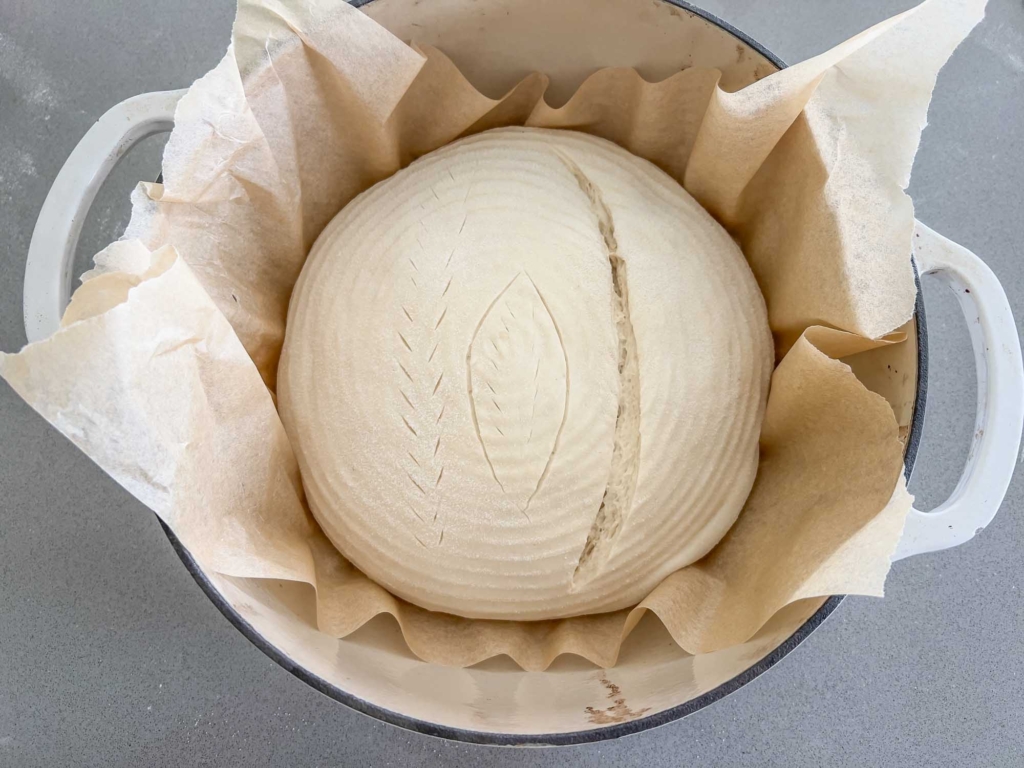
Scoring Time
Now, it’s time to score your dough.
Scoring is the process of making shallow cuts or slashes on the surface of the dough just before it enters the oven. These cuts serve several purposes:
- Controlled Expansion: Scoring allows the dough to expand evenly during baking by providing weak points where the steam inside the dough can escape. This prevents the bread from bursting unevenly and ensures a uniform rise.
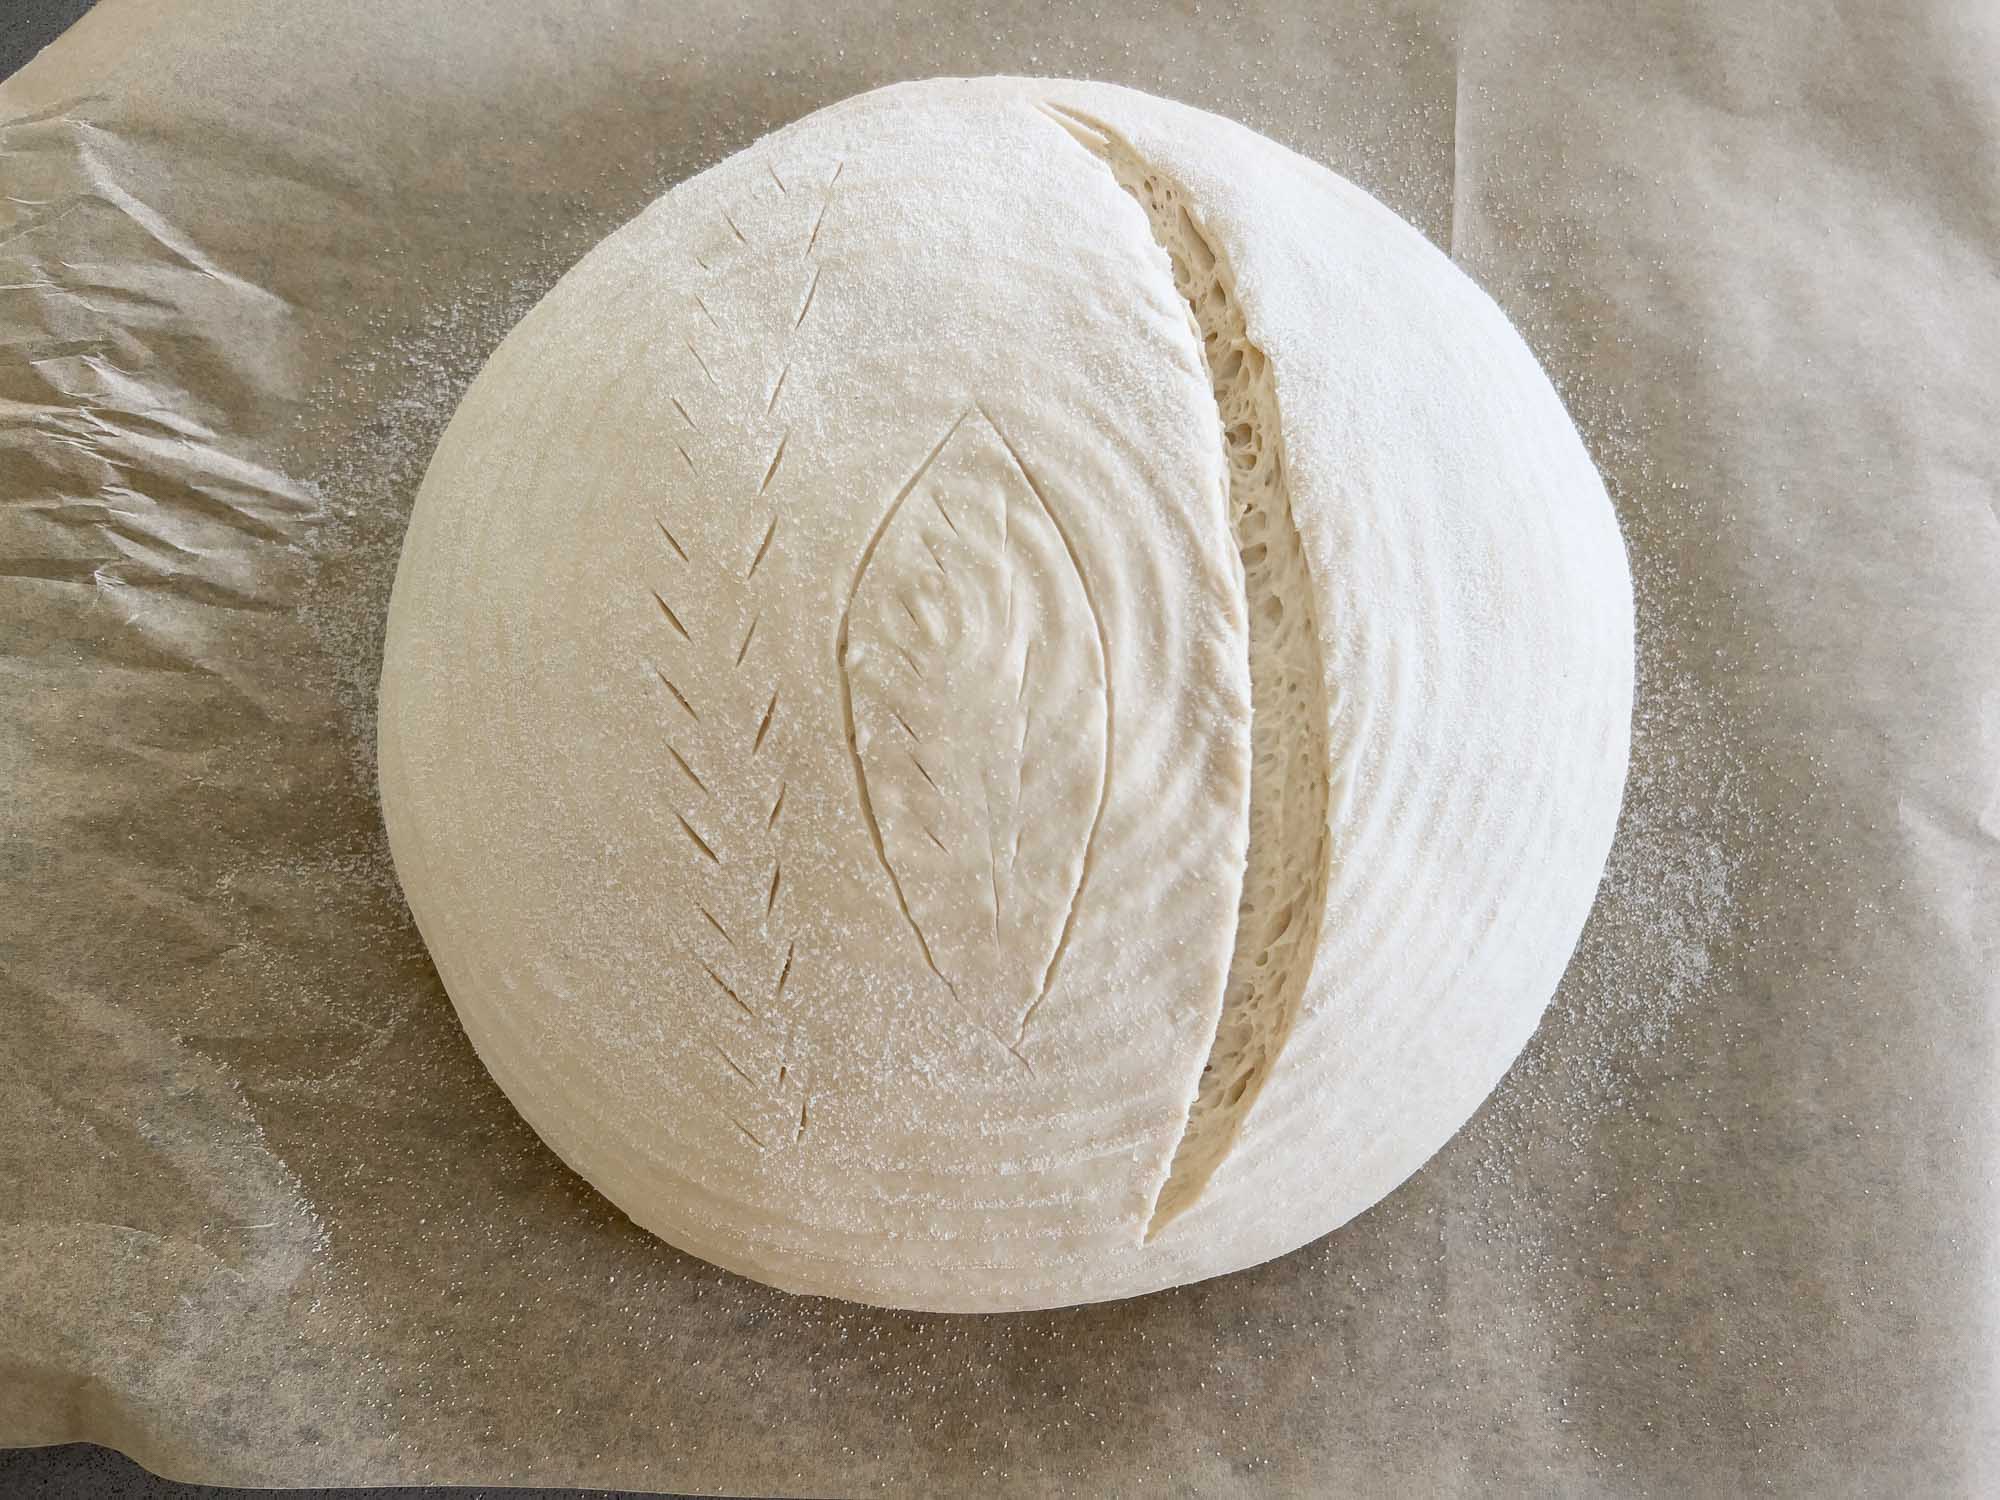
- Aesthetic Appeal: Scoring creates decorative patterns on the crust, enhancing the visual appeal of the finished loaf. Feel free to express your creativity and design the cutest patterns.
- Flavor and Texture: The exposed surface created by scoring caramelizes during baking, resulting in a crispier crust. Additionally, scoring helps regulate the release of moisture from the dough, contributing to a desirable texture in the crumb.
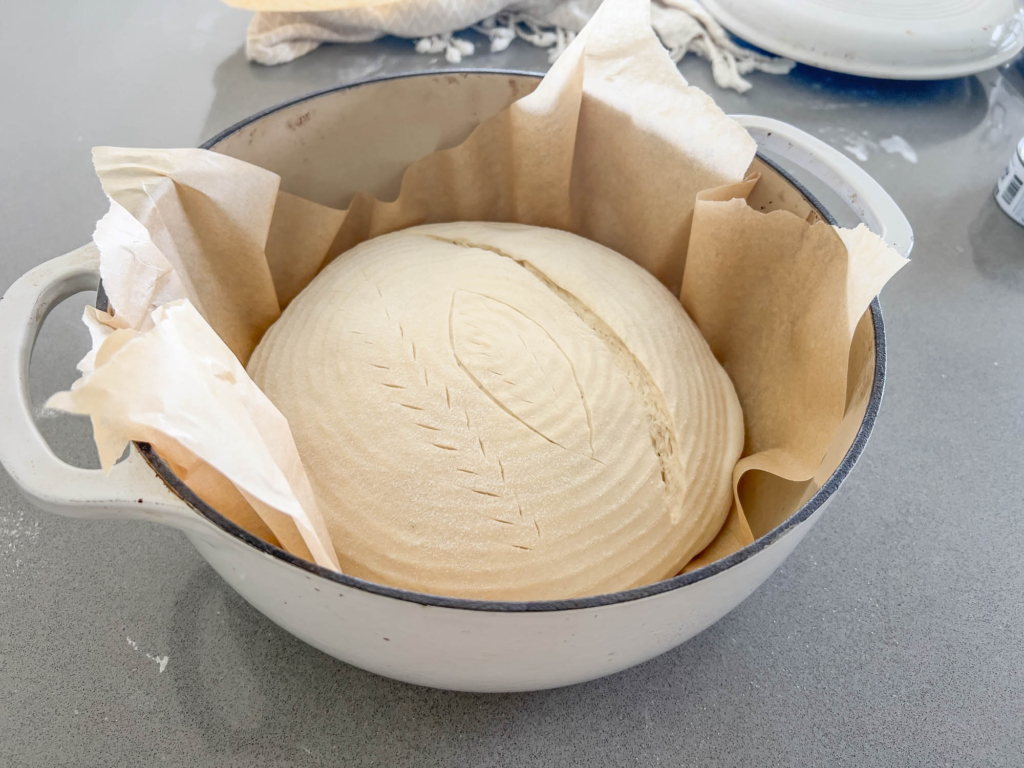
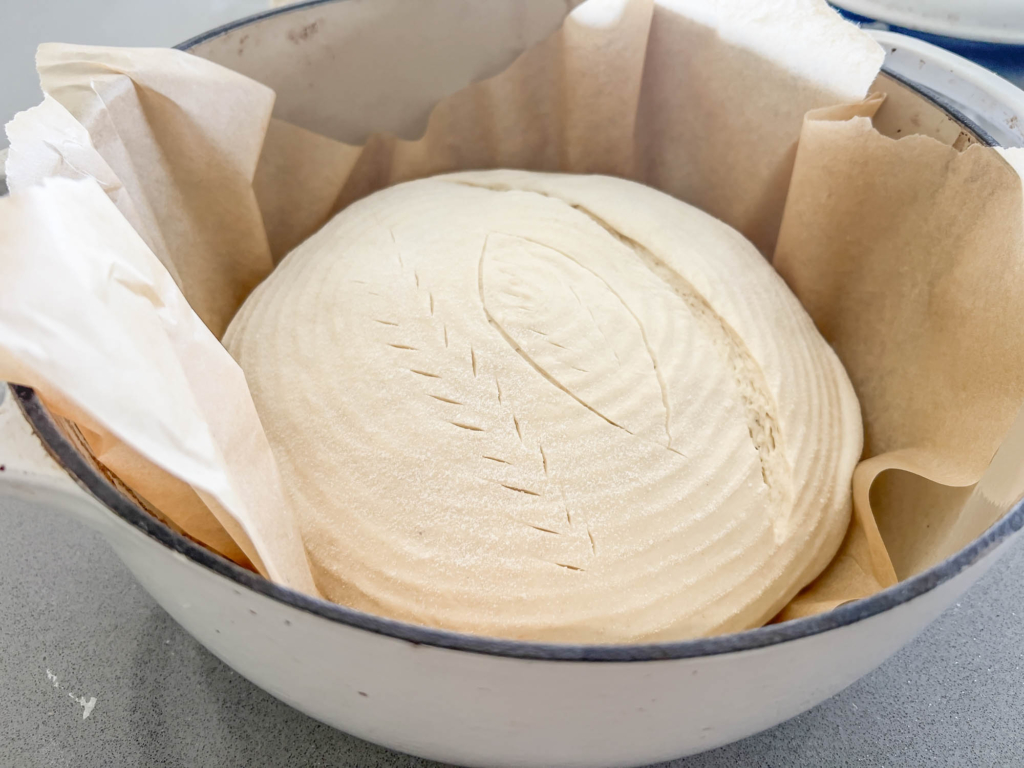
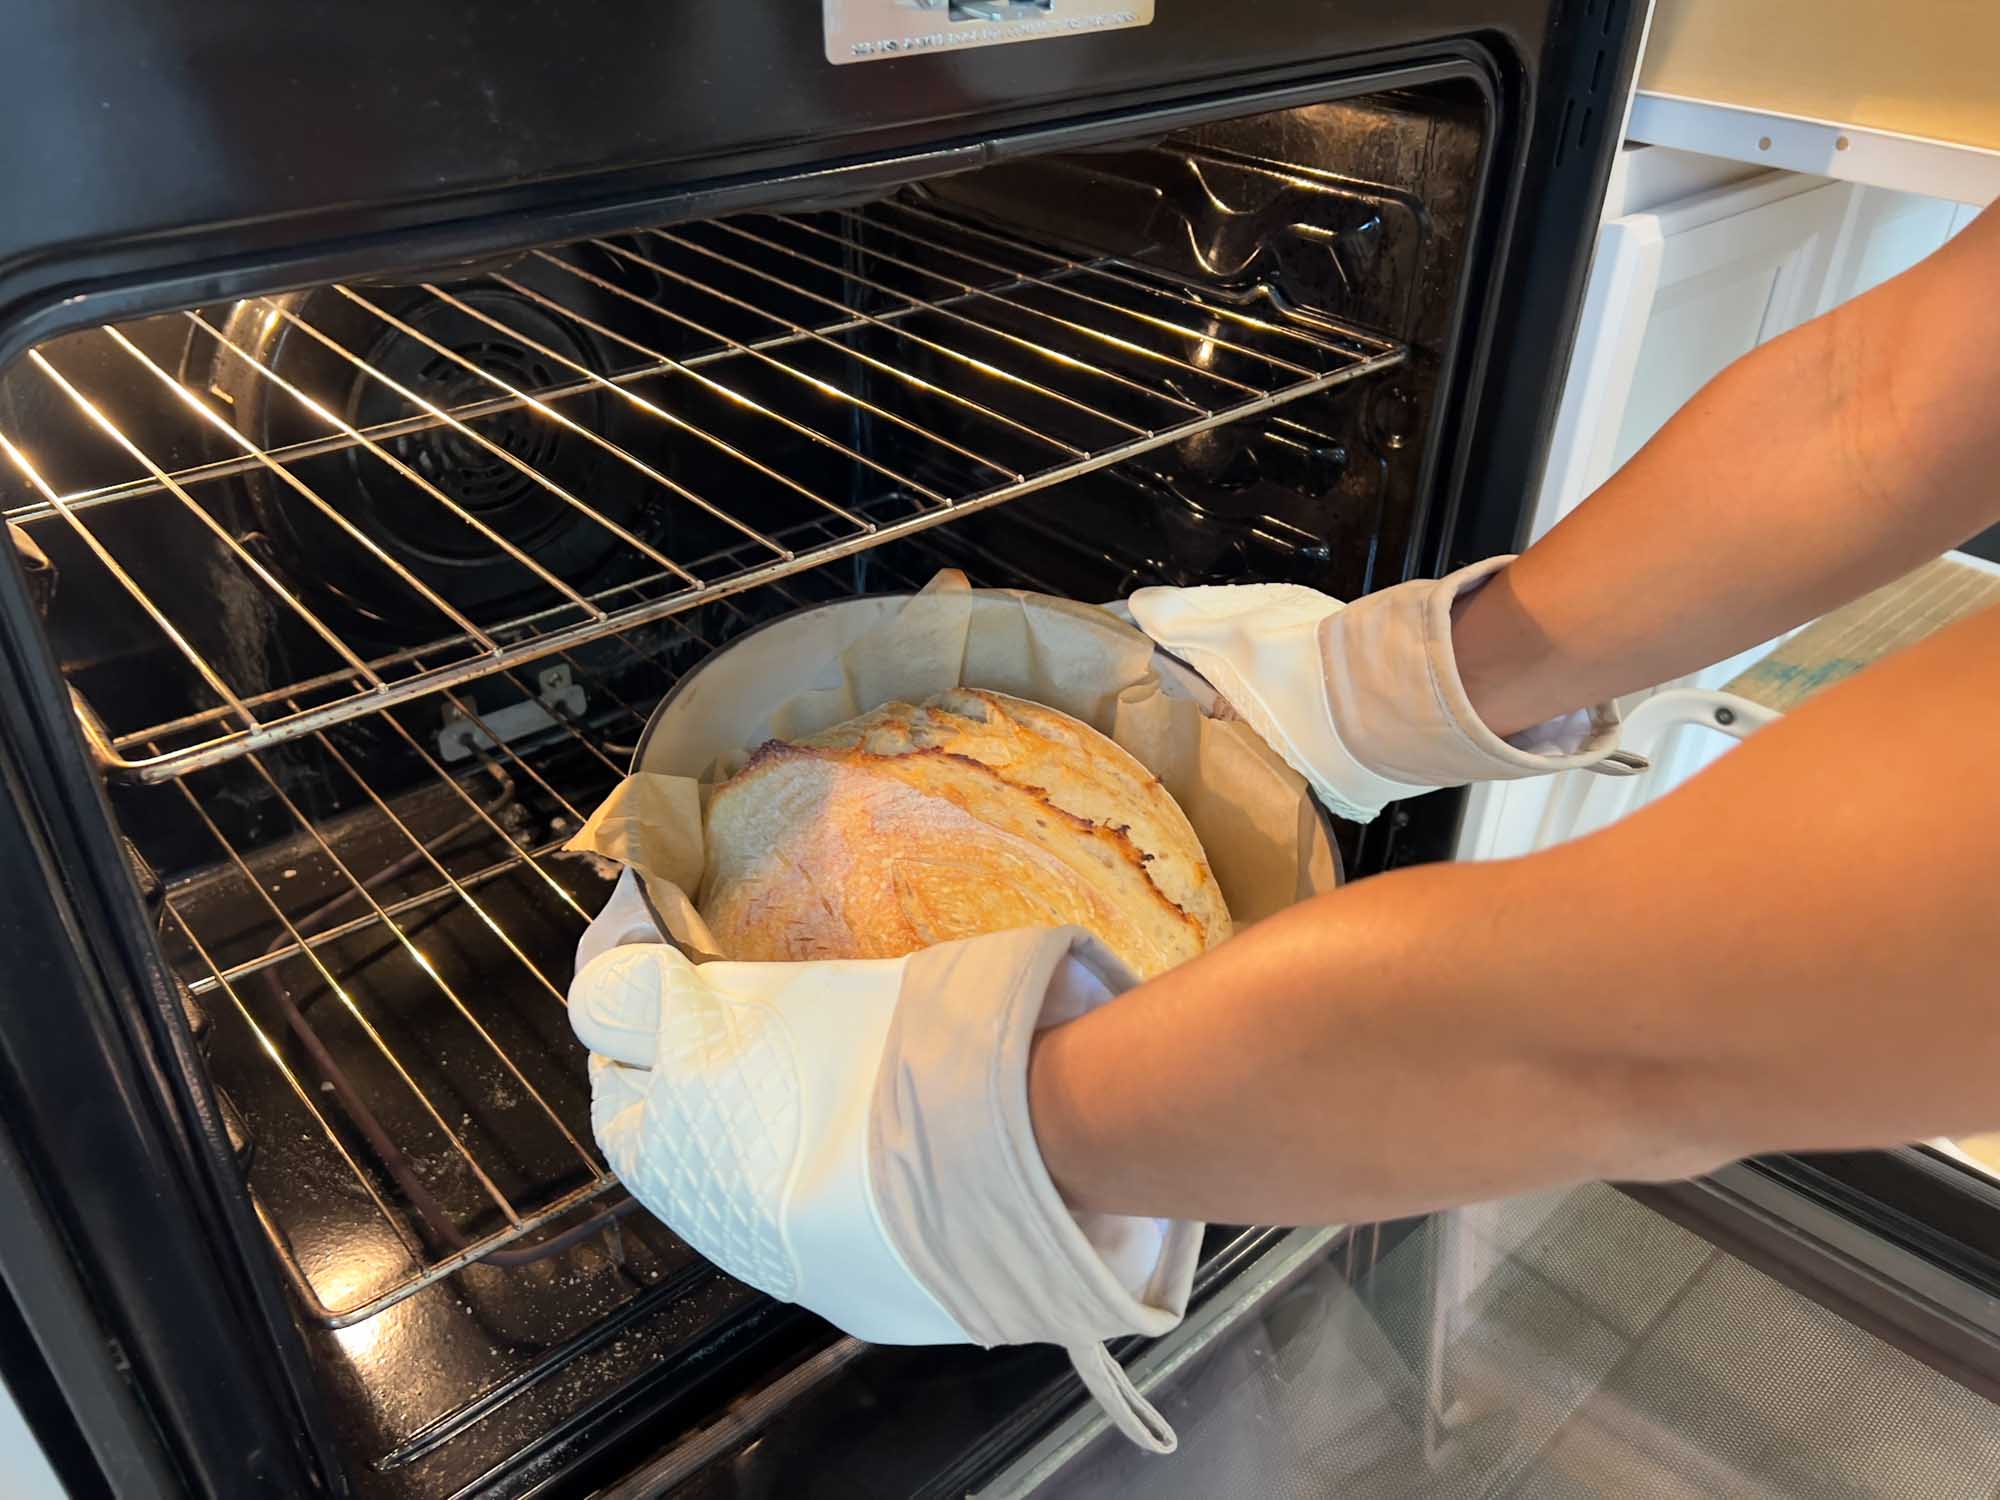
The Moment You’ve Been Waiting For: It’s Time To Bake!
Preheat your oven to 450°F with your Dutch oven inside as it warms up. Then transfer your dough to the preheated Dutch oven. Carefully place the dough, parchment paper and all, into the Dutch oven, ensuring it’s centered. Cover the Dutch oven with its lid to trap steam and promote oven spring.
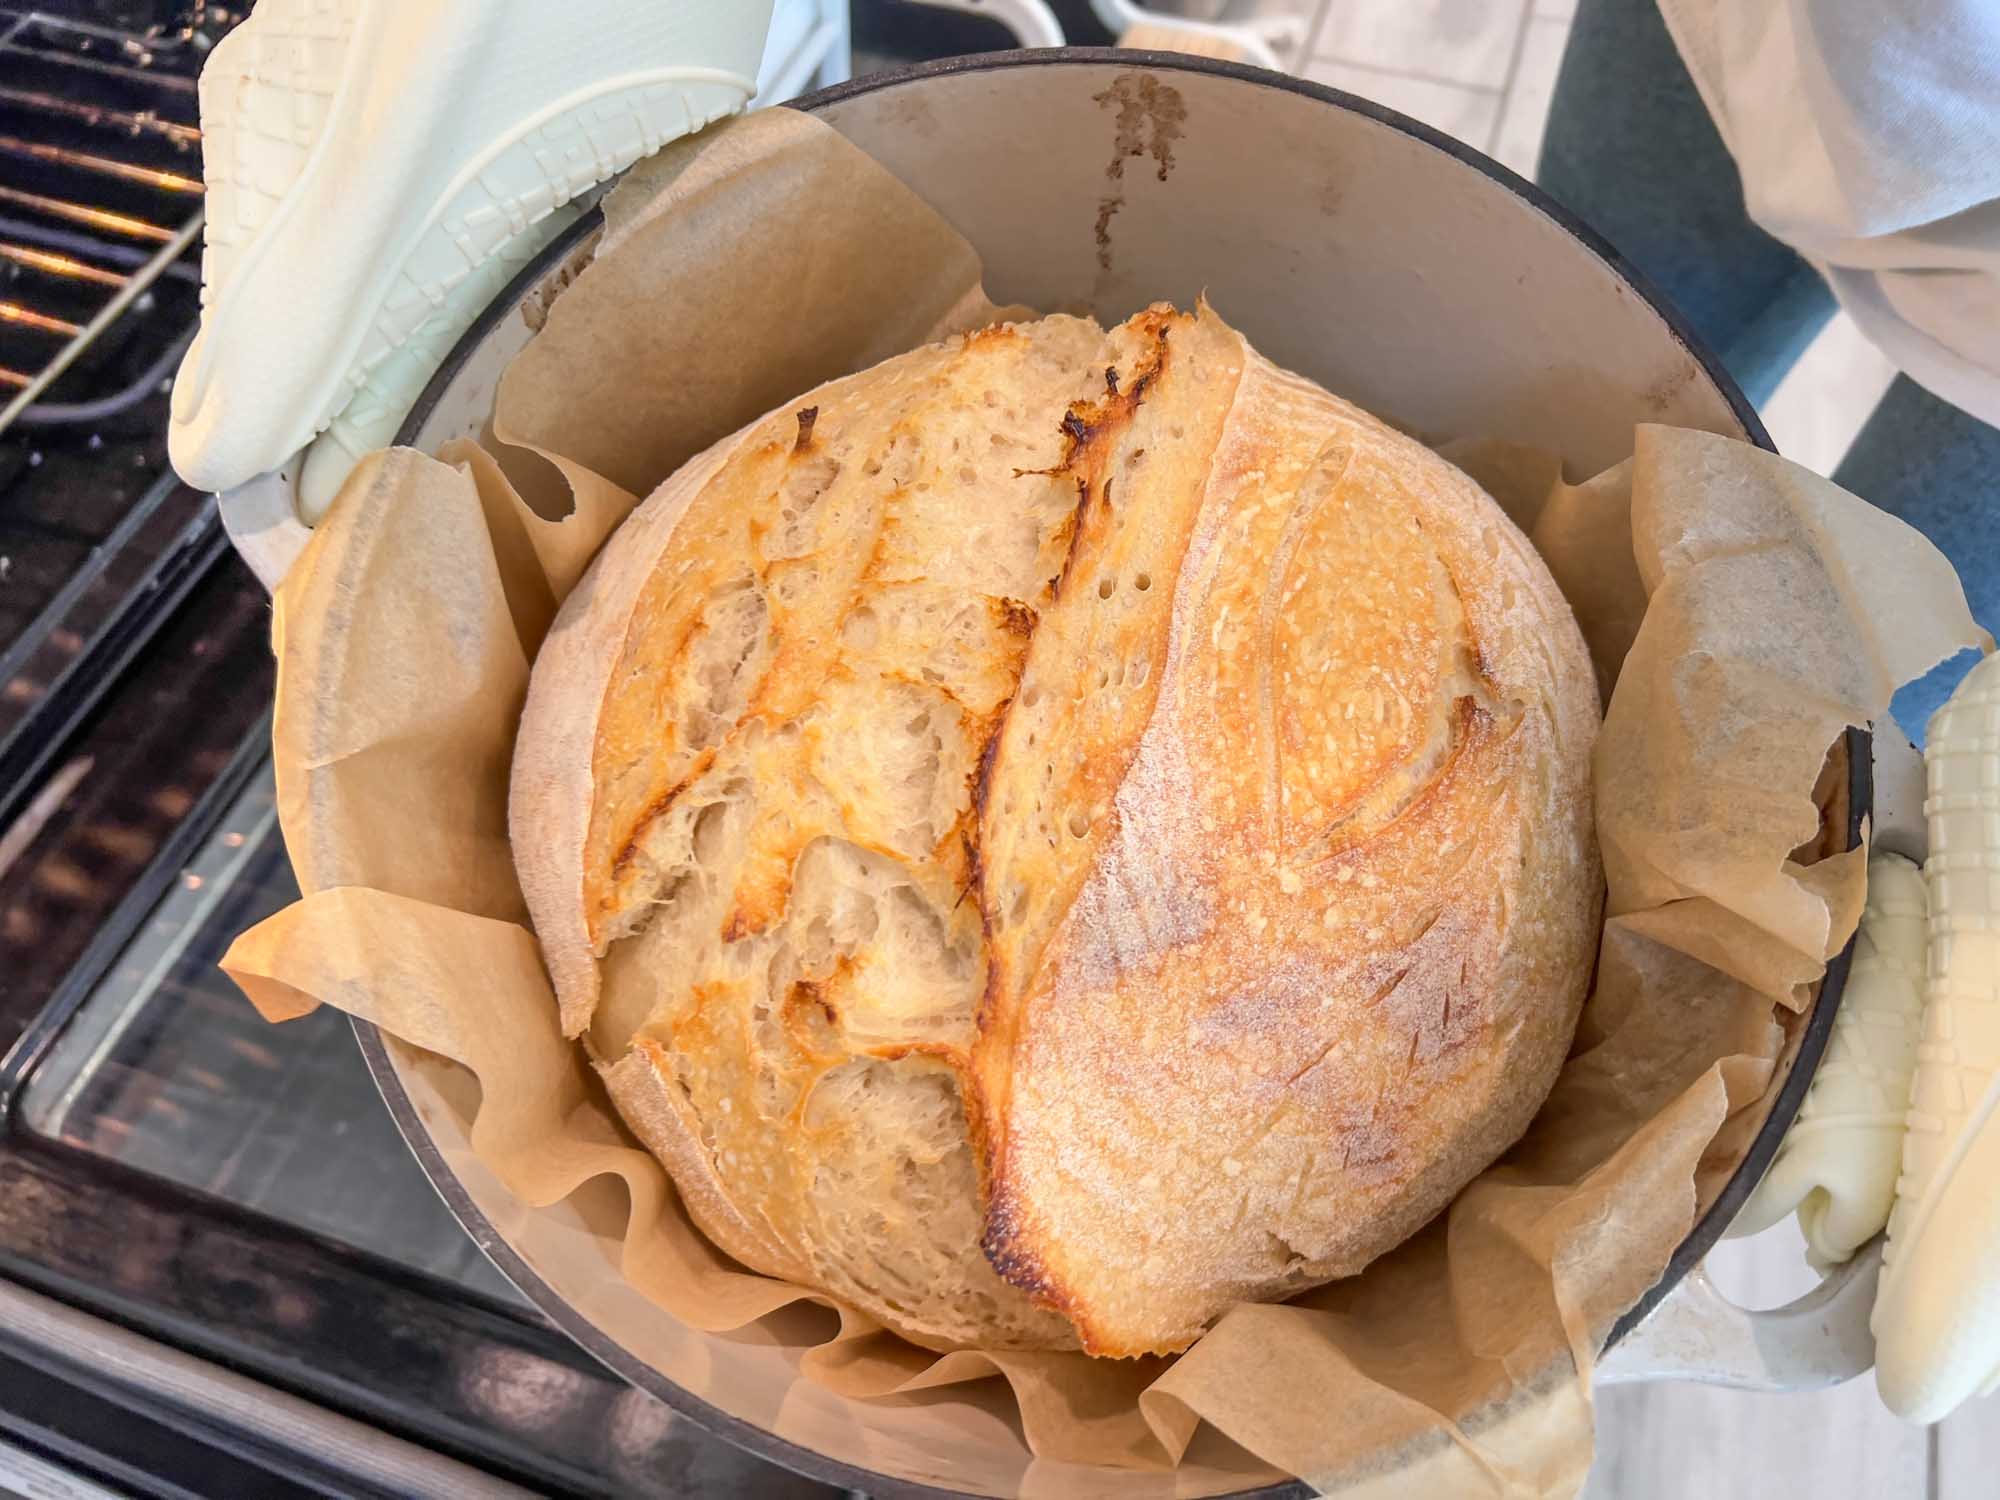
Bake covered at 450ºF for 30 minutes, allowing the dough to rise and develop a crust. After 30 minutes, remove the lid to expose the loaf. Lower the oven temperature to 400ºF and continue baking for an additional 15 minutes.
Once it’s finished baking, carefully remove the Dutch oven from the oven. Use oven mitts or pot holders, as it will be extremely hot. Transfer the bread to a wire rack to cool completely before slicing.
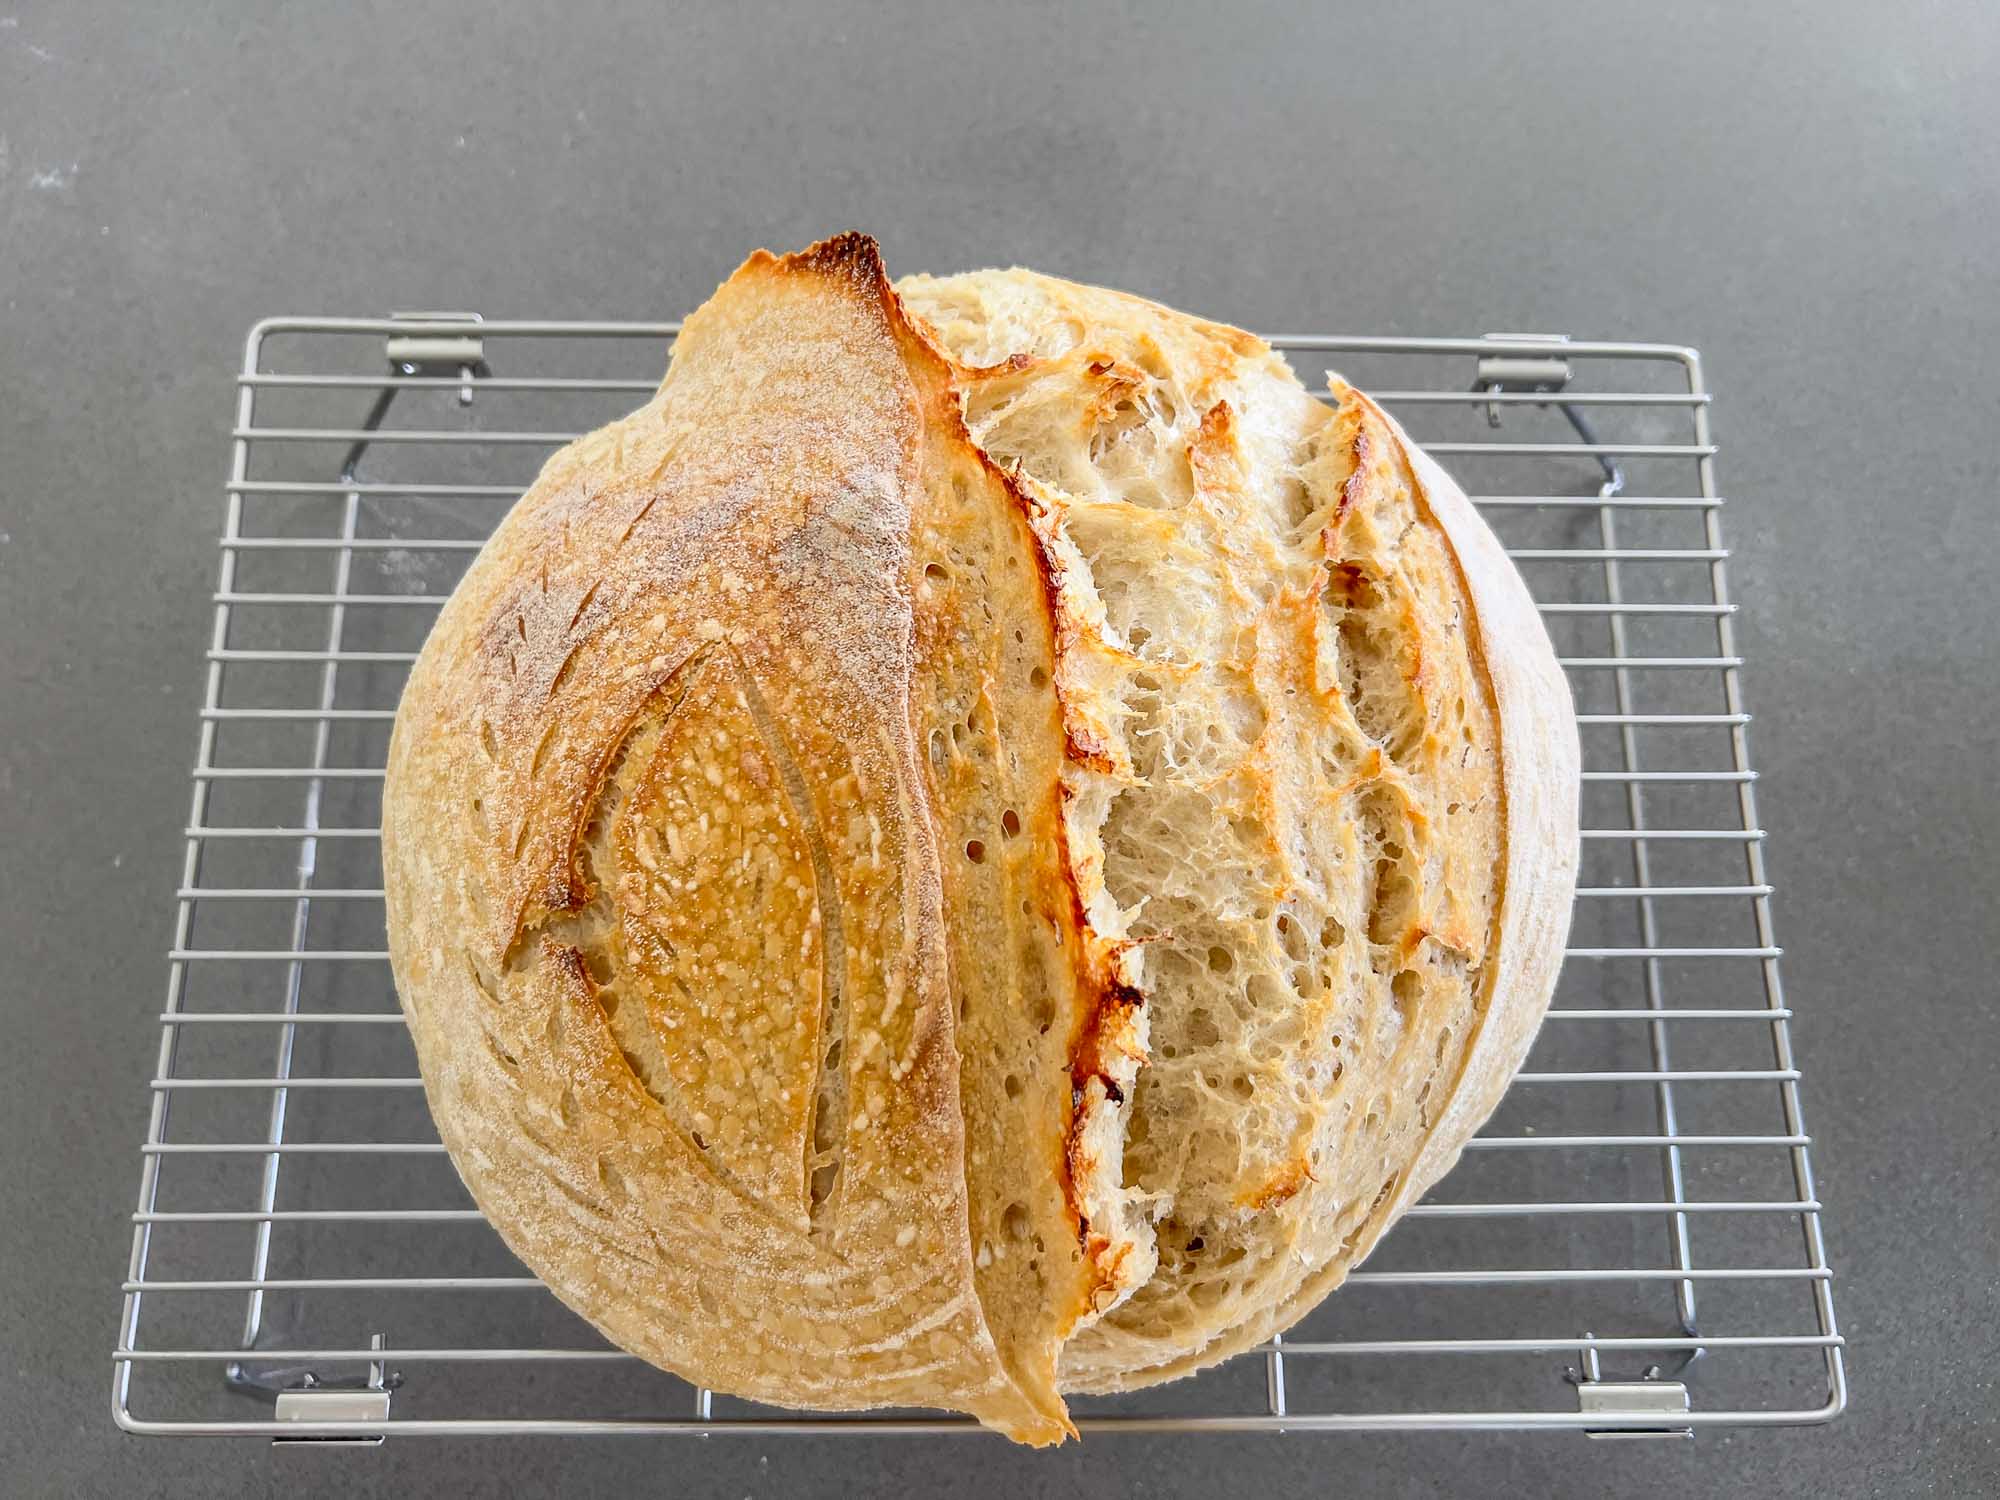
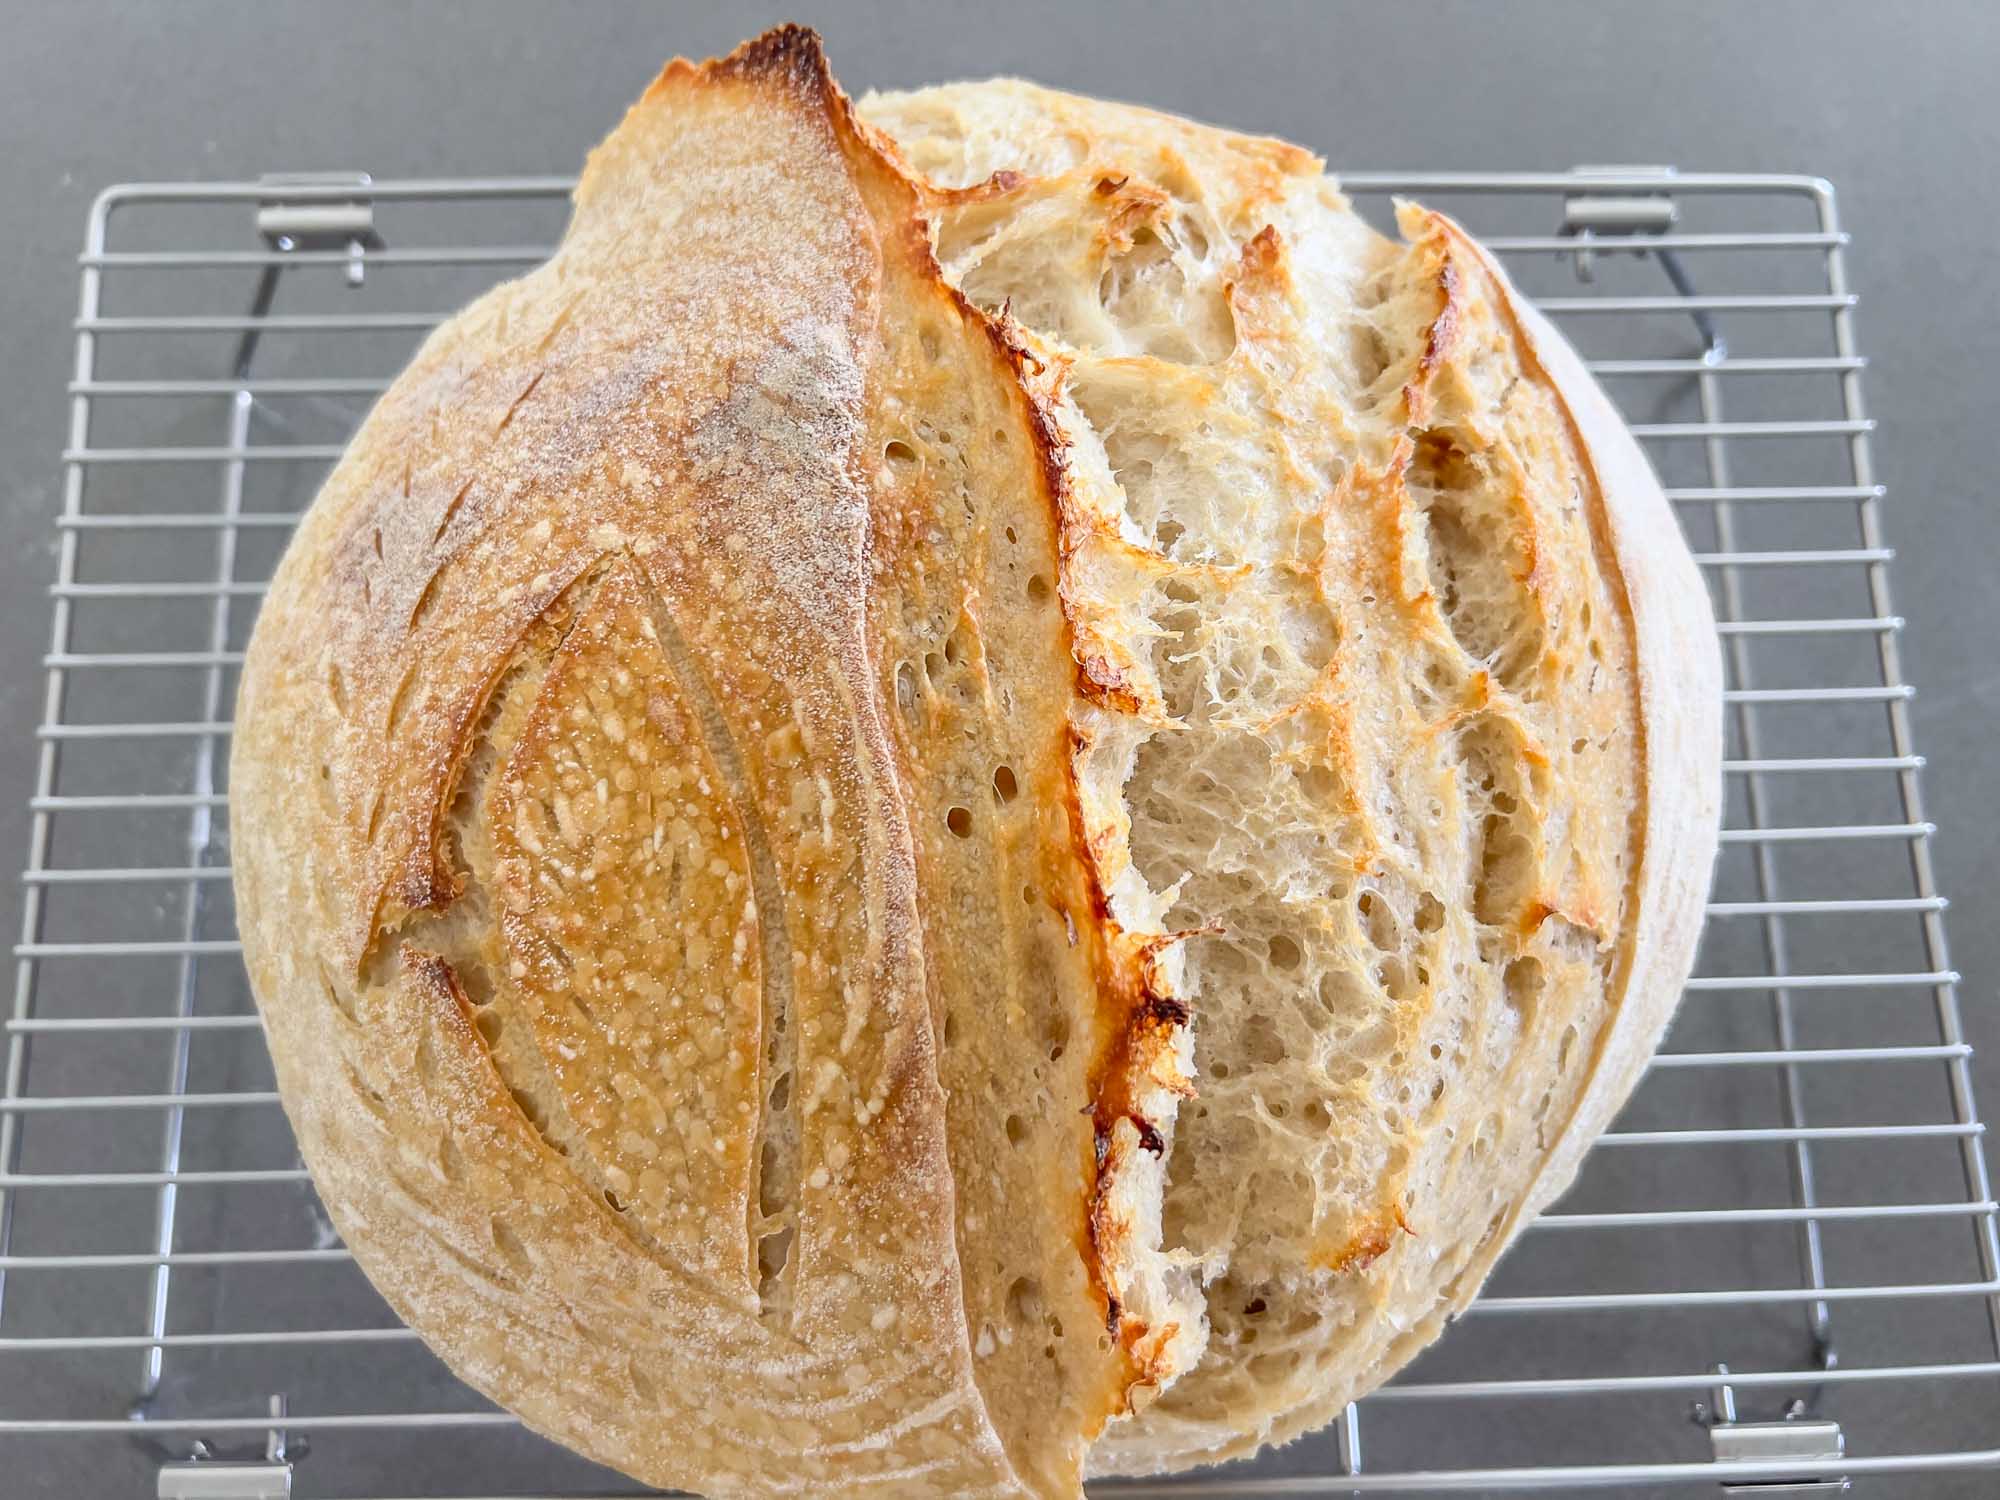
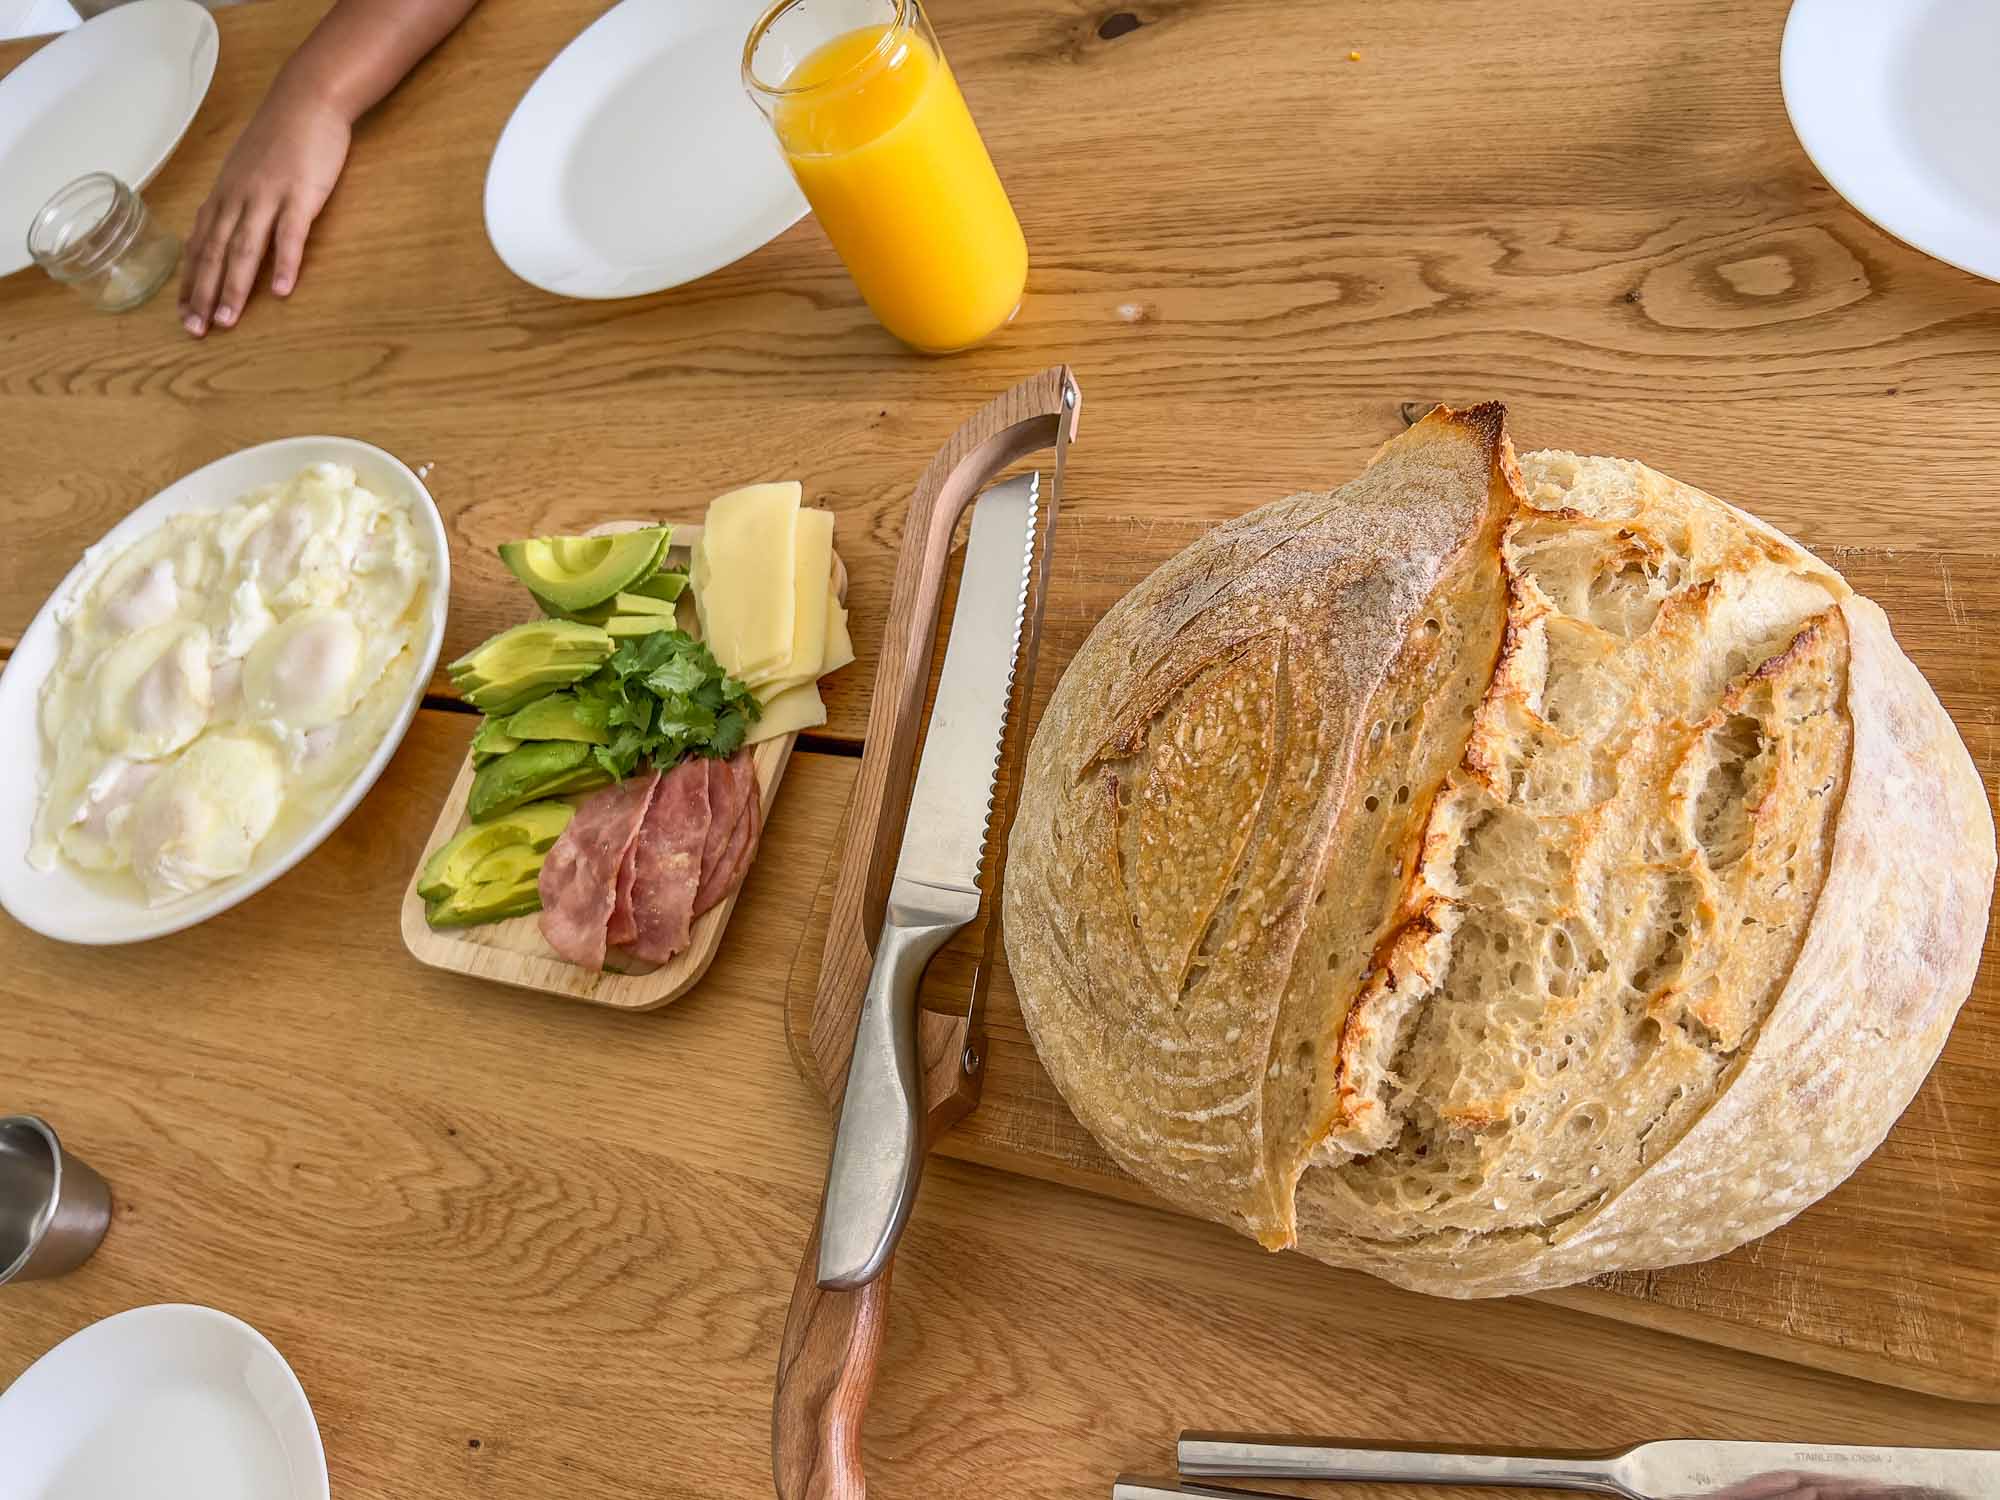
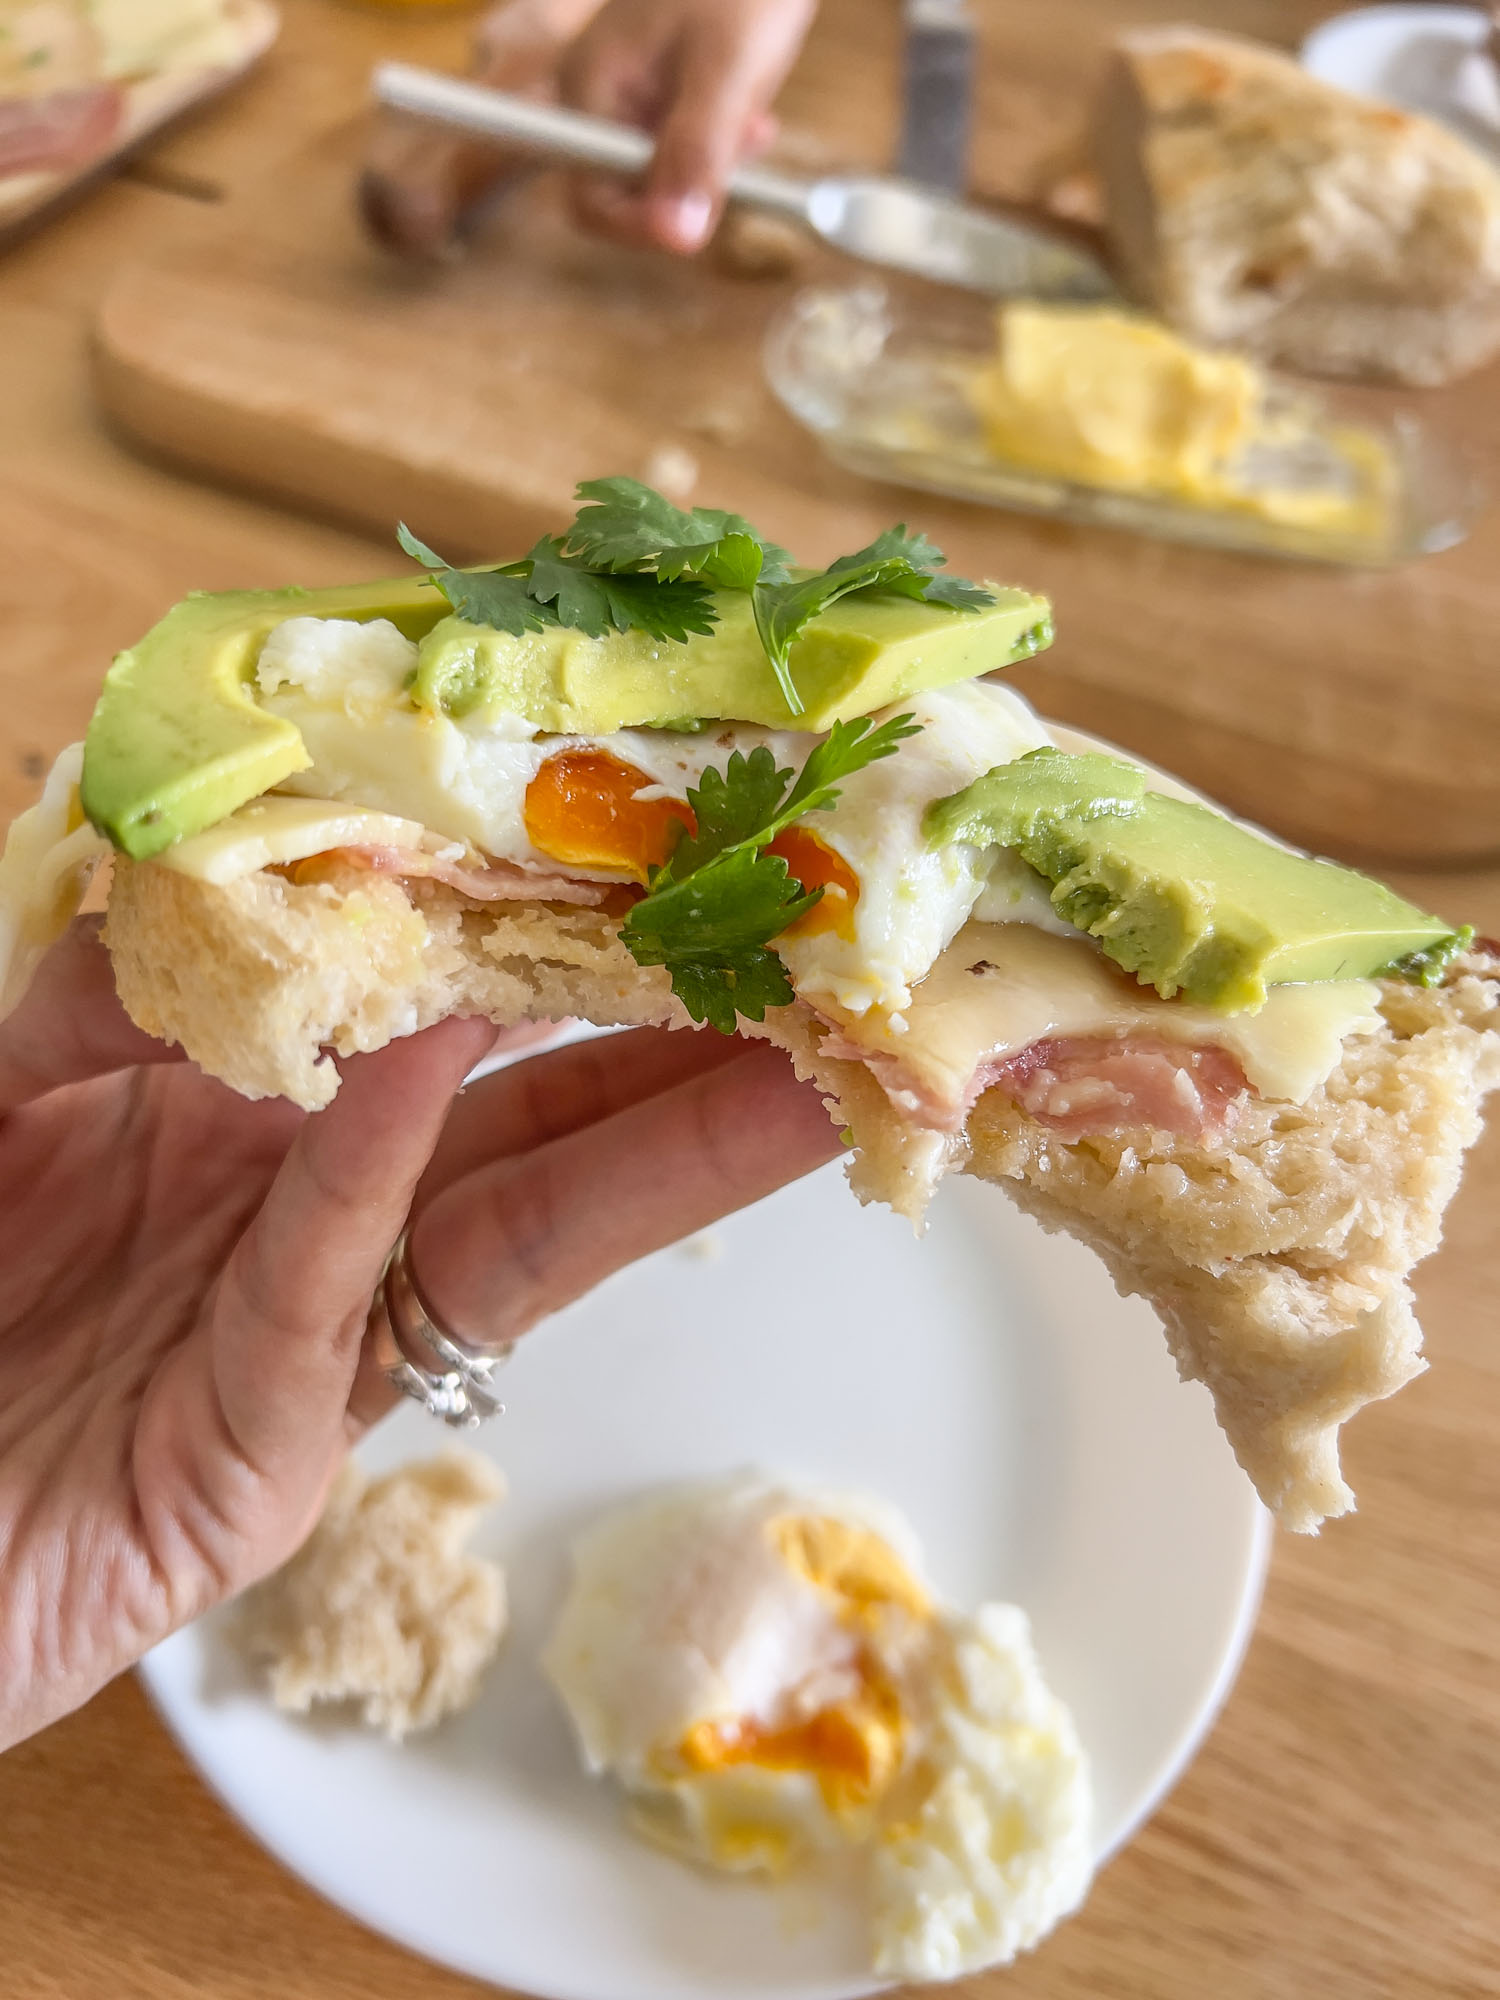
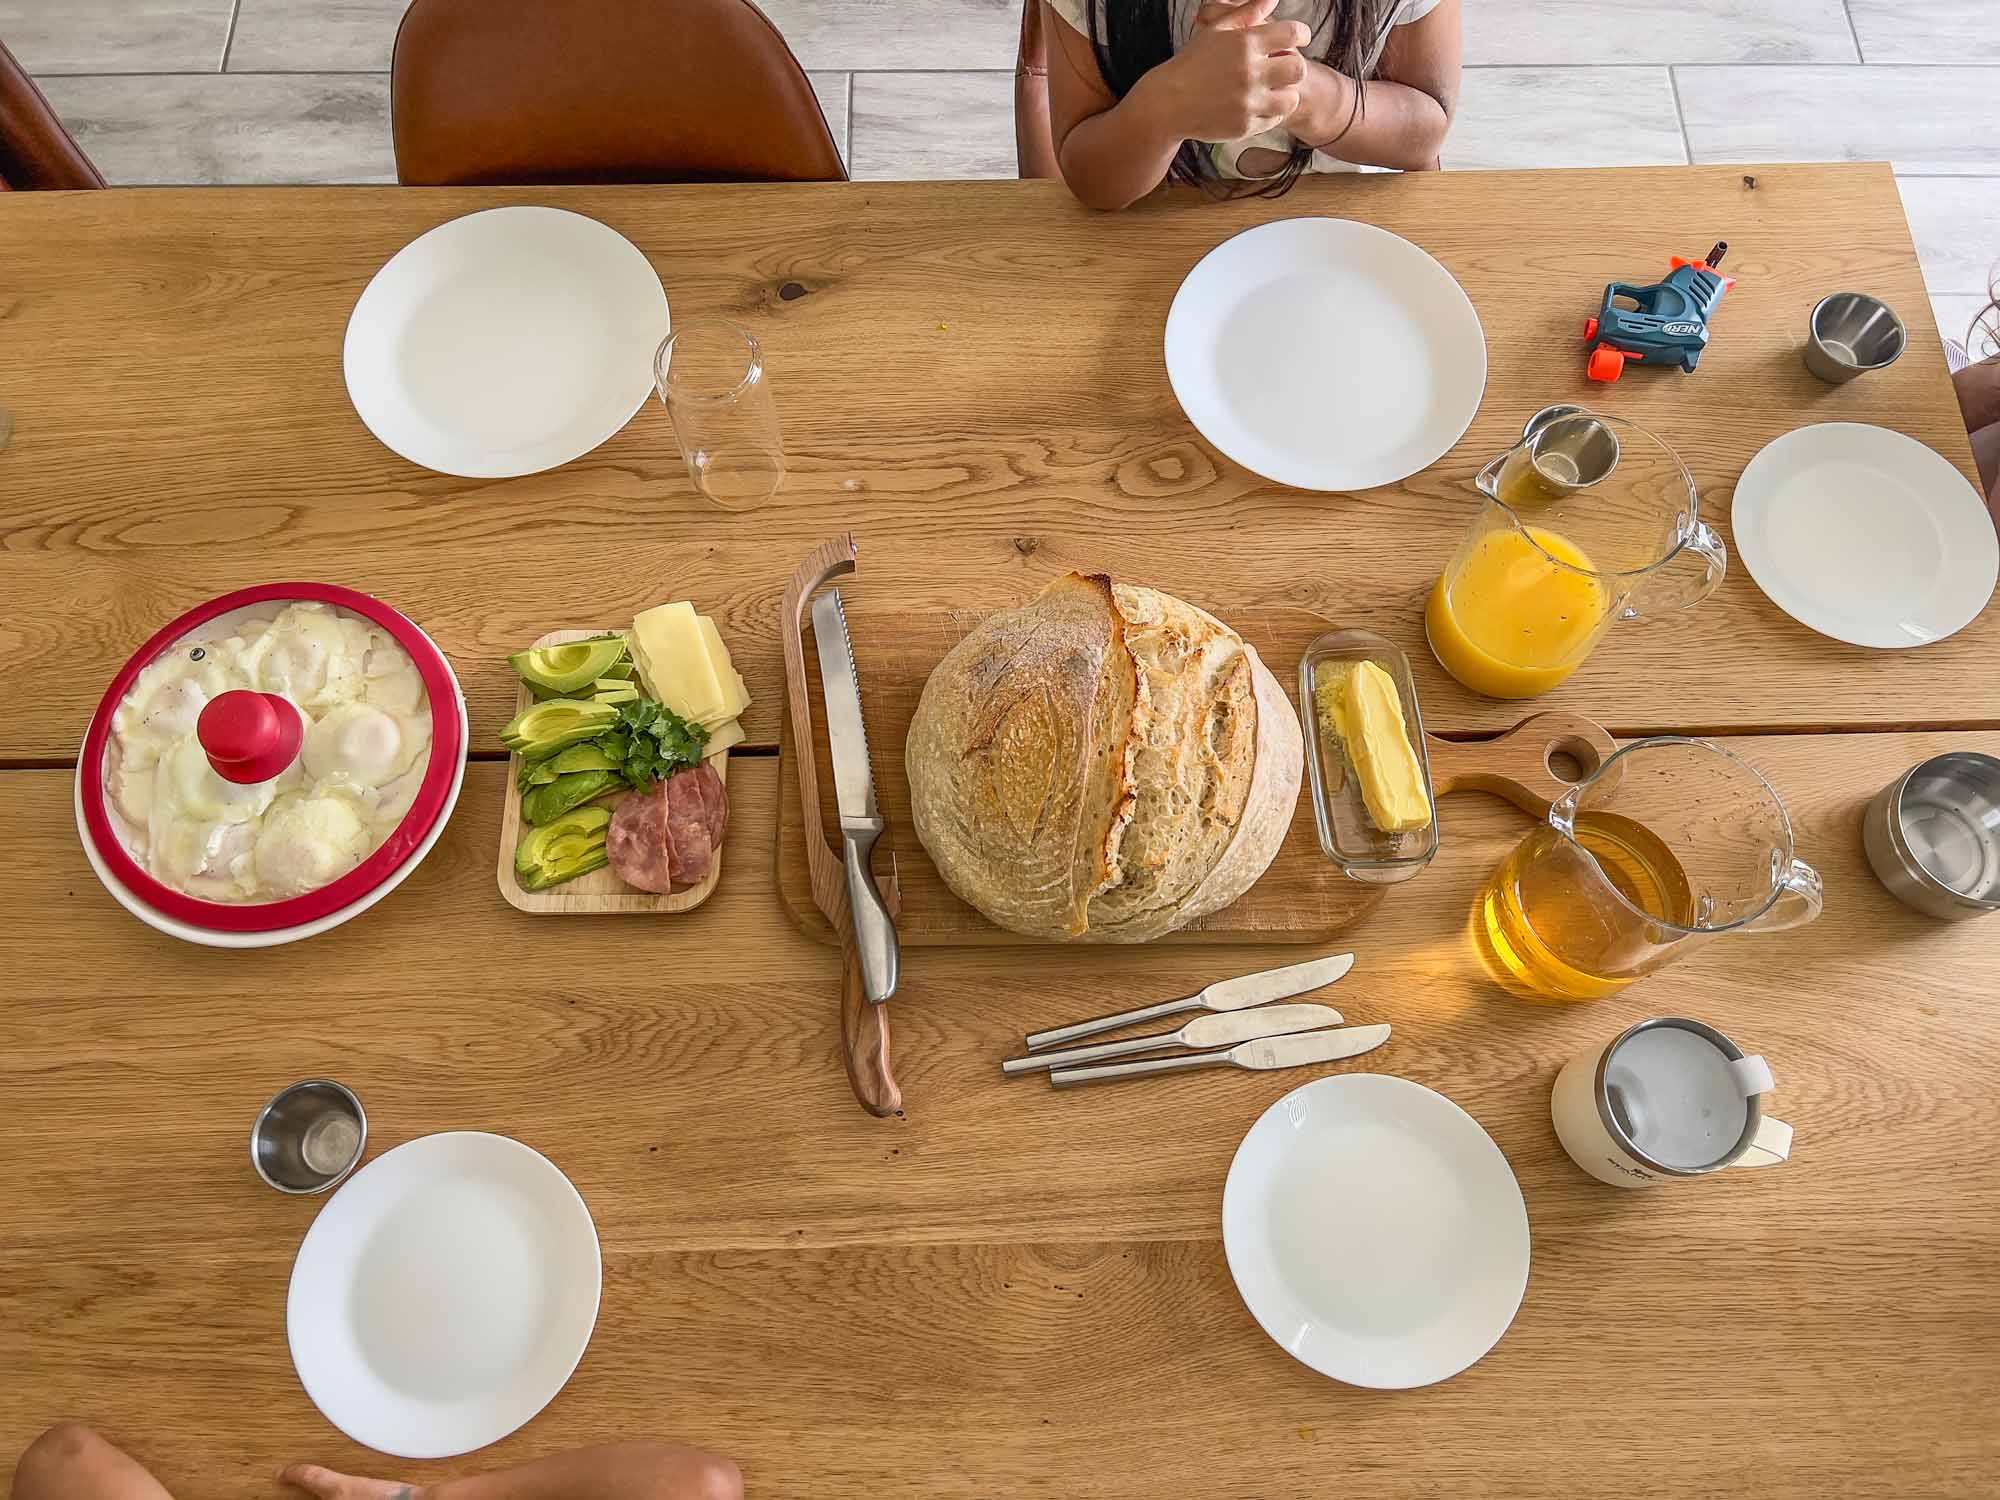
Congratulations on successfully baking your delicious sourdough bread! Now, it’s time to serve it up and wow your family. In our house, we love a good breakfast sandwich. Trust me, there’s truly nothing like the satisfaction of savoring a homemade sourdough creation. May your kitchen be filled with the warm aroma of freshly baked bread and the joy of sharing it with your loved ones. Happy baking and happy eating!
If you’ve given this recipe a try, I’d love to hear about your experience! Feel free to leave a comment below, sharing your thoughts on how you loved the bread and how the baking process went for you. Your feedback is invaluable, and I appreciate you being part of this baking journey. Happy baking!