The Ultimate Guide To Creating A Perfect Sourdough Starter
Making a sourdough starter from scratch is a captivating and rewarding process that unlocks the full potential of your homemade bread. It may seem intimidating at first, but with the right tools and a little patience, you can cultivate a vibrant and active sourdough starter that will become the heart and soul of your bread-making adventures. In this comprehensive guide, we will walk you through the step-by-step process of creating a sourdough starter, highlighting specific items like Weck jars and a scale that can enhance your experience.
Before we begin, let’s briefly understand what a sourdough starter is. A sourdough starter is a fermented mixture of flour and water that contains wild yeast and beneficial bacteria. These microorganisms interact to create a natural leavening agent, providing the rise, flavor, and texture in sourdough bread.
Gathering Your Equipment
To ensure success in your sourdough journey, it’s helpful to have the following items:
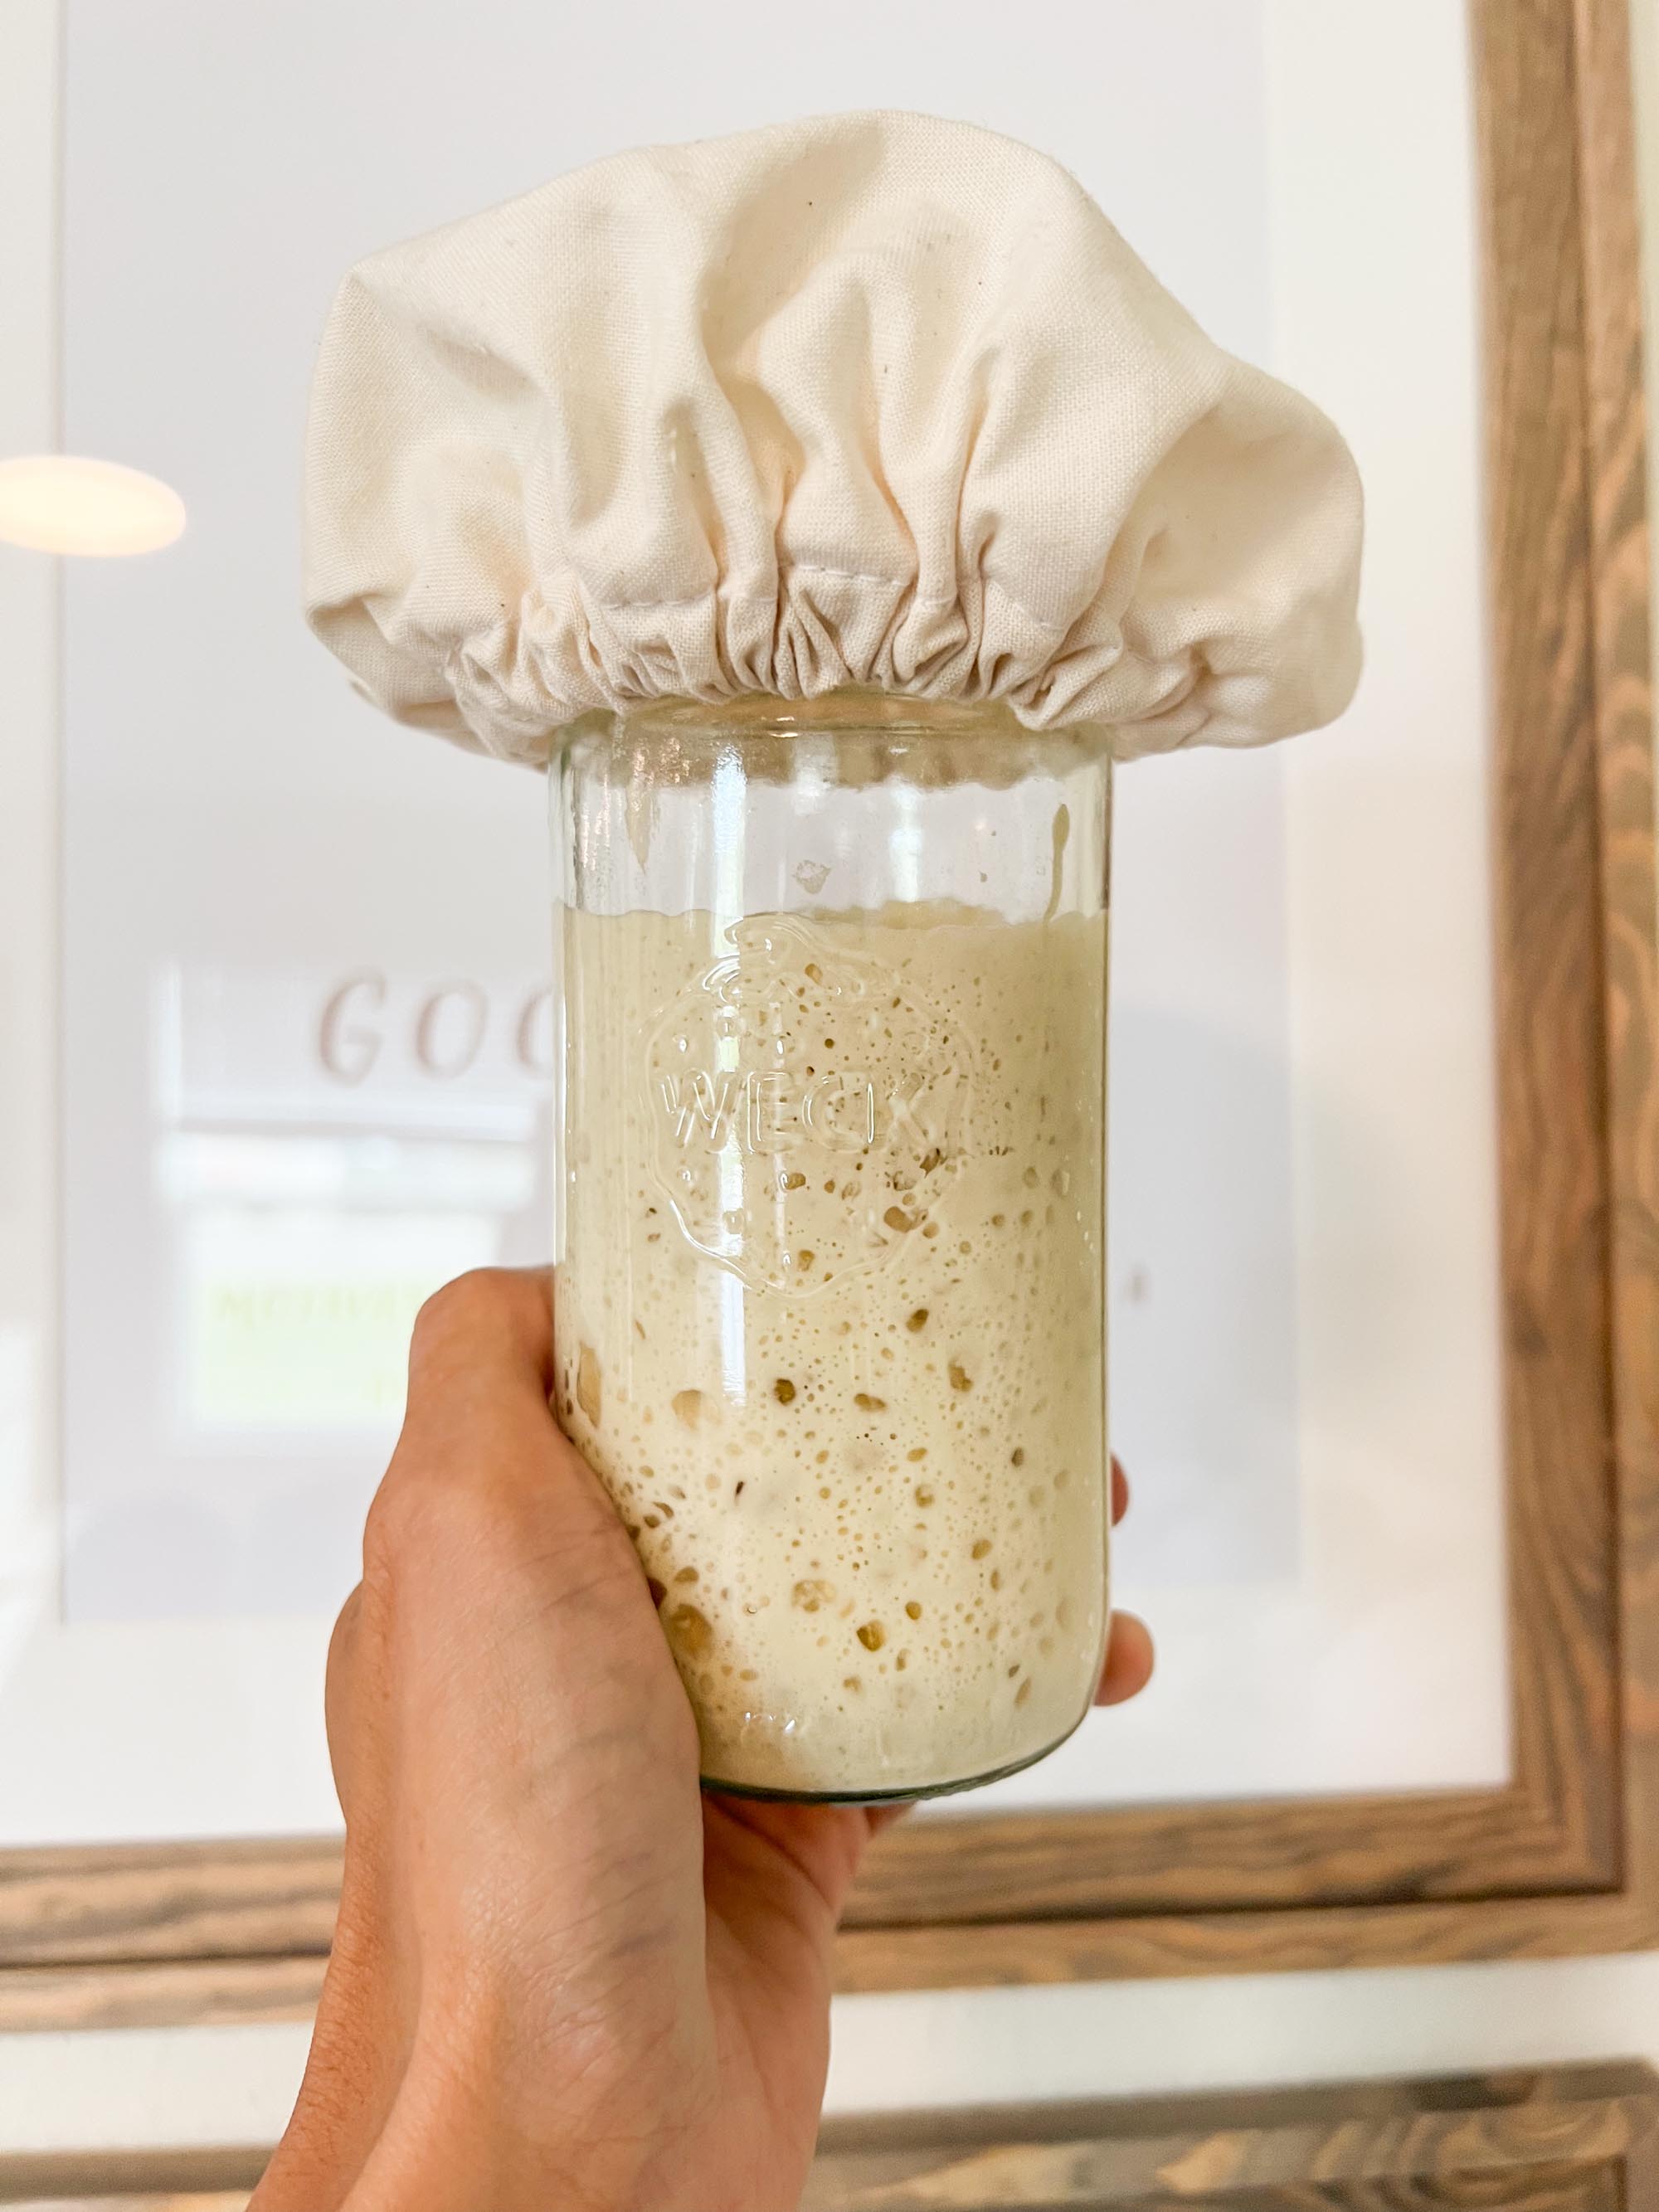
- Weck or Mason Jars: Jars are excellent for sourdough starters as they provide an airtight seal and allow for easy observation of the fermentation process. They come in various sizes, so choose one that suits your needs.
- Scale: A kitchen scale is an essential tool when creating a sourdough starter. It helps maintain accuracy and consistency in measurements, which is crucial for the success of your starter.
- Flour: Choose high-quality flour for your starter. Freshly mill your own or buy unbleached organic all-purpose flour or whole wheat flour works well. Avoid flours with added ingredients, such as bleaching agents or dough conditioners.
- Water: Use filtered water to avoid any unwanted chlorine or other chemicals that may hinder the fermentation process.
Preparing the Sourdough Starter
Now that you have your equipment ready, let’s dive into the step-by-step process of creating a sourdough starter:
Step 1: Day 1
- In your jar, combine 50 grams of flour and 50 grams of water.
- Stir the mixture vigorously until no dry clumps remain.
- Secure the lid on the jar, leaving it slightly loose to allow for airflow.
- Place the jar in a warm location, ideally between 70-80°F (21-27°C).
Step 2: Day 2
- Observe the mixture for any signs of activity. You may notice some bubbling or expansion.
- Discard half of the starter (approximately 50 grams) and add 50 grams of fresh flour and 50 grams of water.
- Stir well and secure the lid on the jar.
- Return the jar to its warm location.
Step 3: Day 3 and Onward
- Repeat the process of discarding half of the starter and feeding it with 50 grams of flour and 50 grams of water once or twice a day.
- By day 3 or 4, you may start to observe a more active fermentation process, with increased bubbling and a pleasant sour aroma.
- Maintain the feeding schedule and continue to observe the starter until it consistently doubles in size within 4-6 hours of feeding. This indicates a healthy and active sourdough starter.
Maintaining Your Sourdough Starter
Once your sourdough starter is active and vibrant, it’s important to maintain it regularly to ensure its longevity and optimal performance. Follow these guidelines:
- Feeding Schedule: Establish a feeding schedule that suits your needs. Most starters benefit from being fed once or twice a day, depending on the temperature and activity level.
- Discarding: To avoid an overwhelming amount of starter, discard a portion of it before each feeding. Discard at least half, or adjust the amount based on your usage and desired volume of starter. This step also helps maintain the balance of yeast and bacteria in the culture.
- Feeding Ratio: As a general guideline, feed your starter with equal parts (by weight) of flour and water. For example, if you discard 100 grams of starter, add 50 grams of flour and 50 grams of water during the feeding.
- Temperature: Maintain your sourdough starter in a warm environment, ideally between 70-80°F (21-27°C). Temperature plays a significant role in the fermentation process, affecting the activity and flavor profile of your starter.
- Refrigeration: If you don’t plan on baking every day, store your sourdough starter in the refrigerator. Feed it once a week to keep it active. Before using the refrigerated starter for baking, allow it to reach room temperature and give it a couple of feedings to revive its activity.
I wanted to share with you my personal journey of creating a sourdough starter and shed light on the time it takes to develop a viable starter for baking. Starting your own sourdough starter can be an exciting but patience-testing process, as it can take anywhere from 4 to 21 days to achieve the desired results. For me, it took a total of 16 days to develop a vibrant and active sourdough starter. Around day 4, I began to doubt myself and wondered if I was doing something wrong. I wasn’t seeing the immediate doubling in size that I had anticipated. However, I trusted the process and remained patient.
What I learned was that sourdough starters need time to cultivate the necessary wild yeast and beneficial bacteria that contribute to their rise and flavor. During those initial days, the microorganisms are establishing themselves and adjusting to their environment. It’s common for the starter to take a few days to develop enough strength to consistently double in size.
So, my advice to you is this: don’t give up if your starter isn’t doubling instantly. Trust the process and give it the time it needs to mature. Be patient and continue with the feeding and discarding routine. Eventually, you will start to notice signs of activity, such as bubbles and a pleasant sour aroma.
Remember that every sourdough starter is unique, and the timeline can vary. Factors like temperature, humidity, and the specific strains of yeast and bacteria in your environment can influence the fermentation process. Embrace the journey, observe your starter closely, and make adjustments as necessary.
If my experience is any indication, the reward of a healthy and active sourdough starter is well worth the wait. So, keep at it, and soon you’ll be baking delicious loaves of sourdough bread that reflect the dedication and time you put into cultivating your own starter.
Creating a sourdough starter is an exciting and rewarding journey that allows you to experience the magic of natural fermentation and elevate your bread-making skills. By following the steps outlined in this guide, you can cultivate a robust and flavorful sourdough starter that will serve as the foundation for delicious homemade bread.
Remember, the process of developing a sourdough starter requires patience and observation. Every starter is unique, and it may take a few days or even weeks to achieve the desired results. Embrace the learning process, make adjustments as needed, and enjoy the delicious journey of sourdough bread making!
Wishing you success and happy baking!

Leave a Reply